Build & Deploy a standard application
In this tutorial, you will create a CDS Workflow with the Web UI.
- Create a workflow using two pipelines: one for building, another for deploying
- Discover application and environments concepts.
- Discover Run Conditions.
This tutorial seems very long, don’t worry, it’s very detailed and it will take you about 10-15 minutes to try it.
You will play with many CDS Concepts, discover the reuse of pipelines, how to play with CDS Variables.
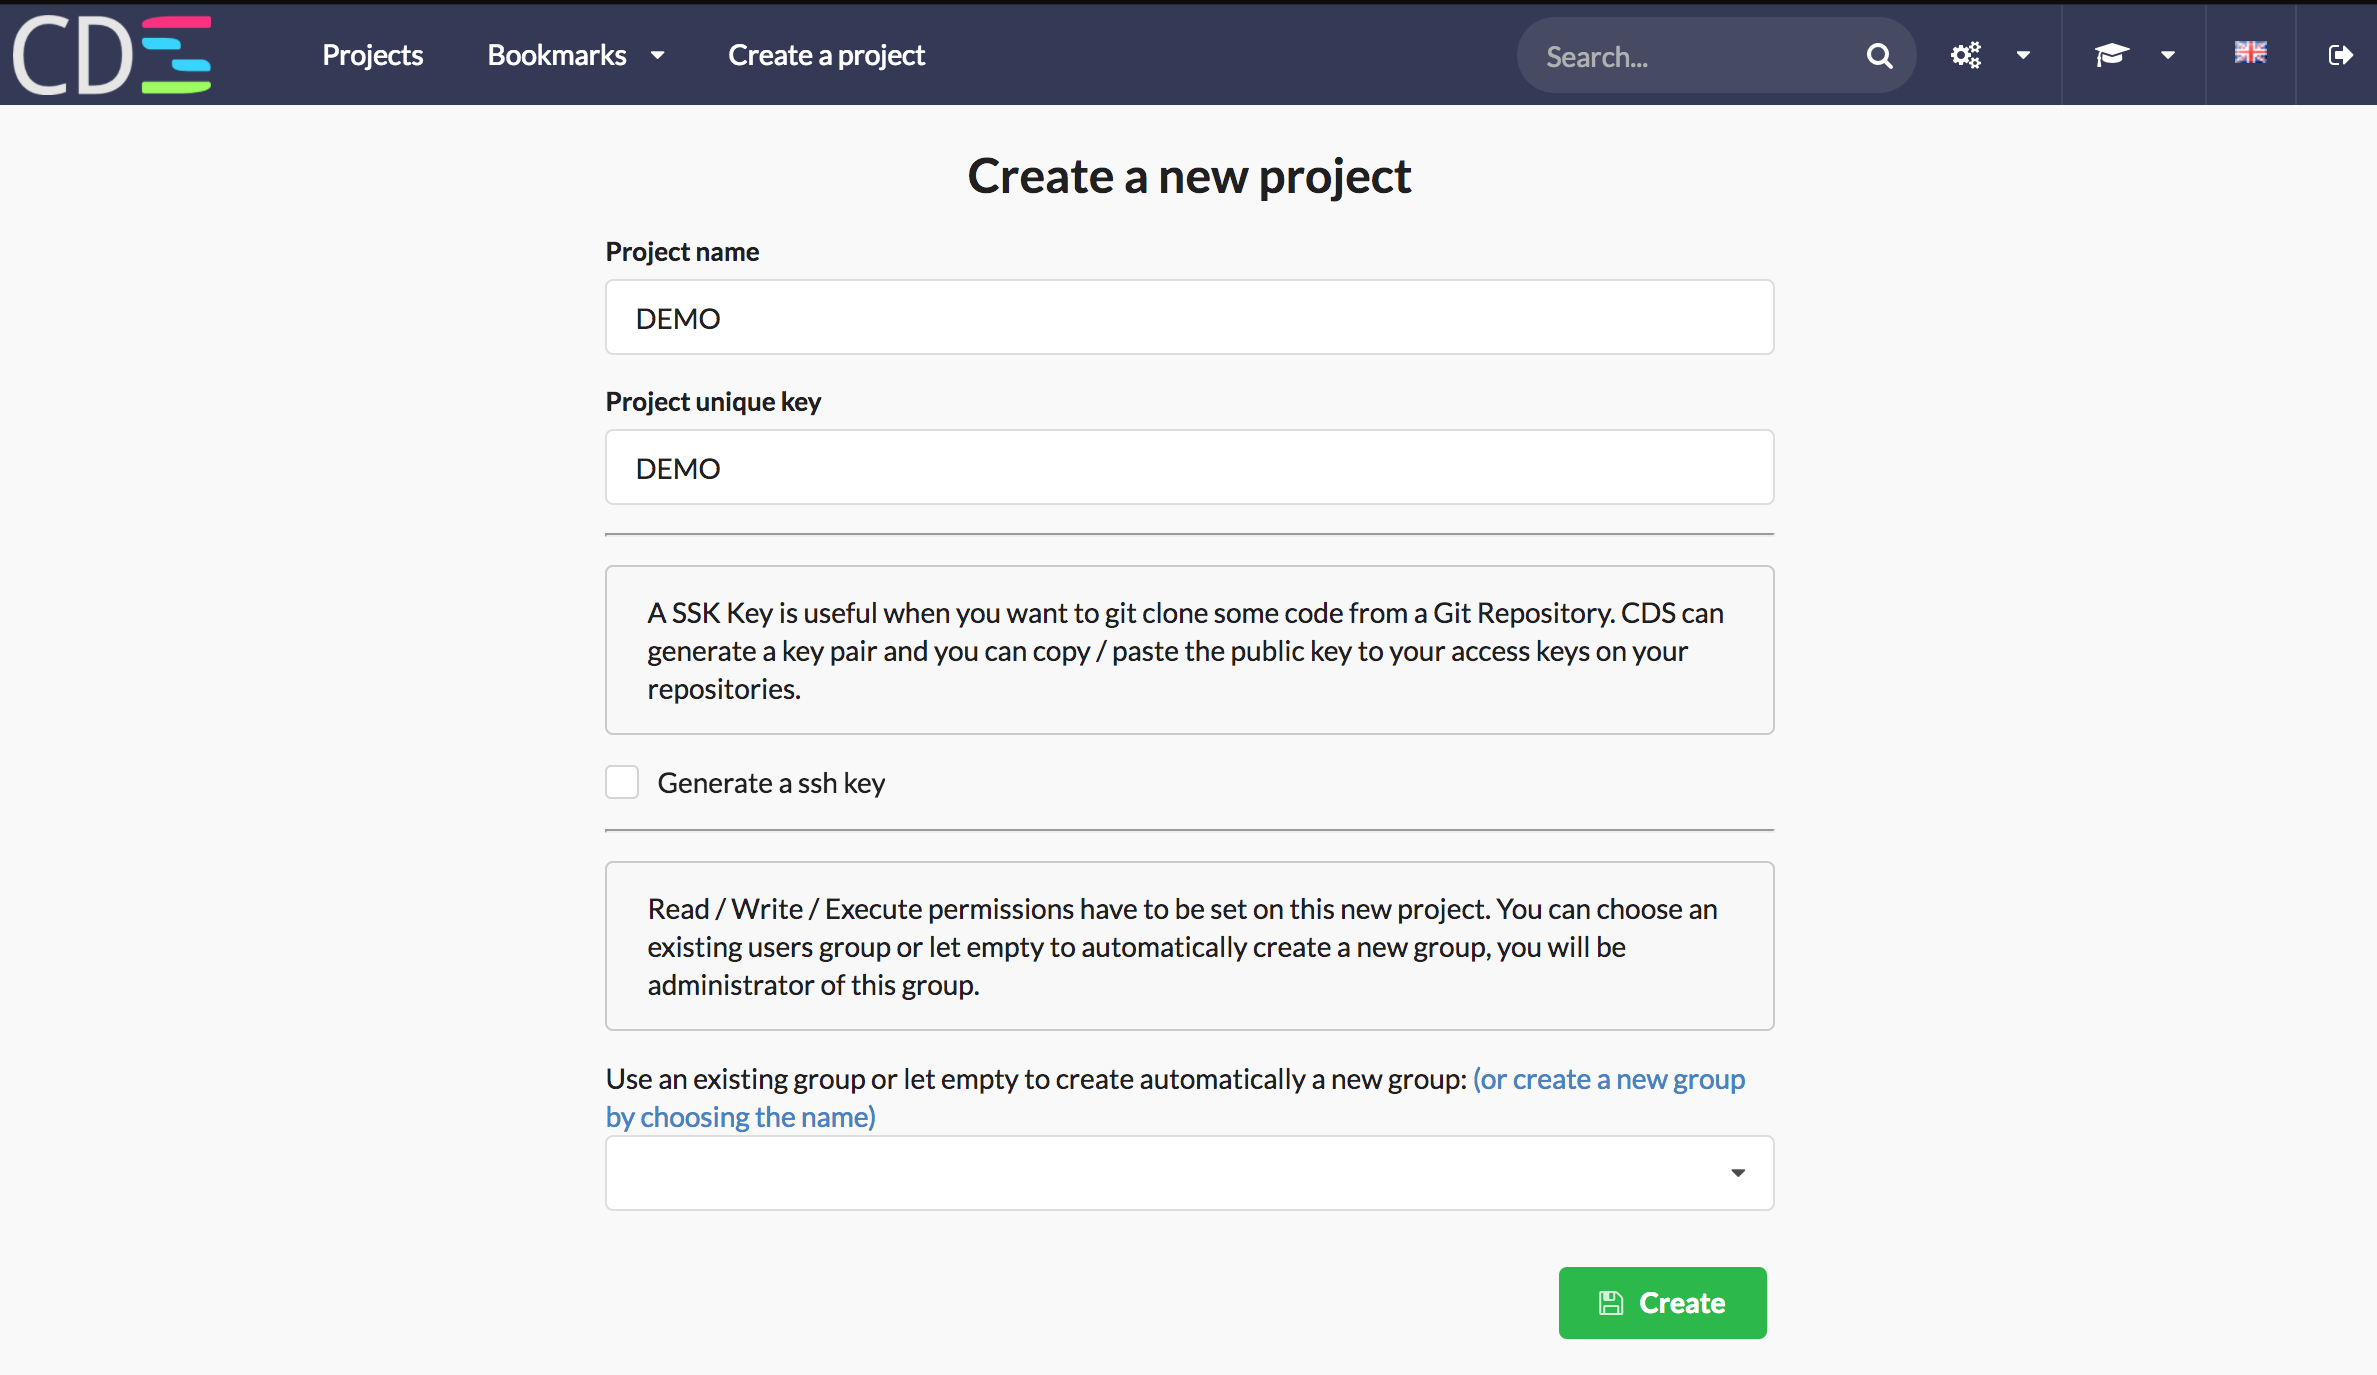
1 - Create your CDS project
Let’s create a project. On the top navbar, click on ‘Create a project’.
- Enter a Project Name
- The project key will be useful when you want to use cdsctl.
- Click on ‘Create’ button.
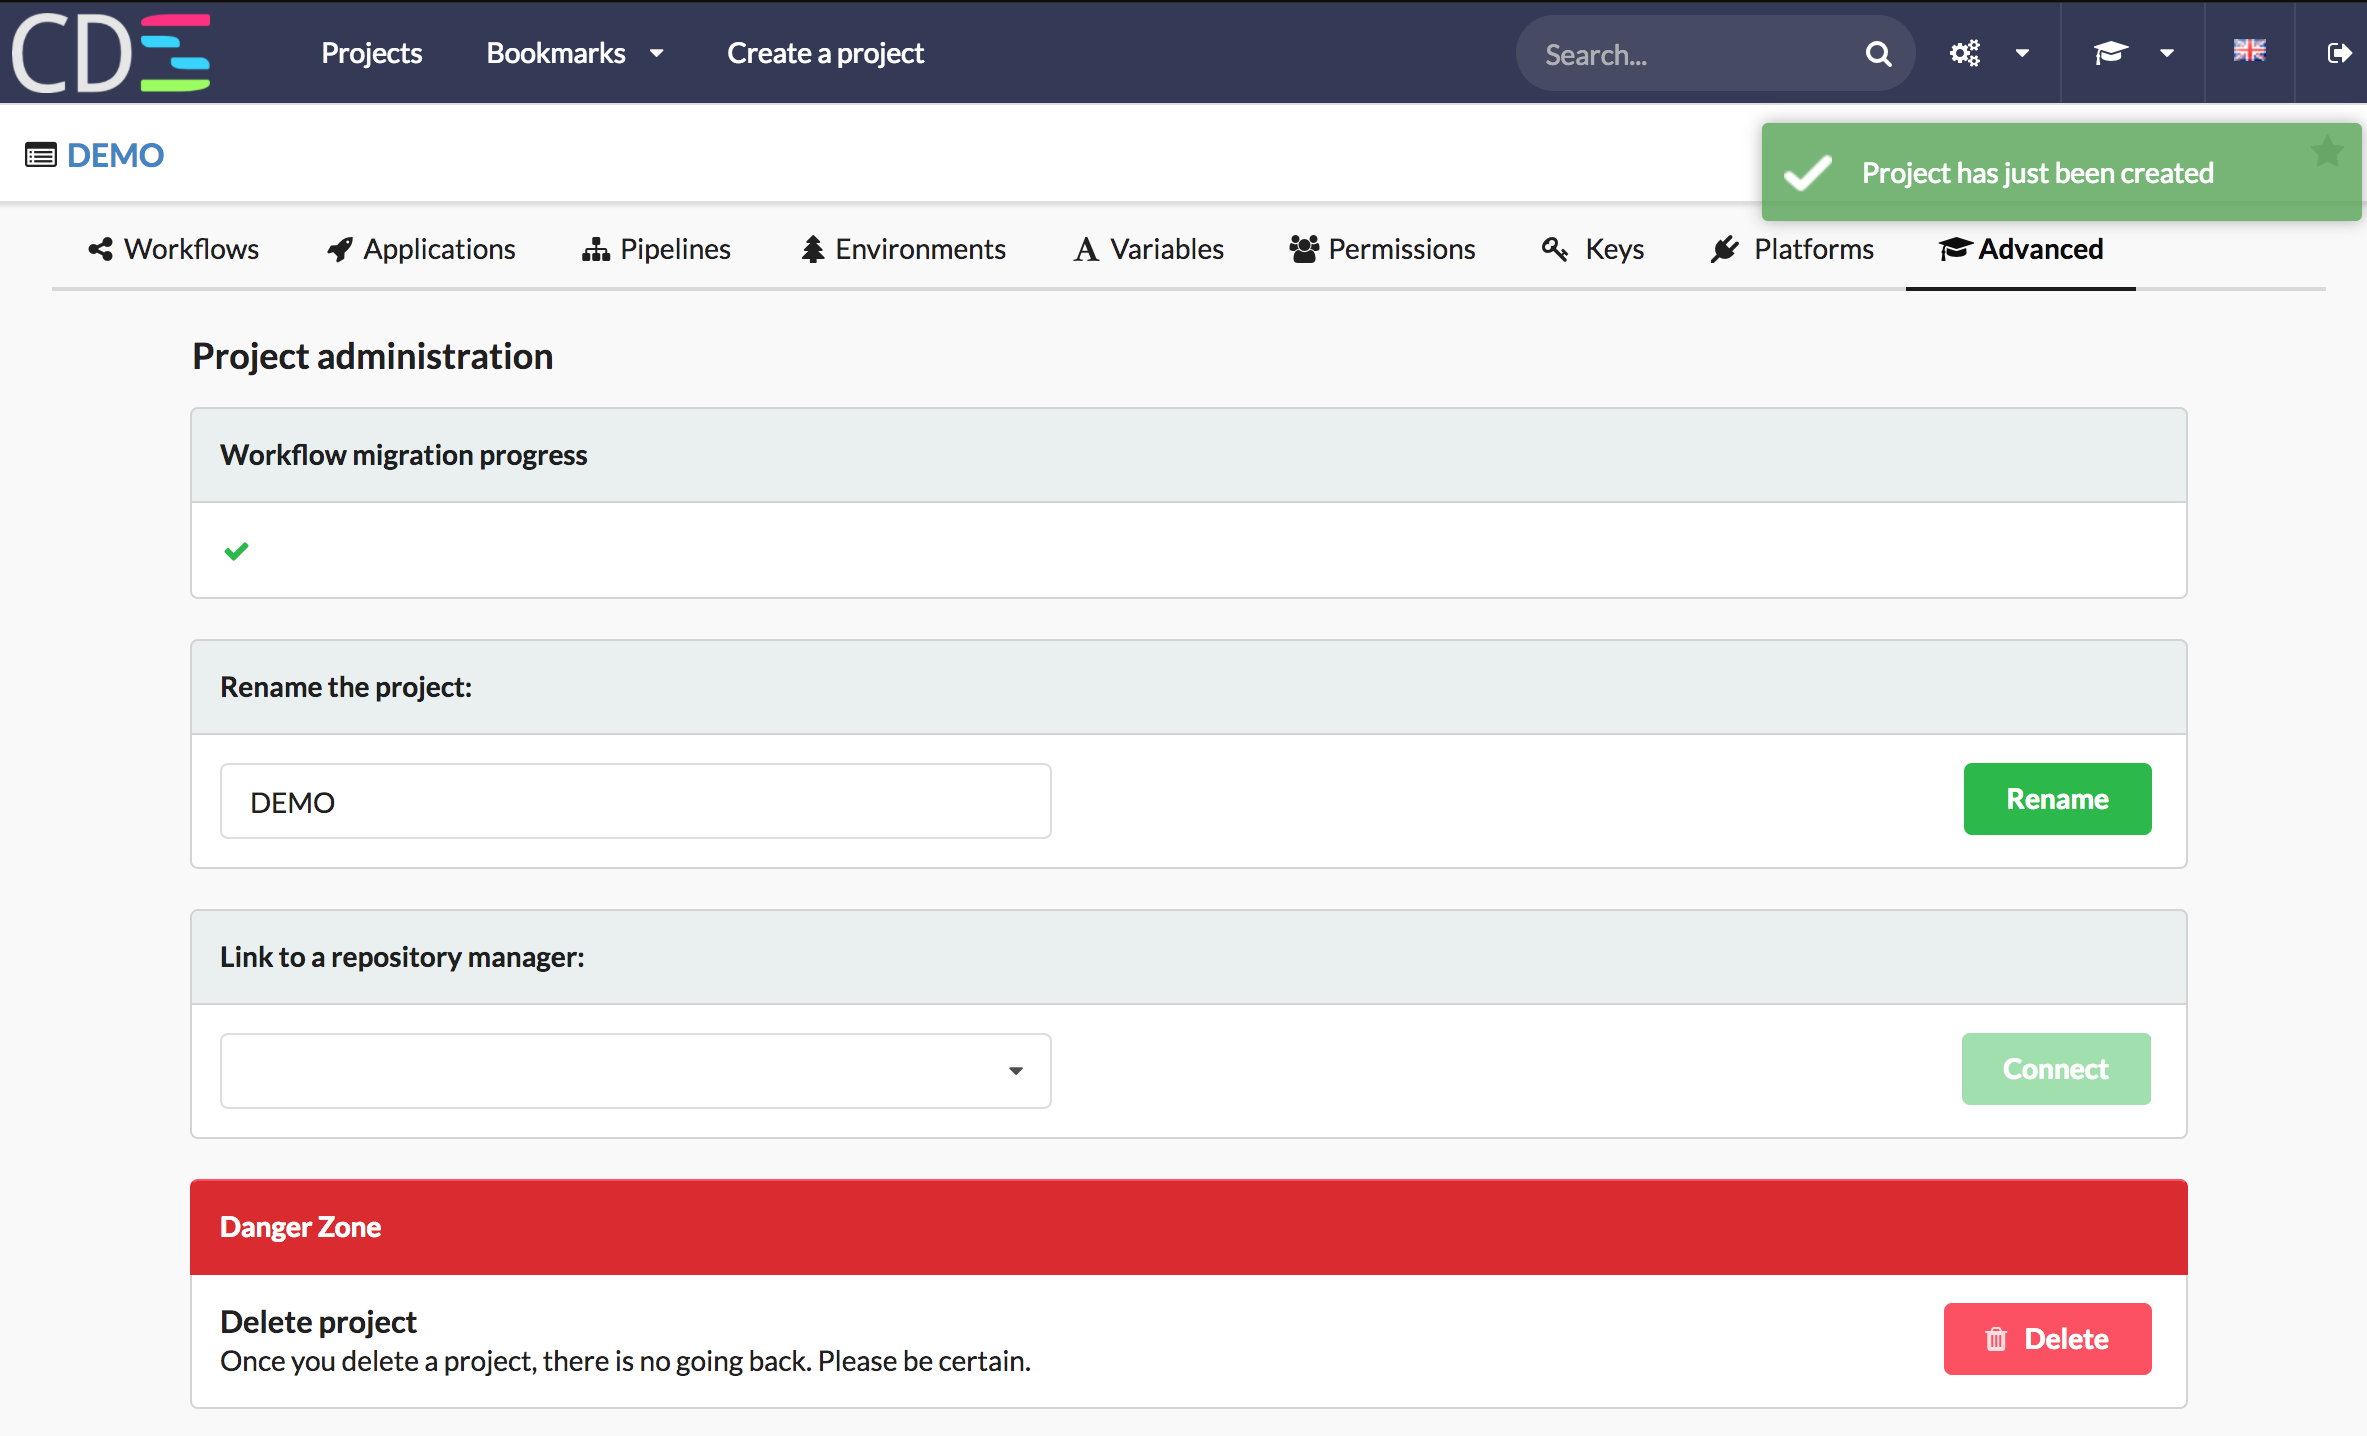
2 - Add a repository manager on your project
The project is now create, you have to link a repository manager. Be sure to have a Repository manager as GitHub, Bitbucket Server or GitLab set up on your CDS Instance.
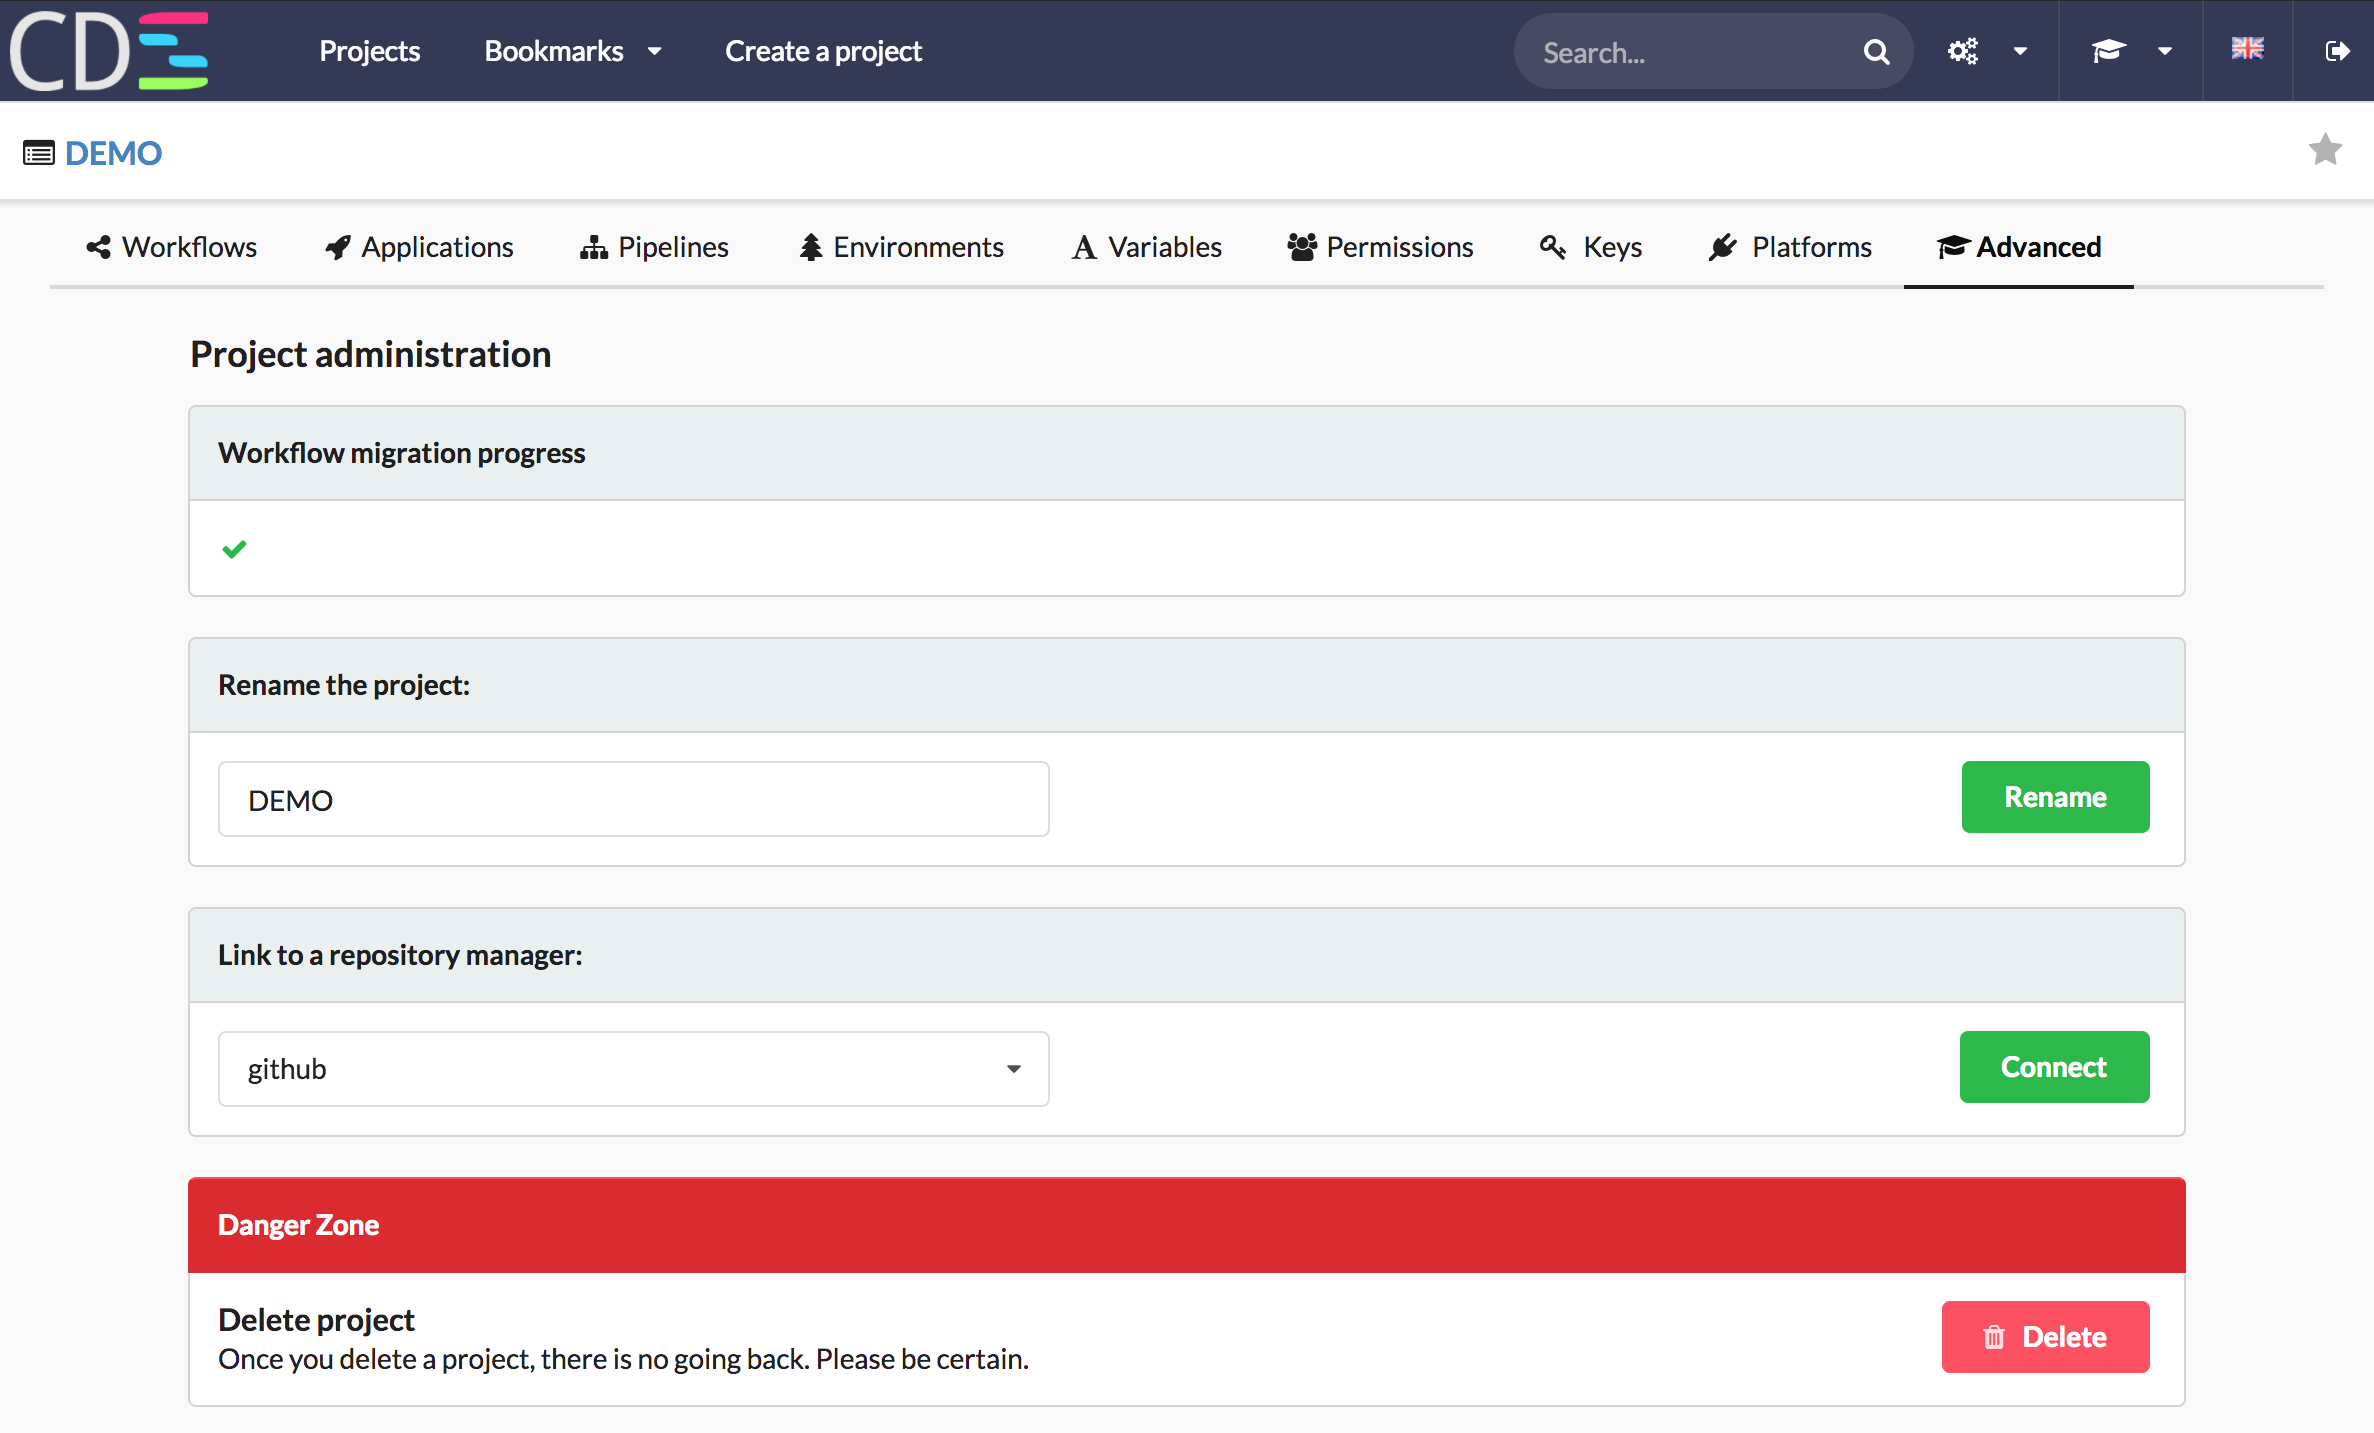
- Select ‘Advanced’ section
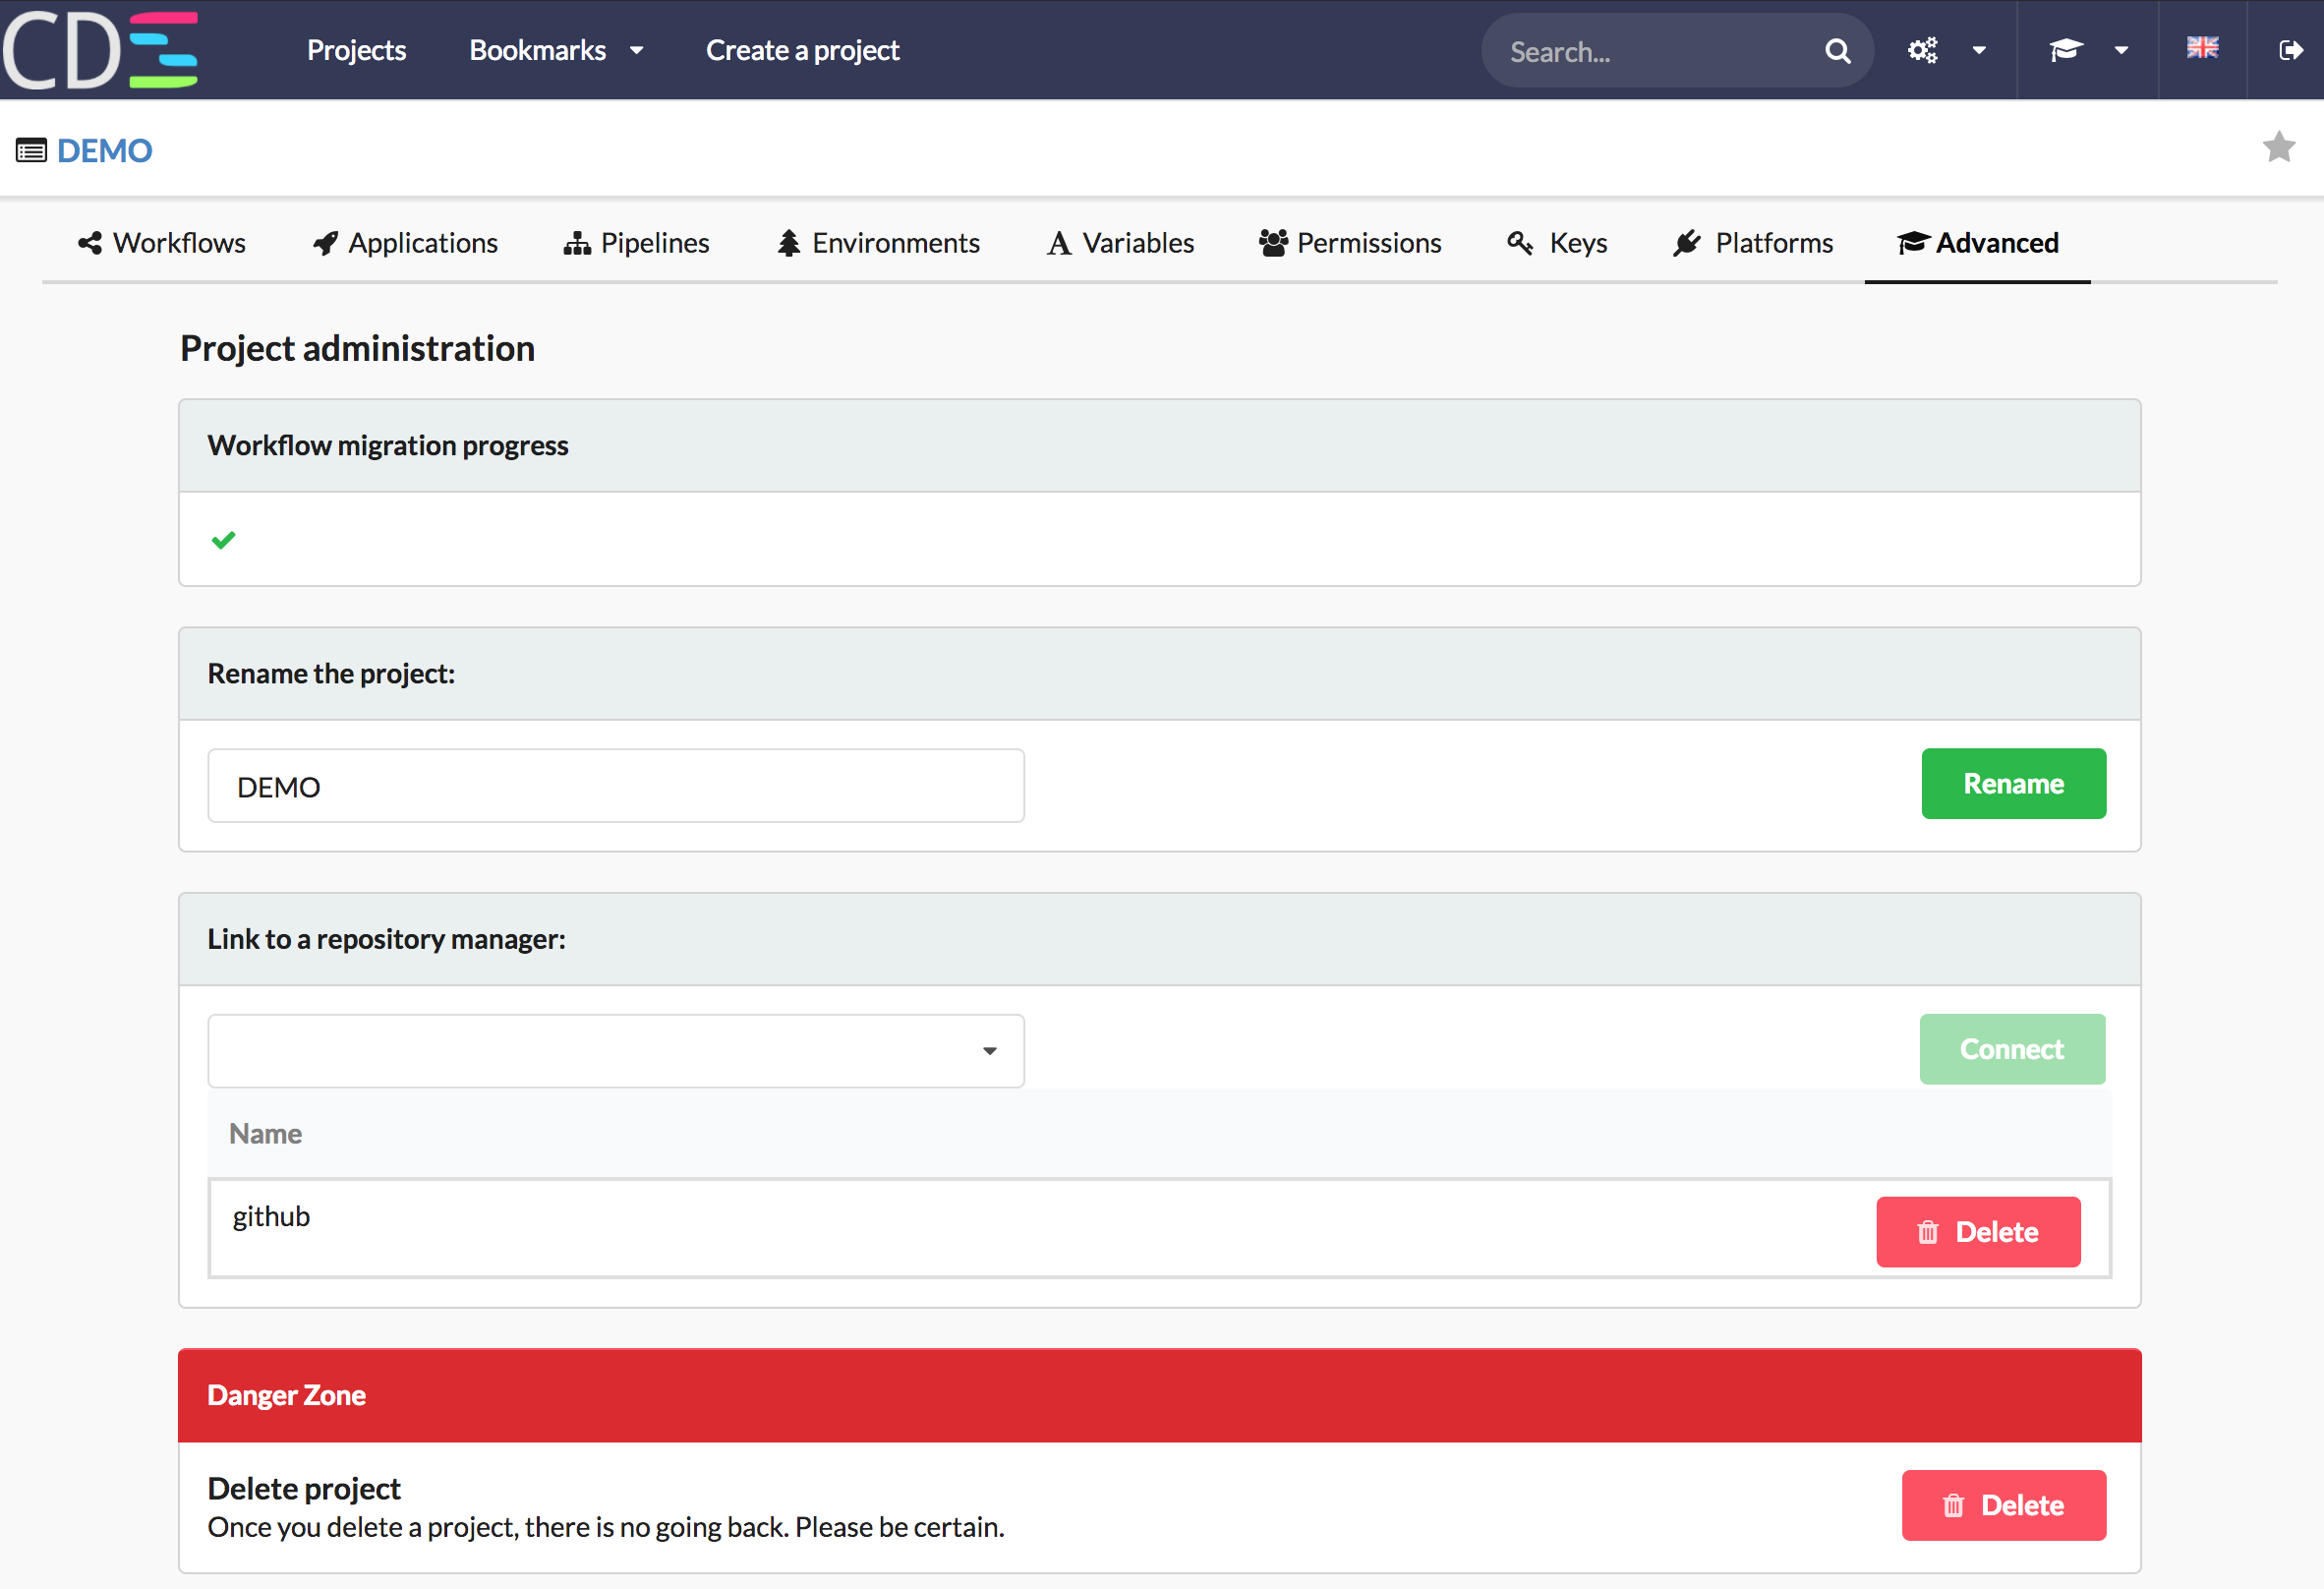
- In the section ‘Link to a repository manager’, select ‘github’, then click on ‘Connect’
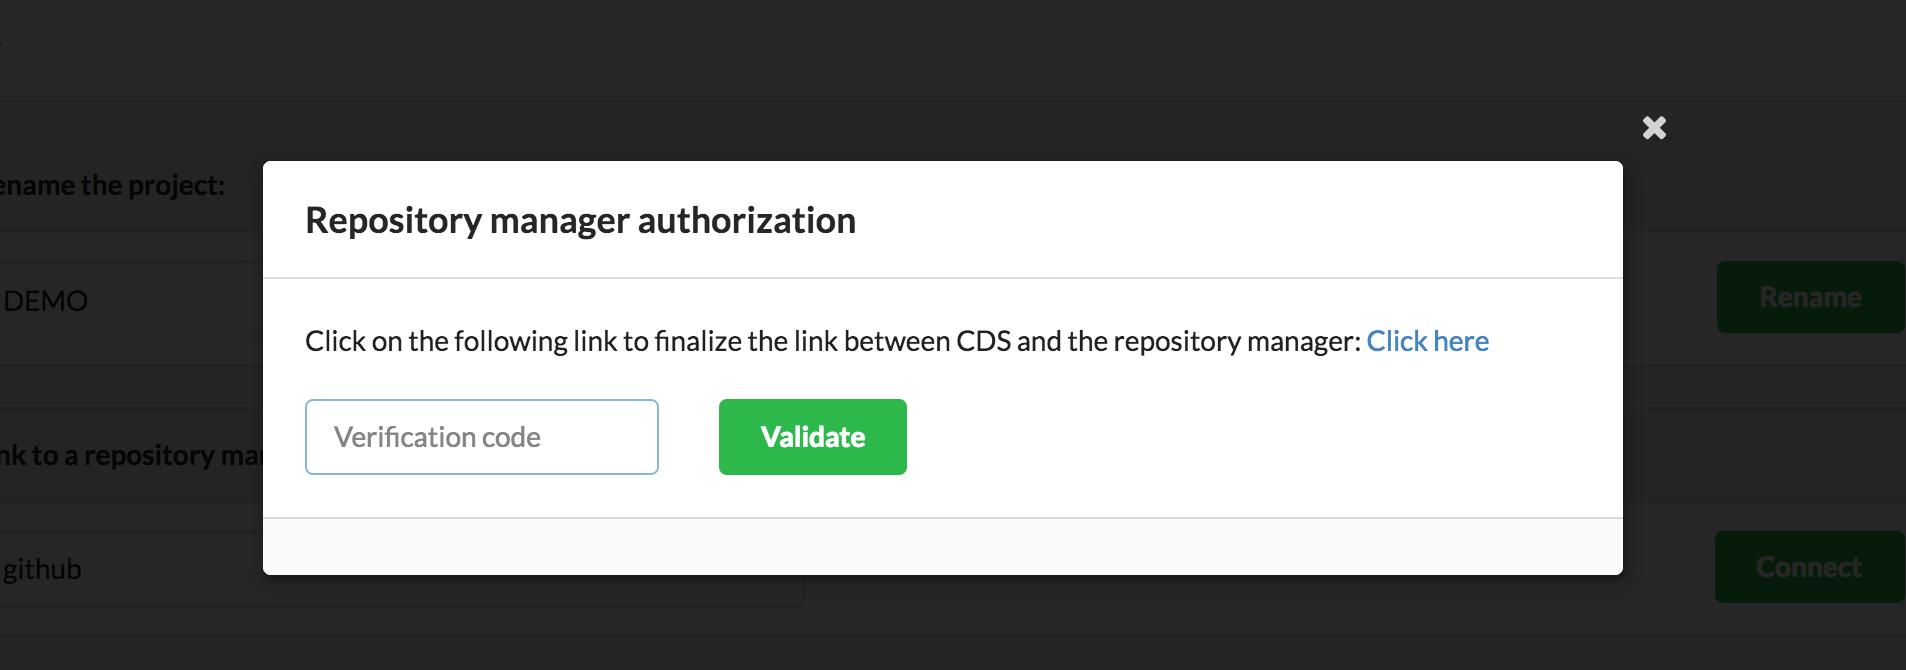
- A popup is displayed, Click on ‘Click here’ to finalize the link with GitHub. By doing that, you allow CDS to create hook on GitHub.
3 - Create an application, link it to a Git Repository
You’ve got a project, linked to GitHub. Let’s create an application.
A CDS Application is useful to have a link to a Git Repository.
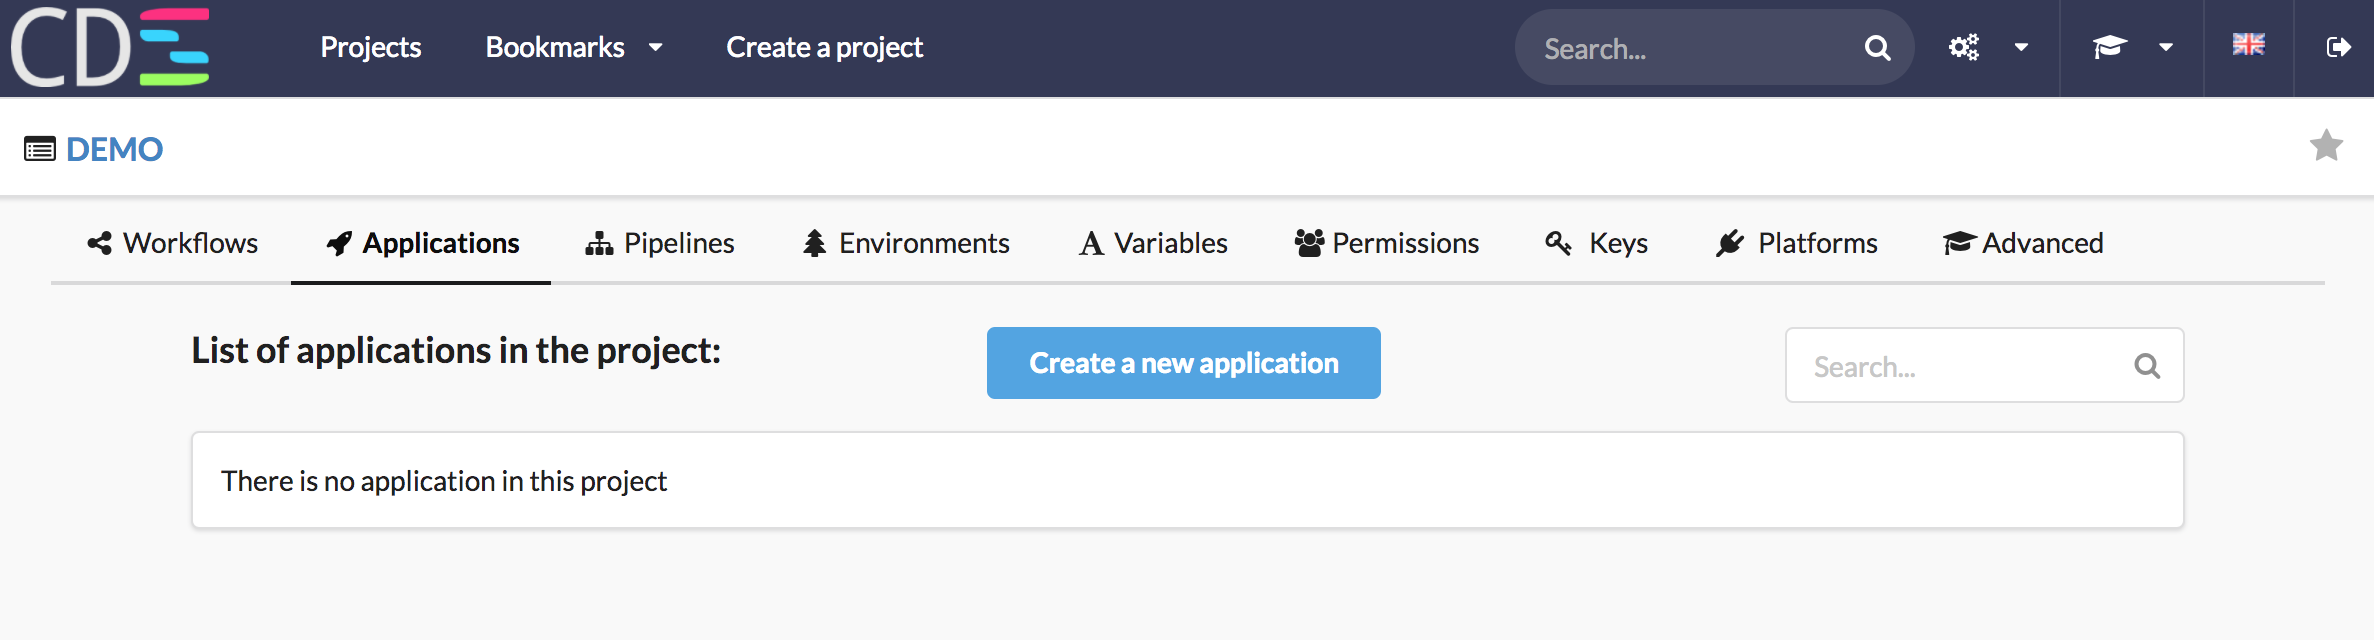
- Go on Project -> Applications tab, click on ‘Create a new application’
- Enter application name, here ‘my-java-app’
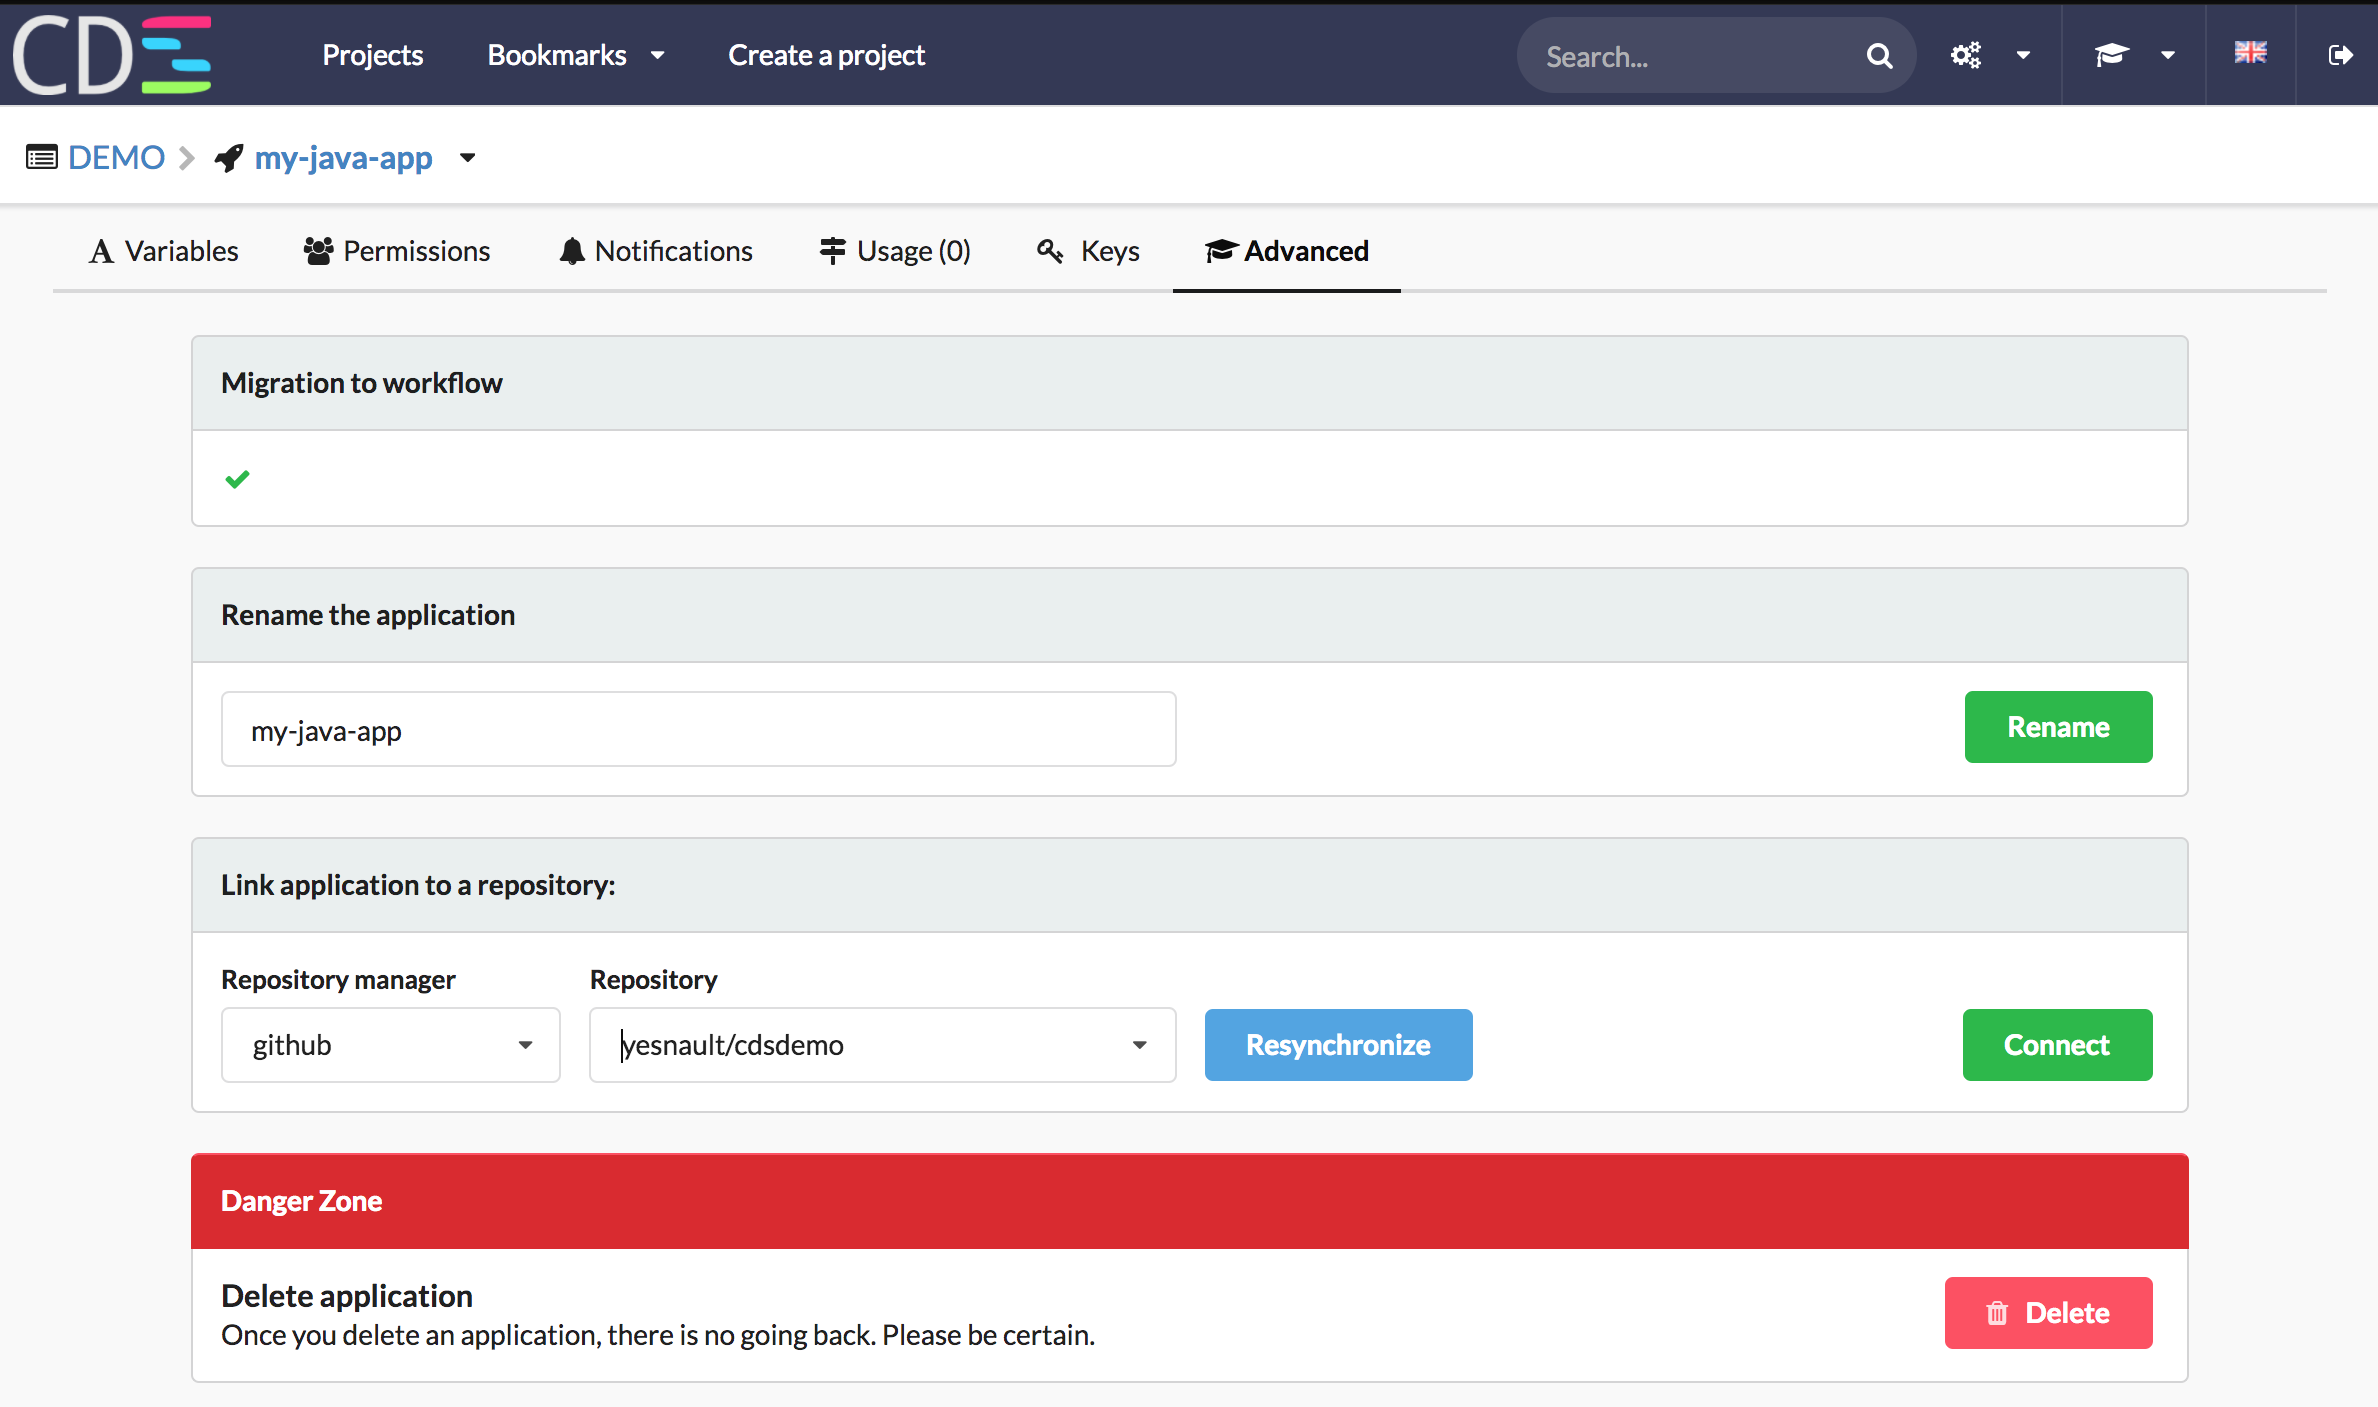
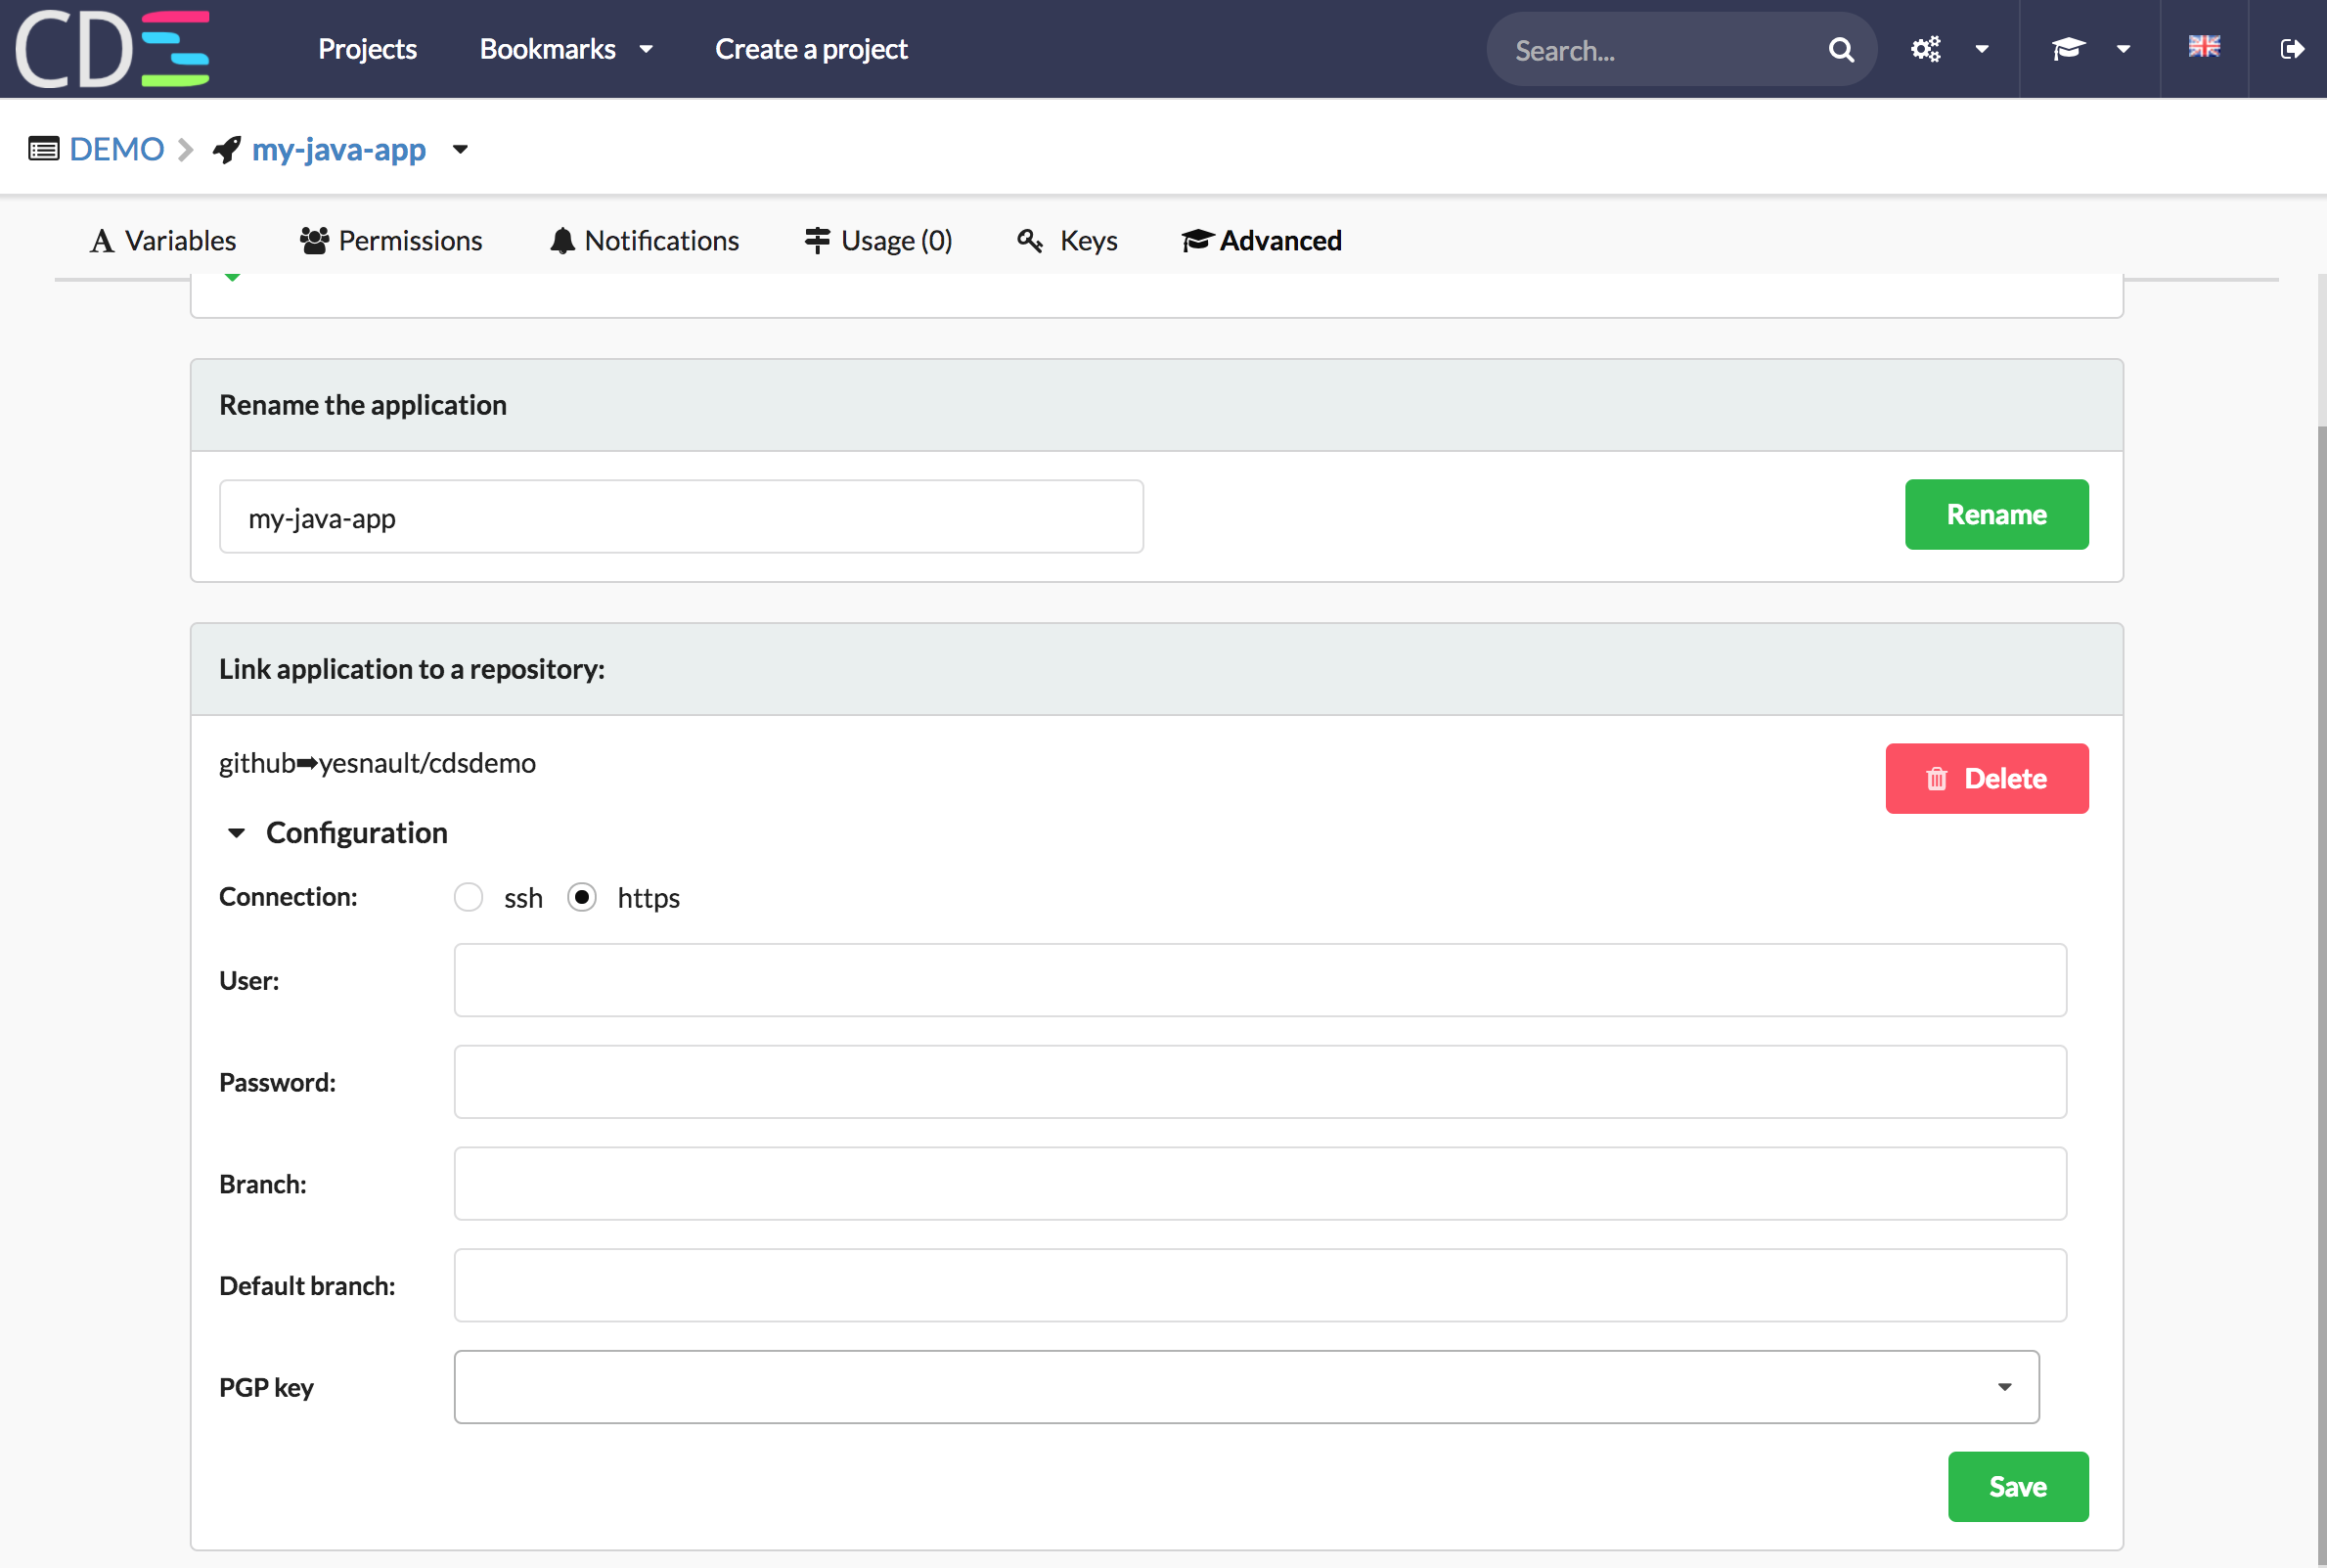
- Go on Advanced tab, select a Repository
- Expand configuration, select ‘https’. If your repository is public, you can keep empty fields, then click on ‘Save’

4 - Add a variable on your application
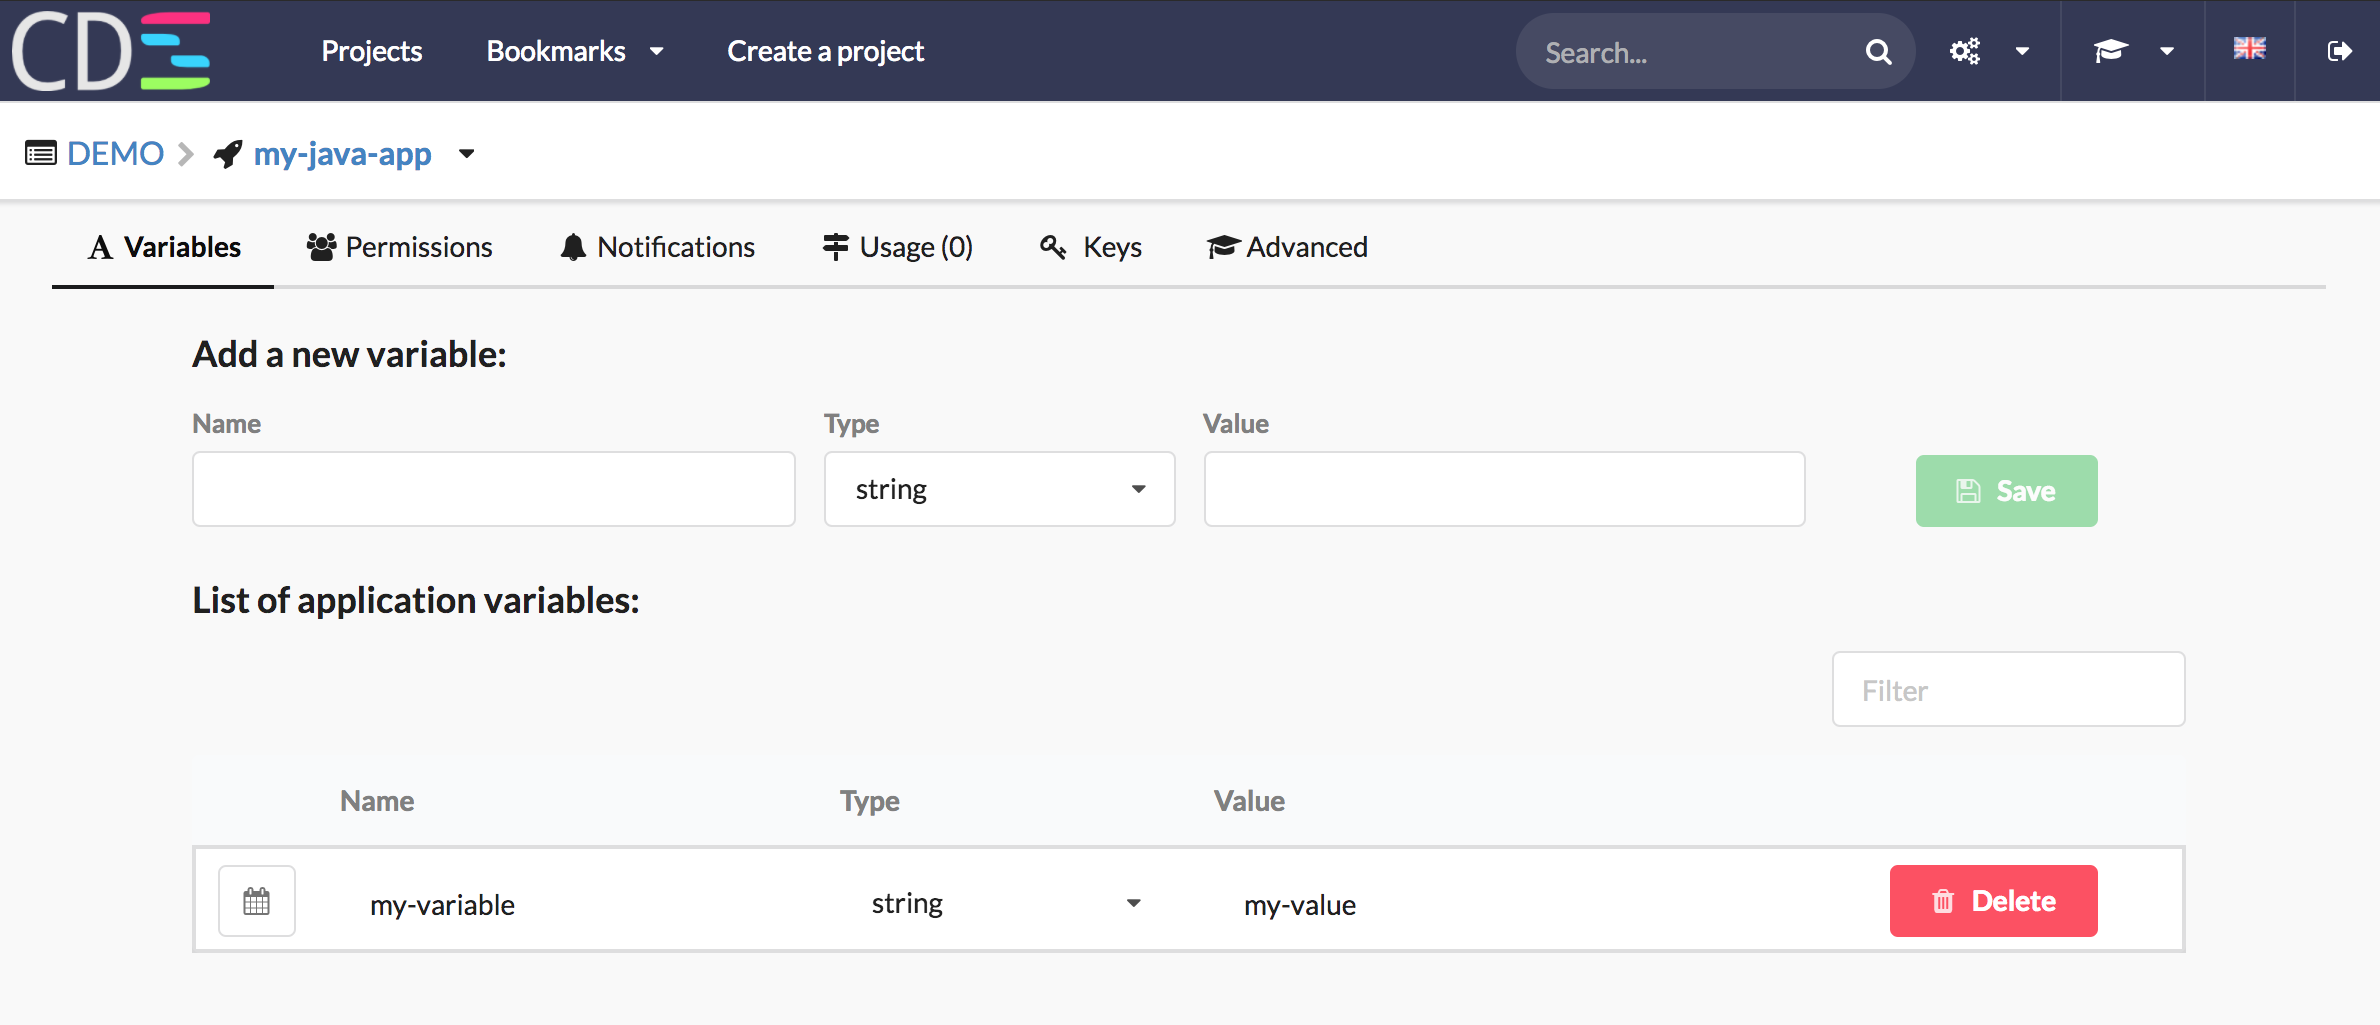
You’ve got an application, let’s create an application variable. We will use it further in a Job.
- Select the variables tab, name ‘my-variable’, type ‘string’, value ‘my-value’
- Then click on ‘Save’

5 - Create the workflow
Here we go, you will create your first workflow.
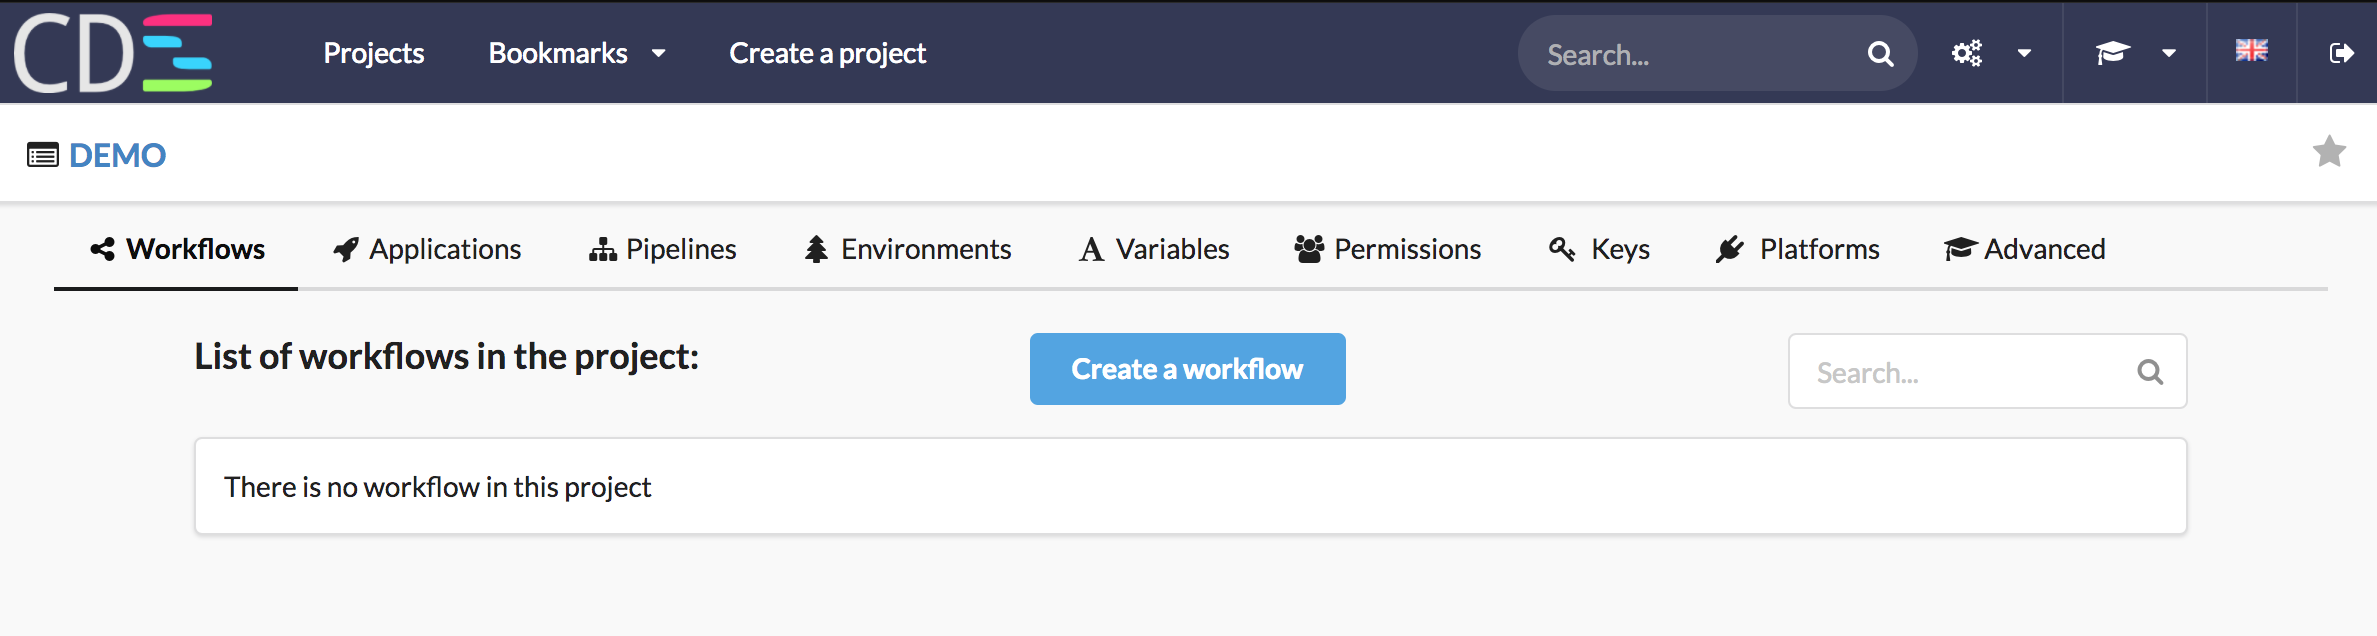
- Go to Project -> Workflows tab
- Enter the Workflow name, then click on Next
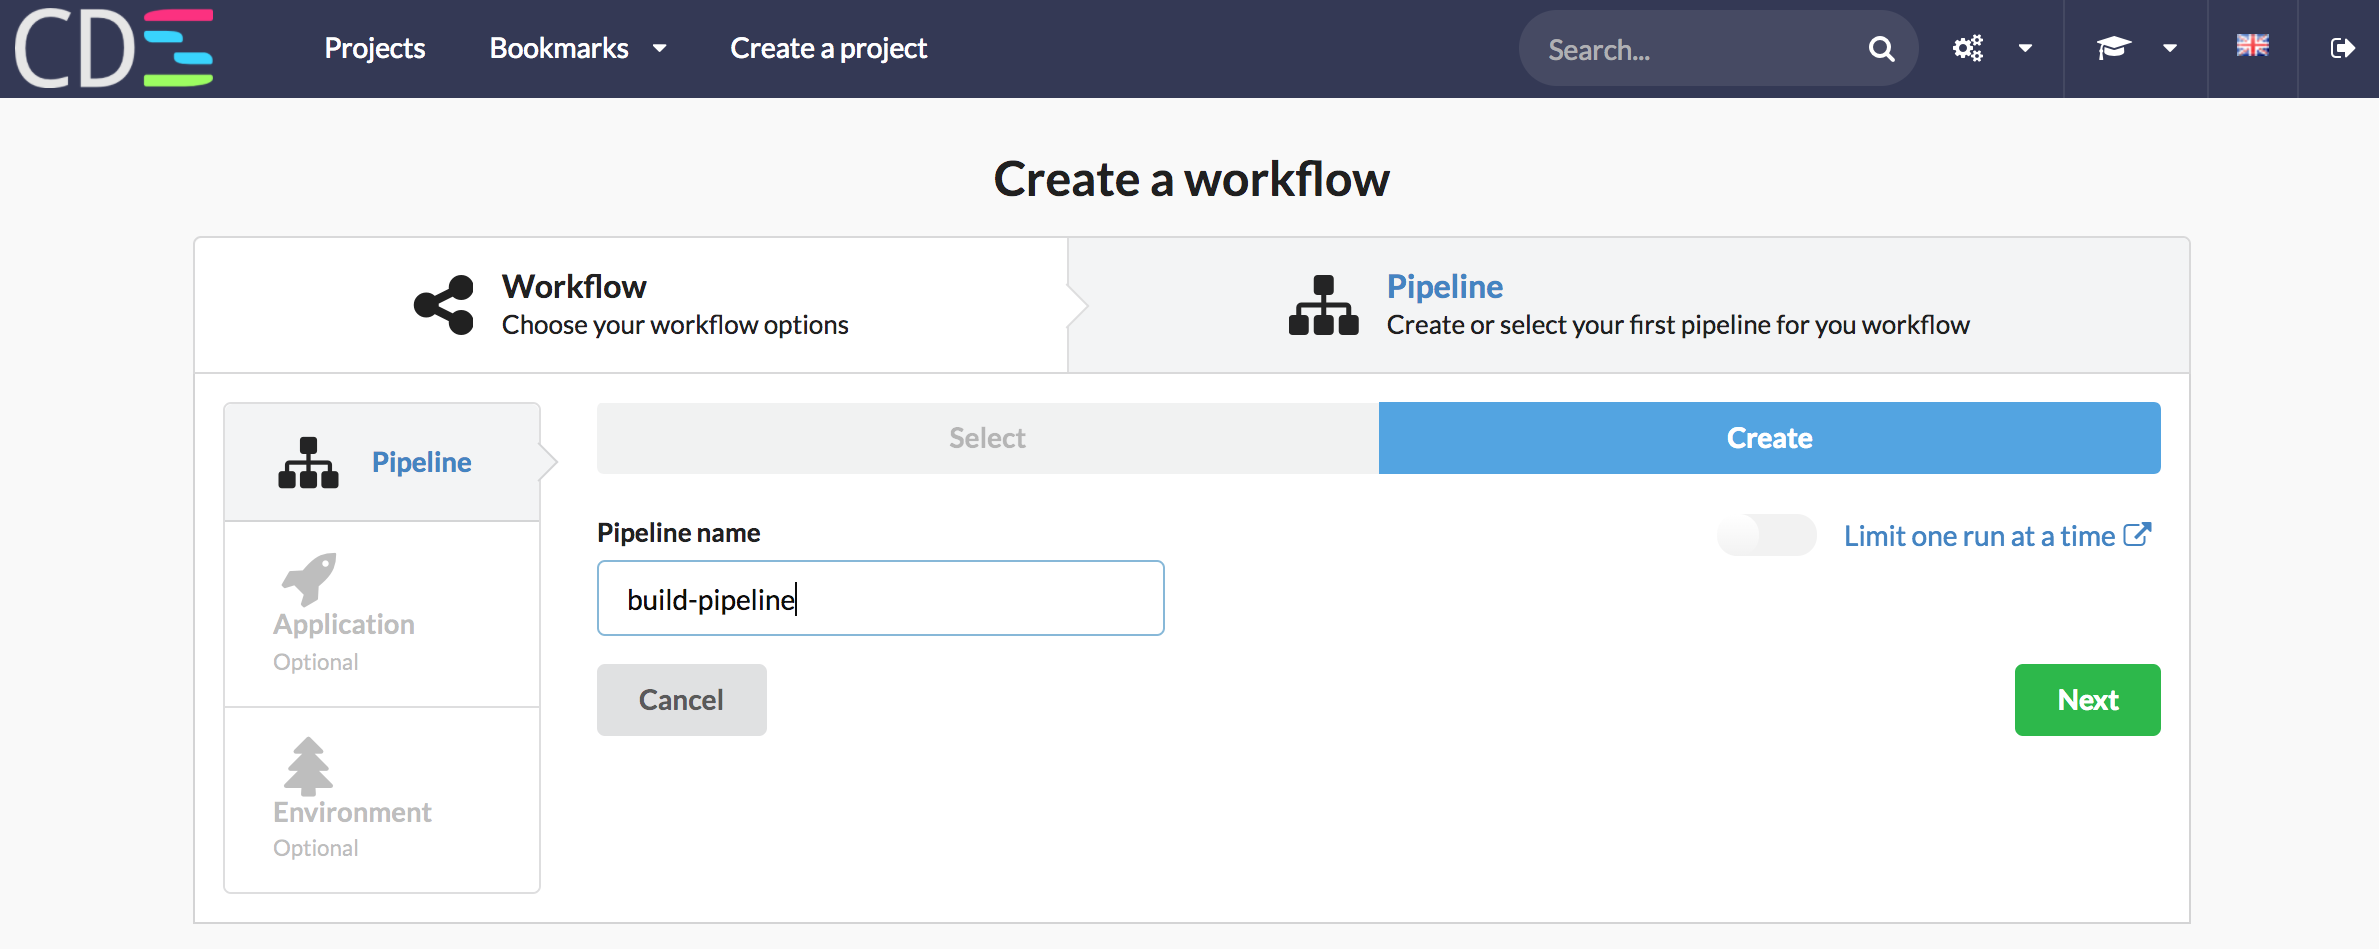
- You have now to choose the first pipeline. As you don’t have a pipeline yet, you will create a new one, named ‘build-pipeline’. Click on Next
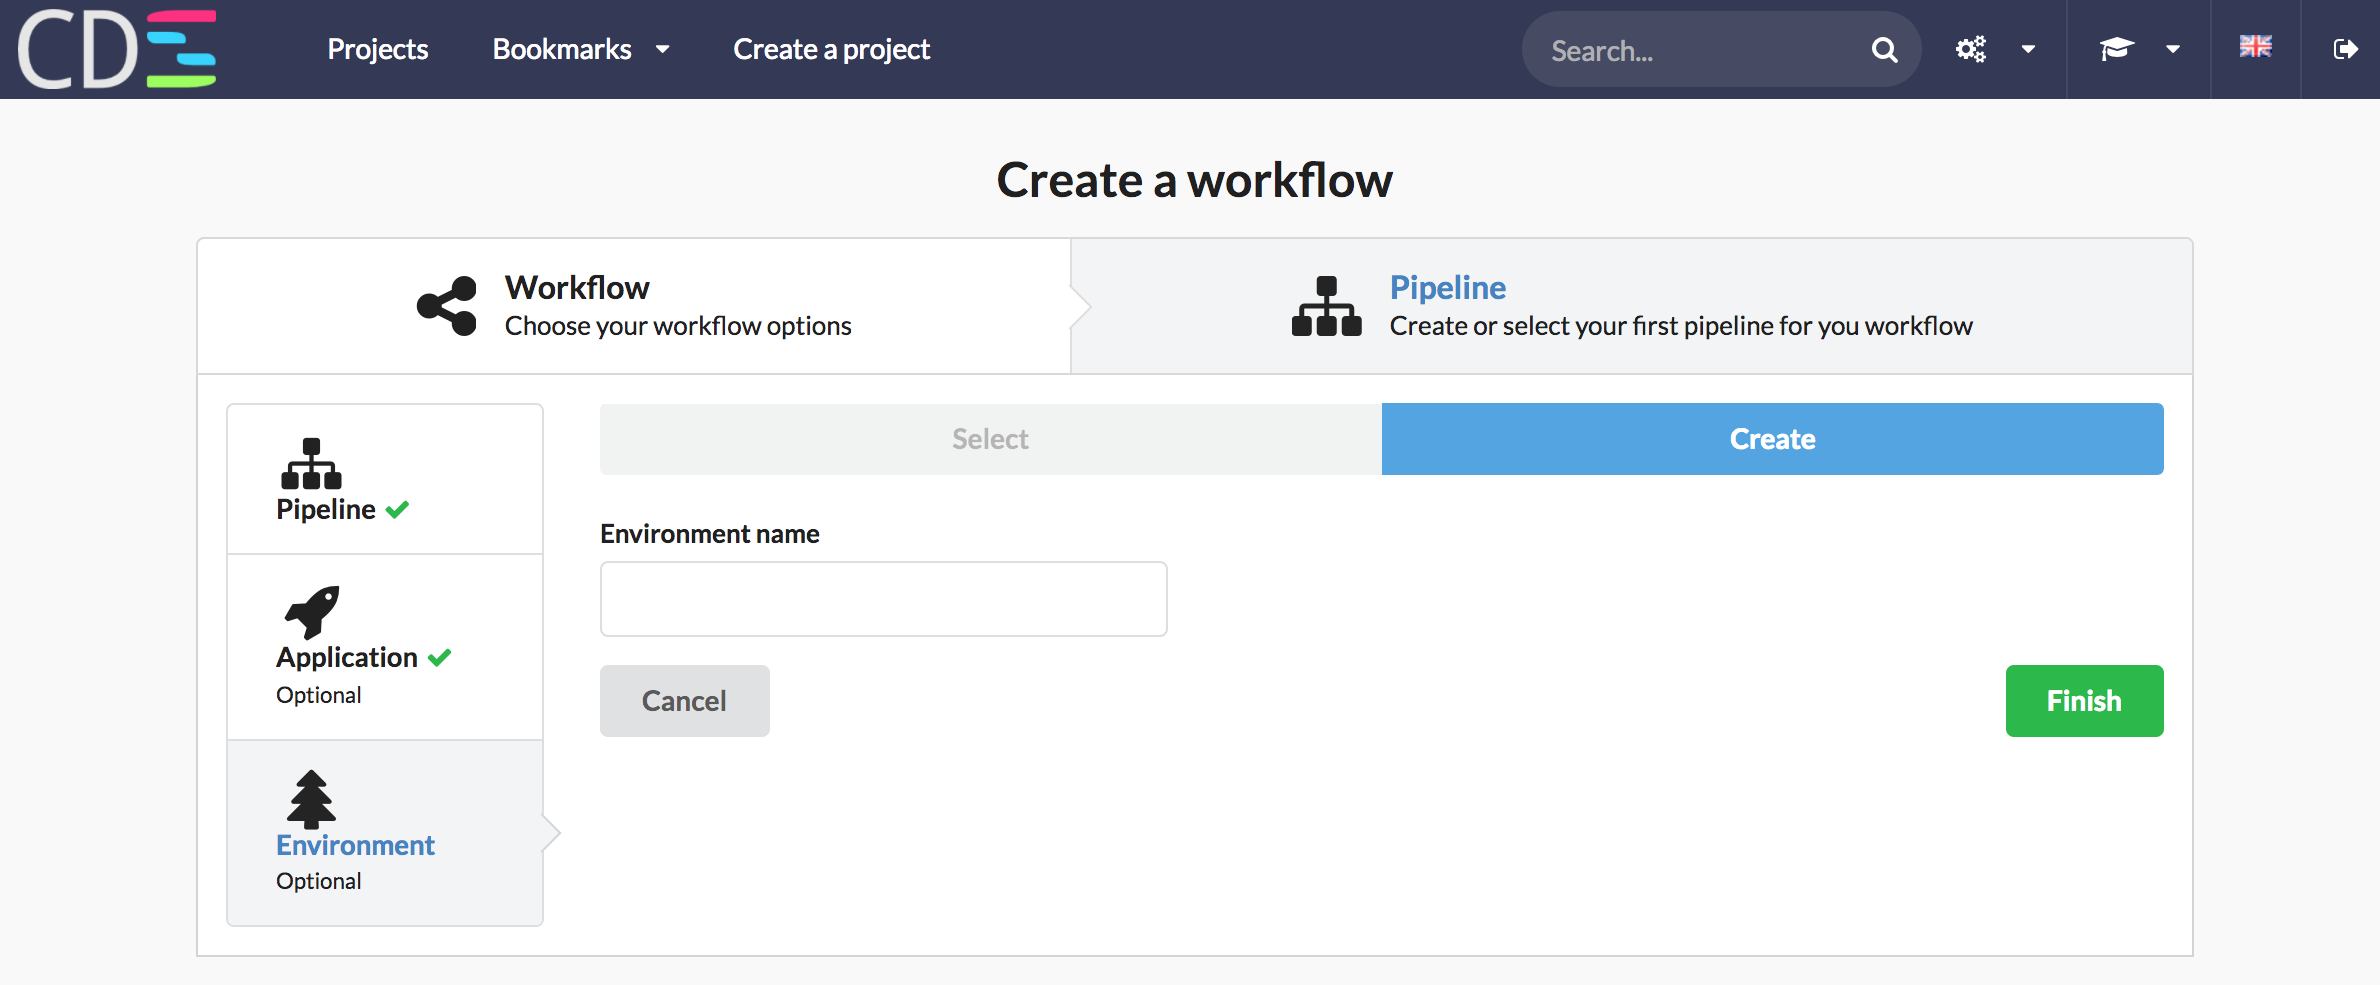
- Now, you have to select an application. Choose your application ‘my-java-app’, then click on Next
- We don’t need an environment for the build pipeline, Click on ‘Finish’


6 - Edit your first pipeline for building the application
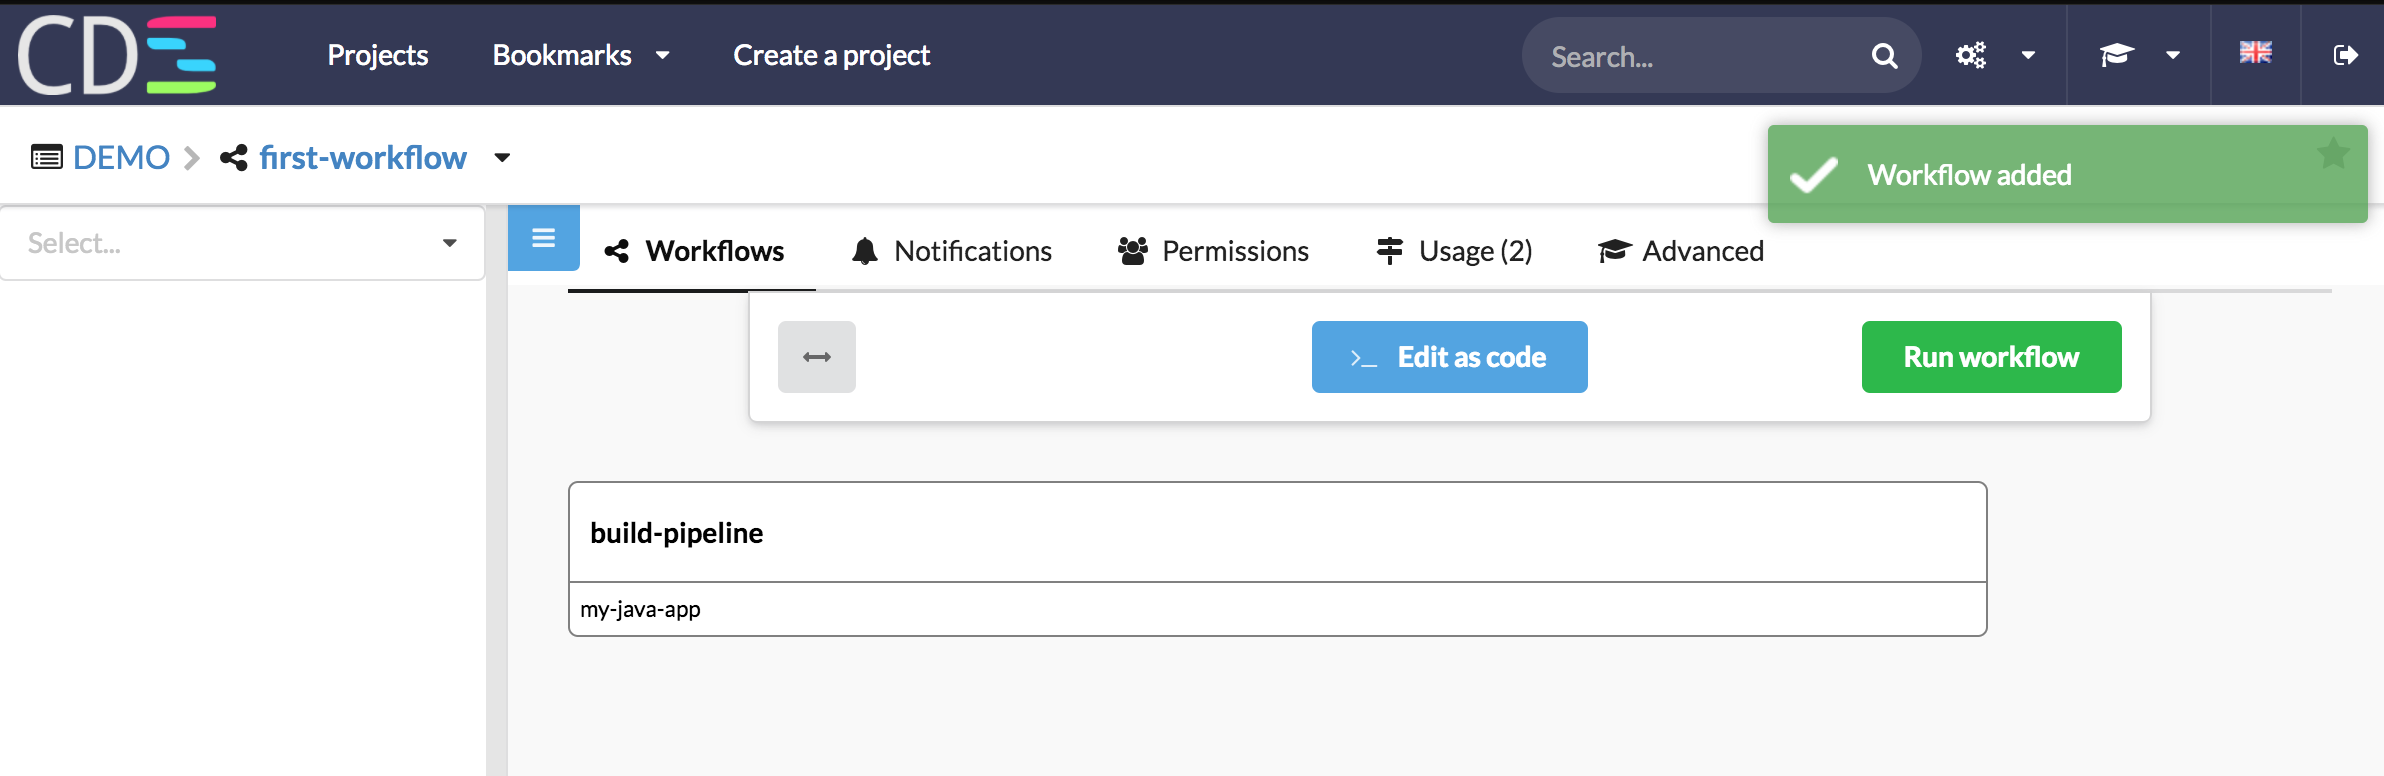
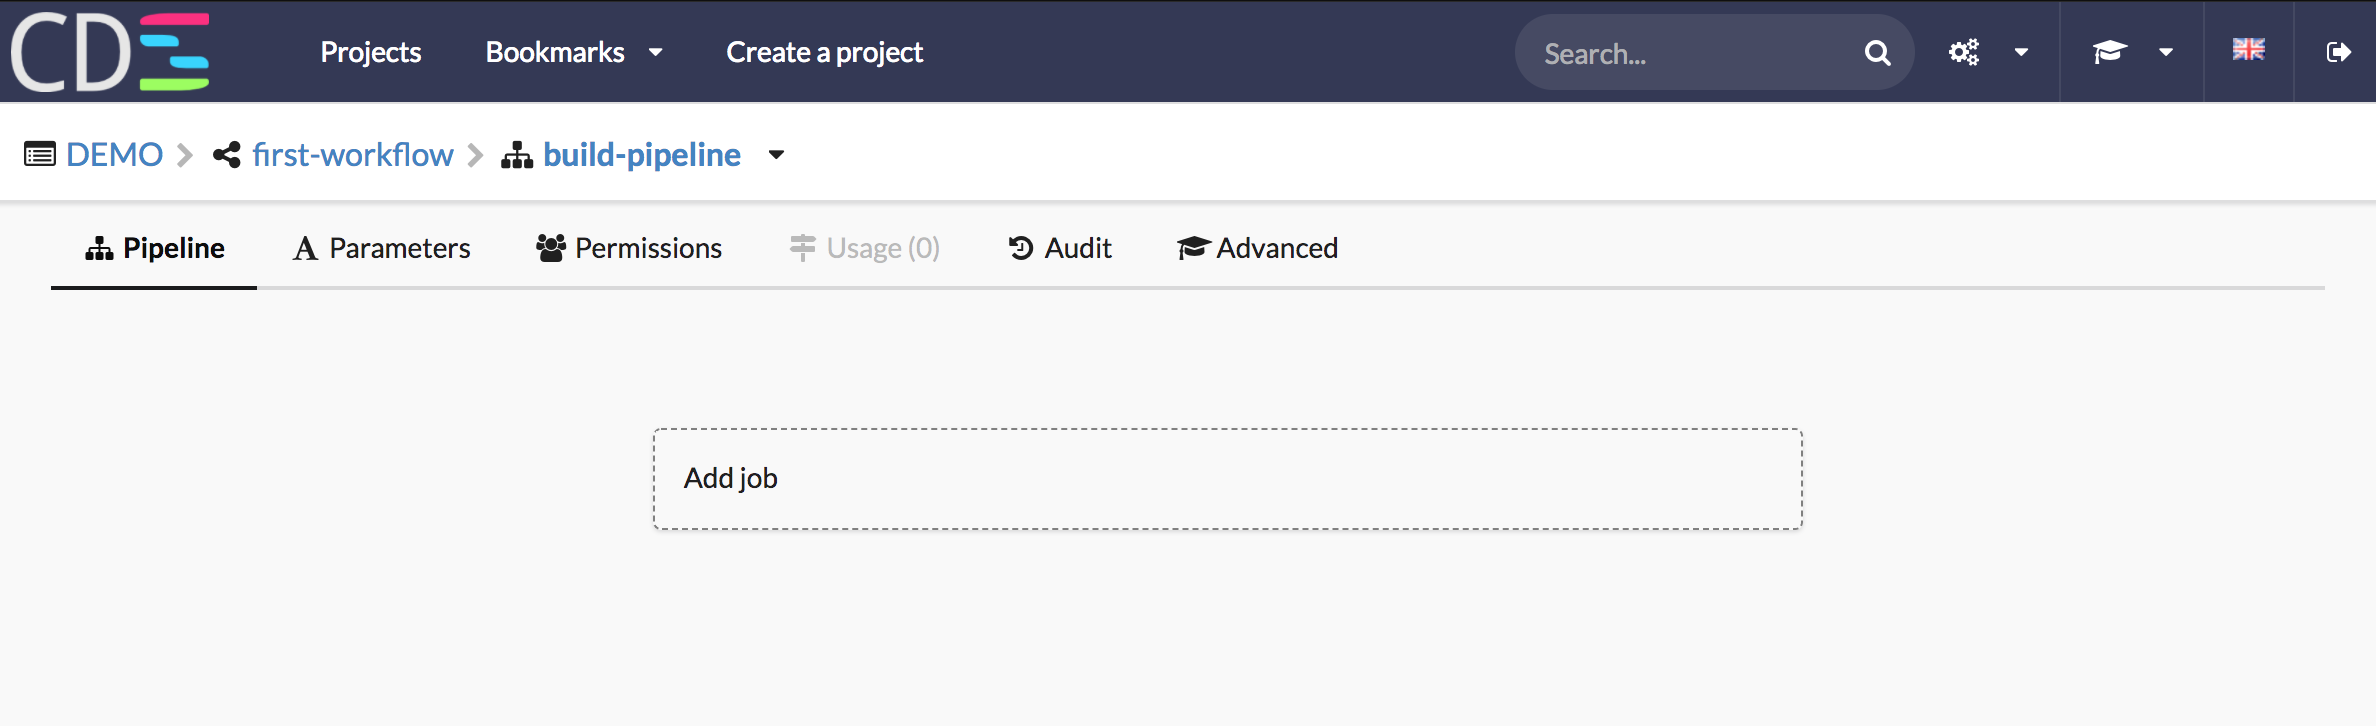
The workflow is initialized with an empty pipeline named ‘build-pipeline’. You have now to create your first job.
- In your workflow, select the pipeline ‘build-pipeline’, then click on ‘Edit the pipeline’.
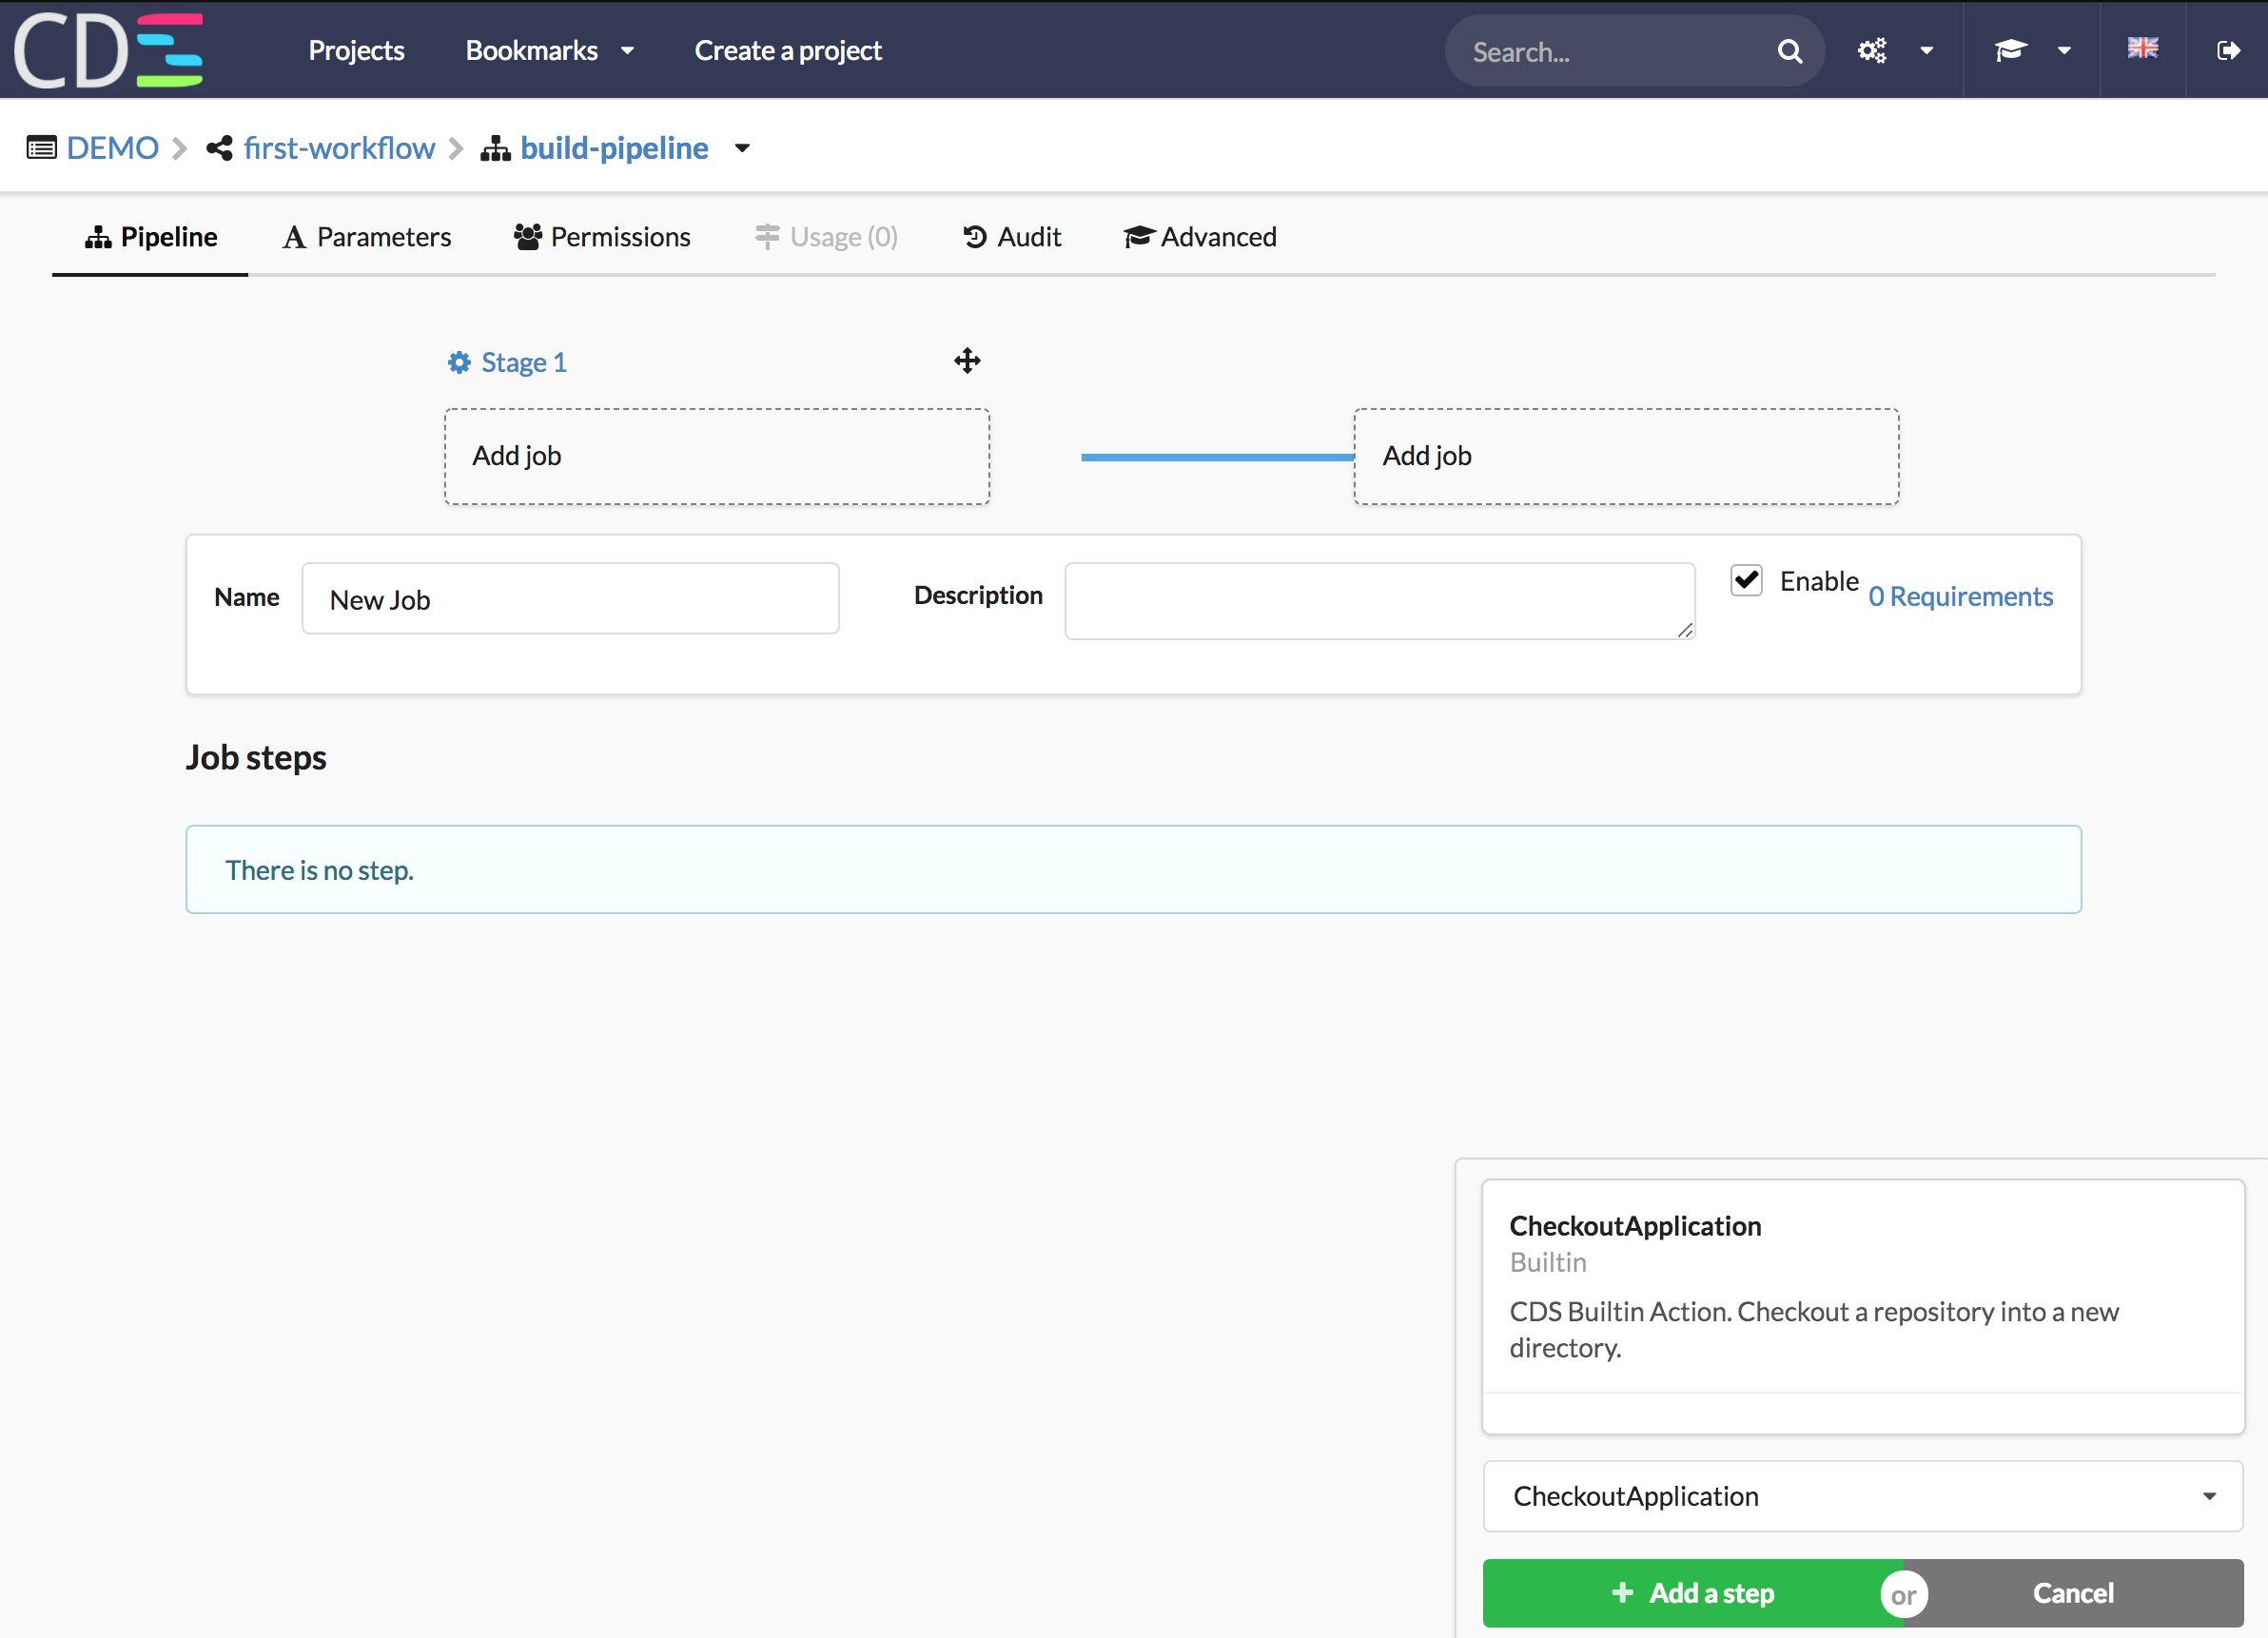
- Click on ‘Add job’
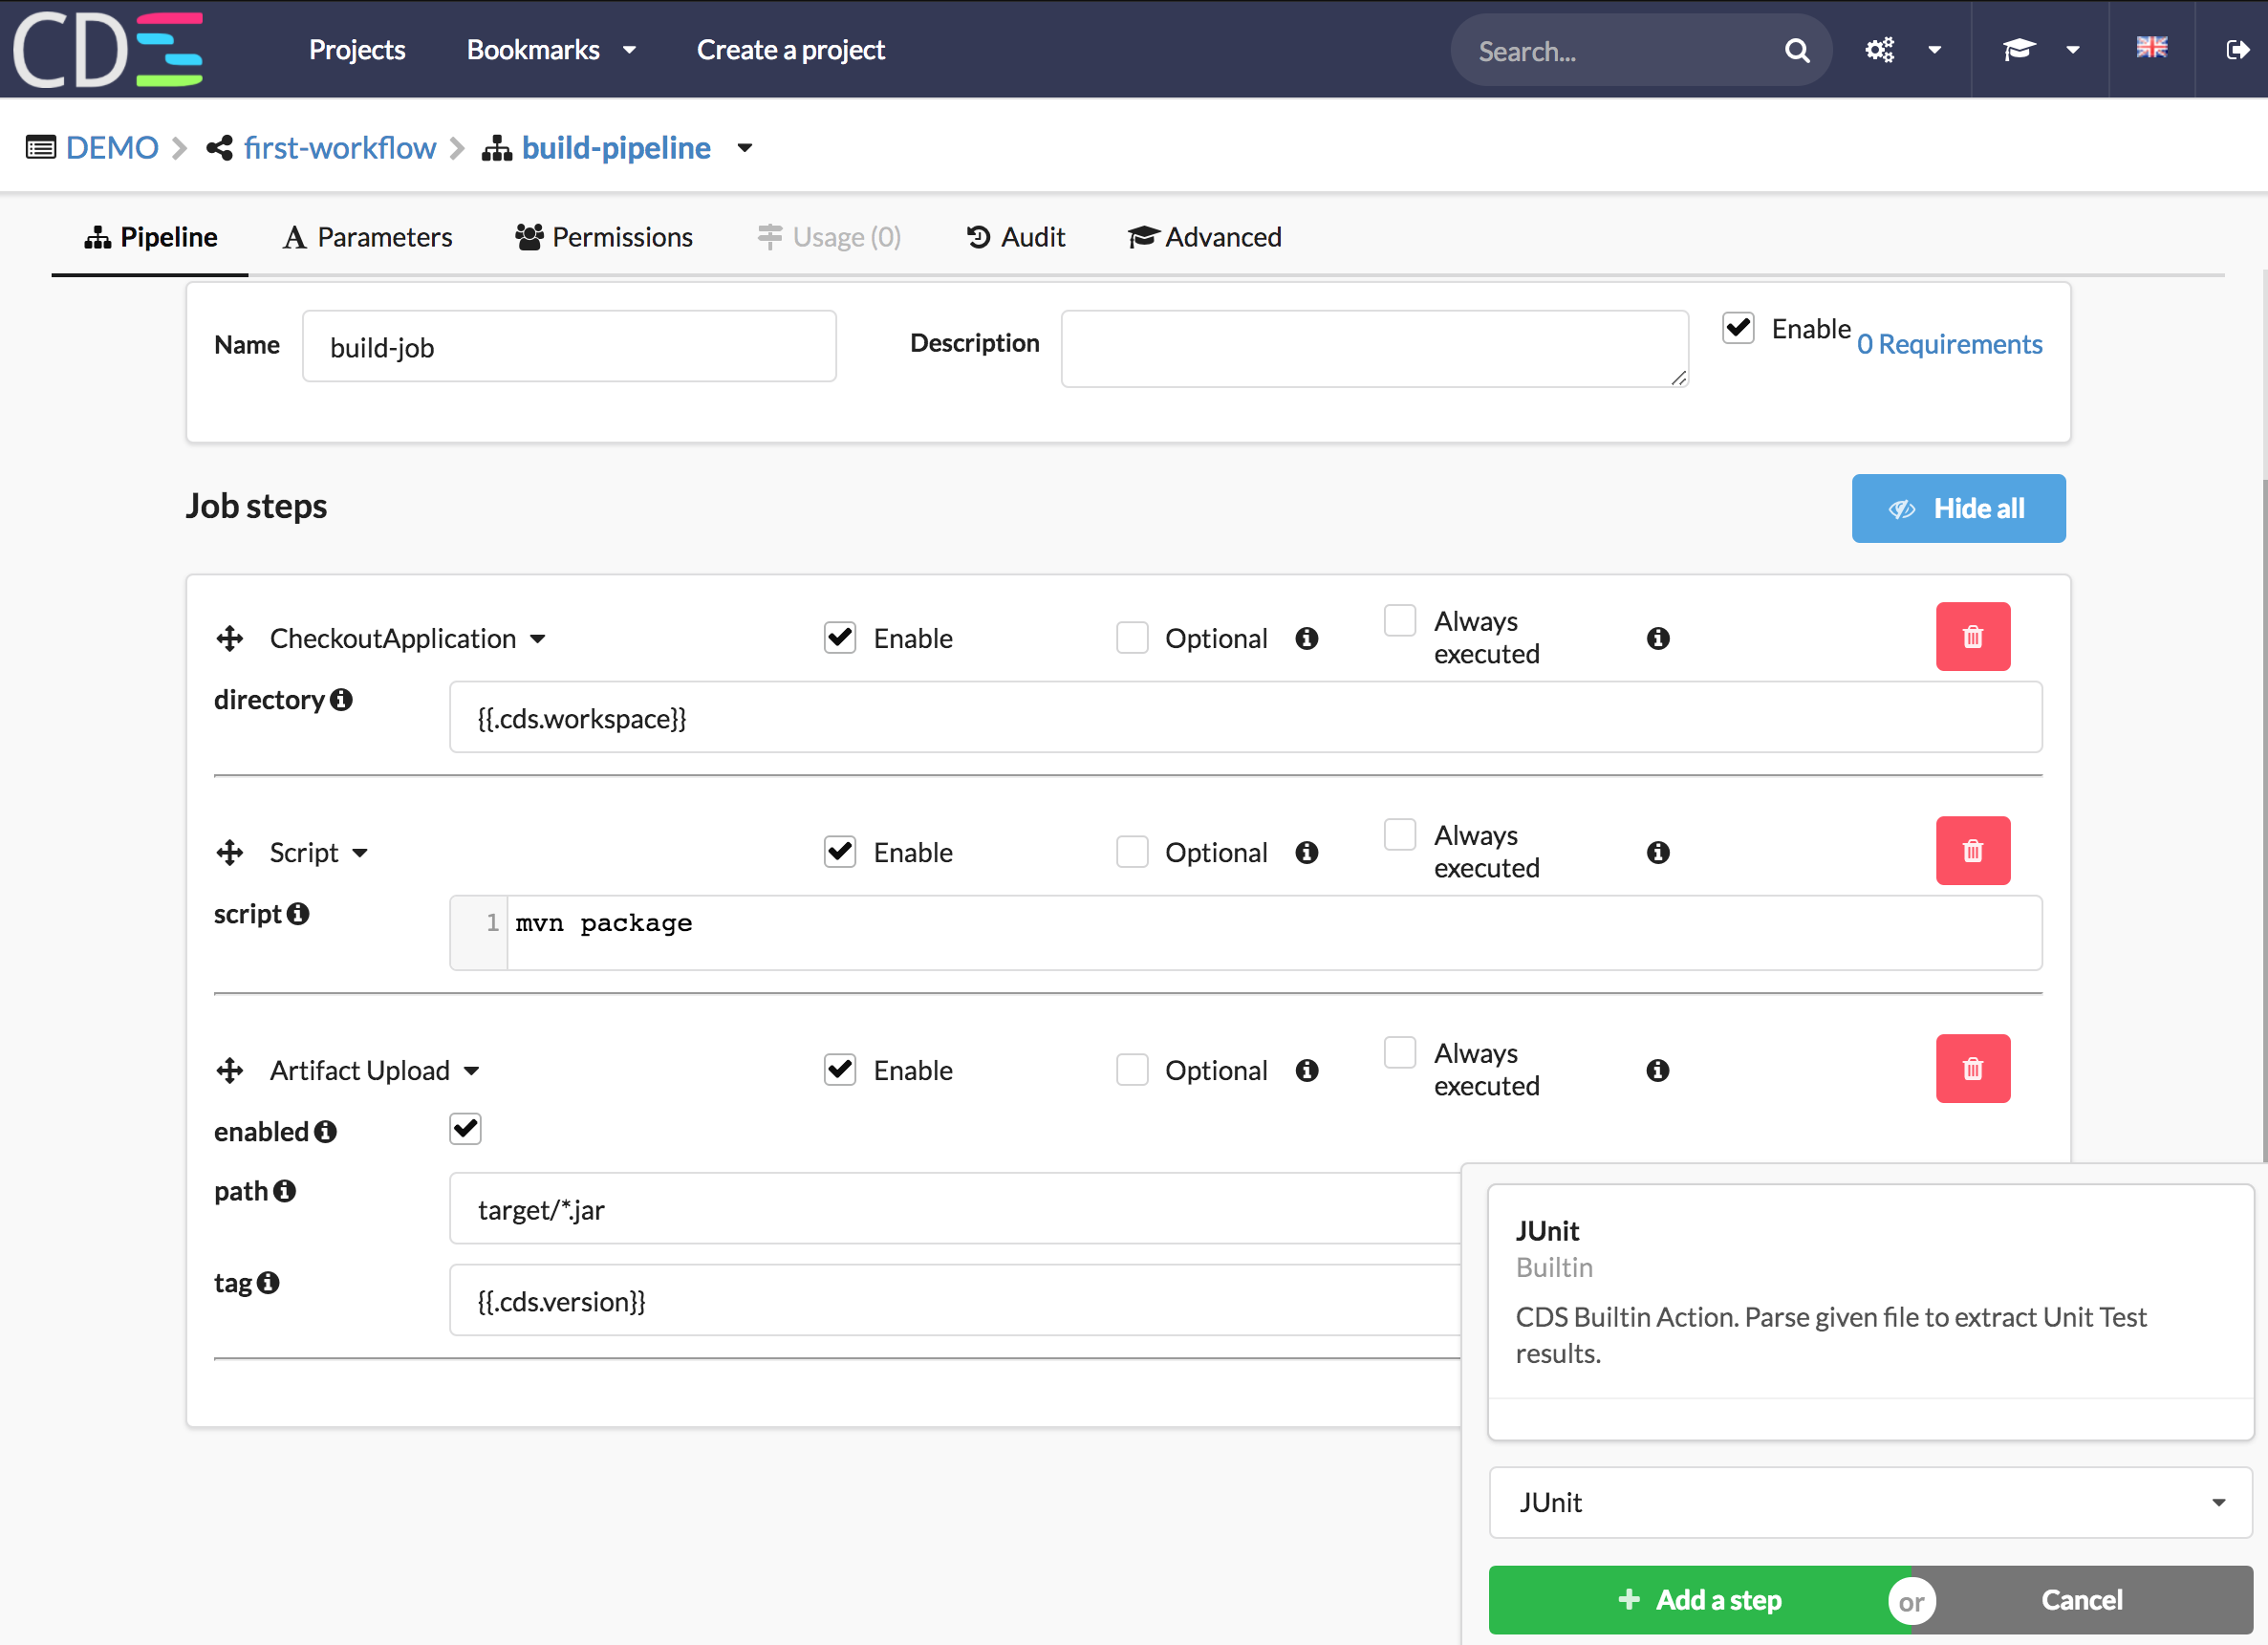
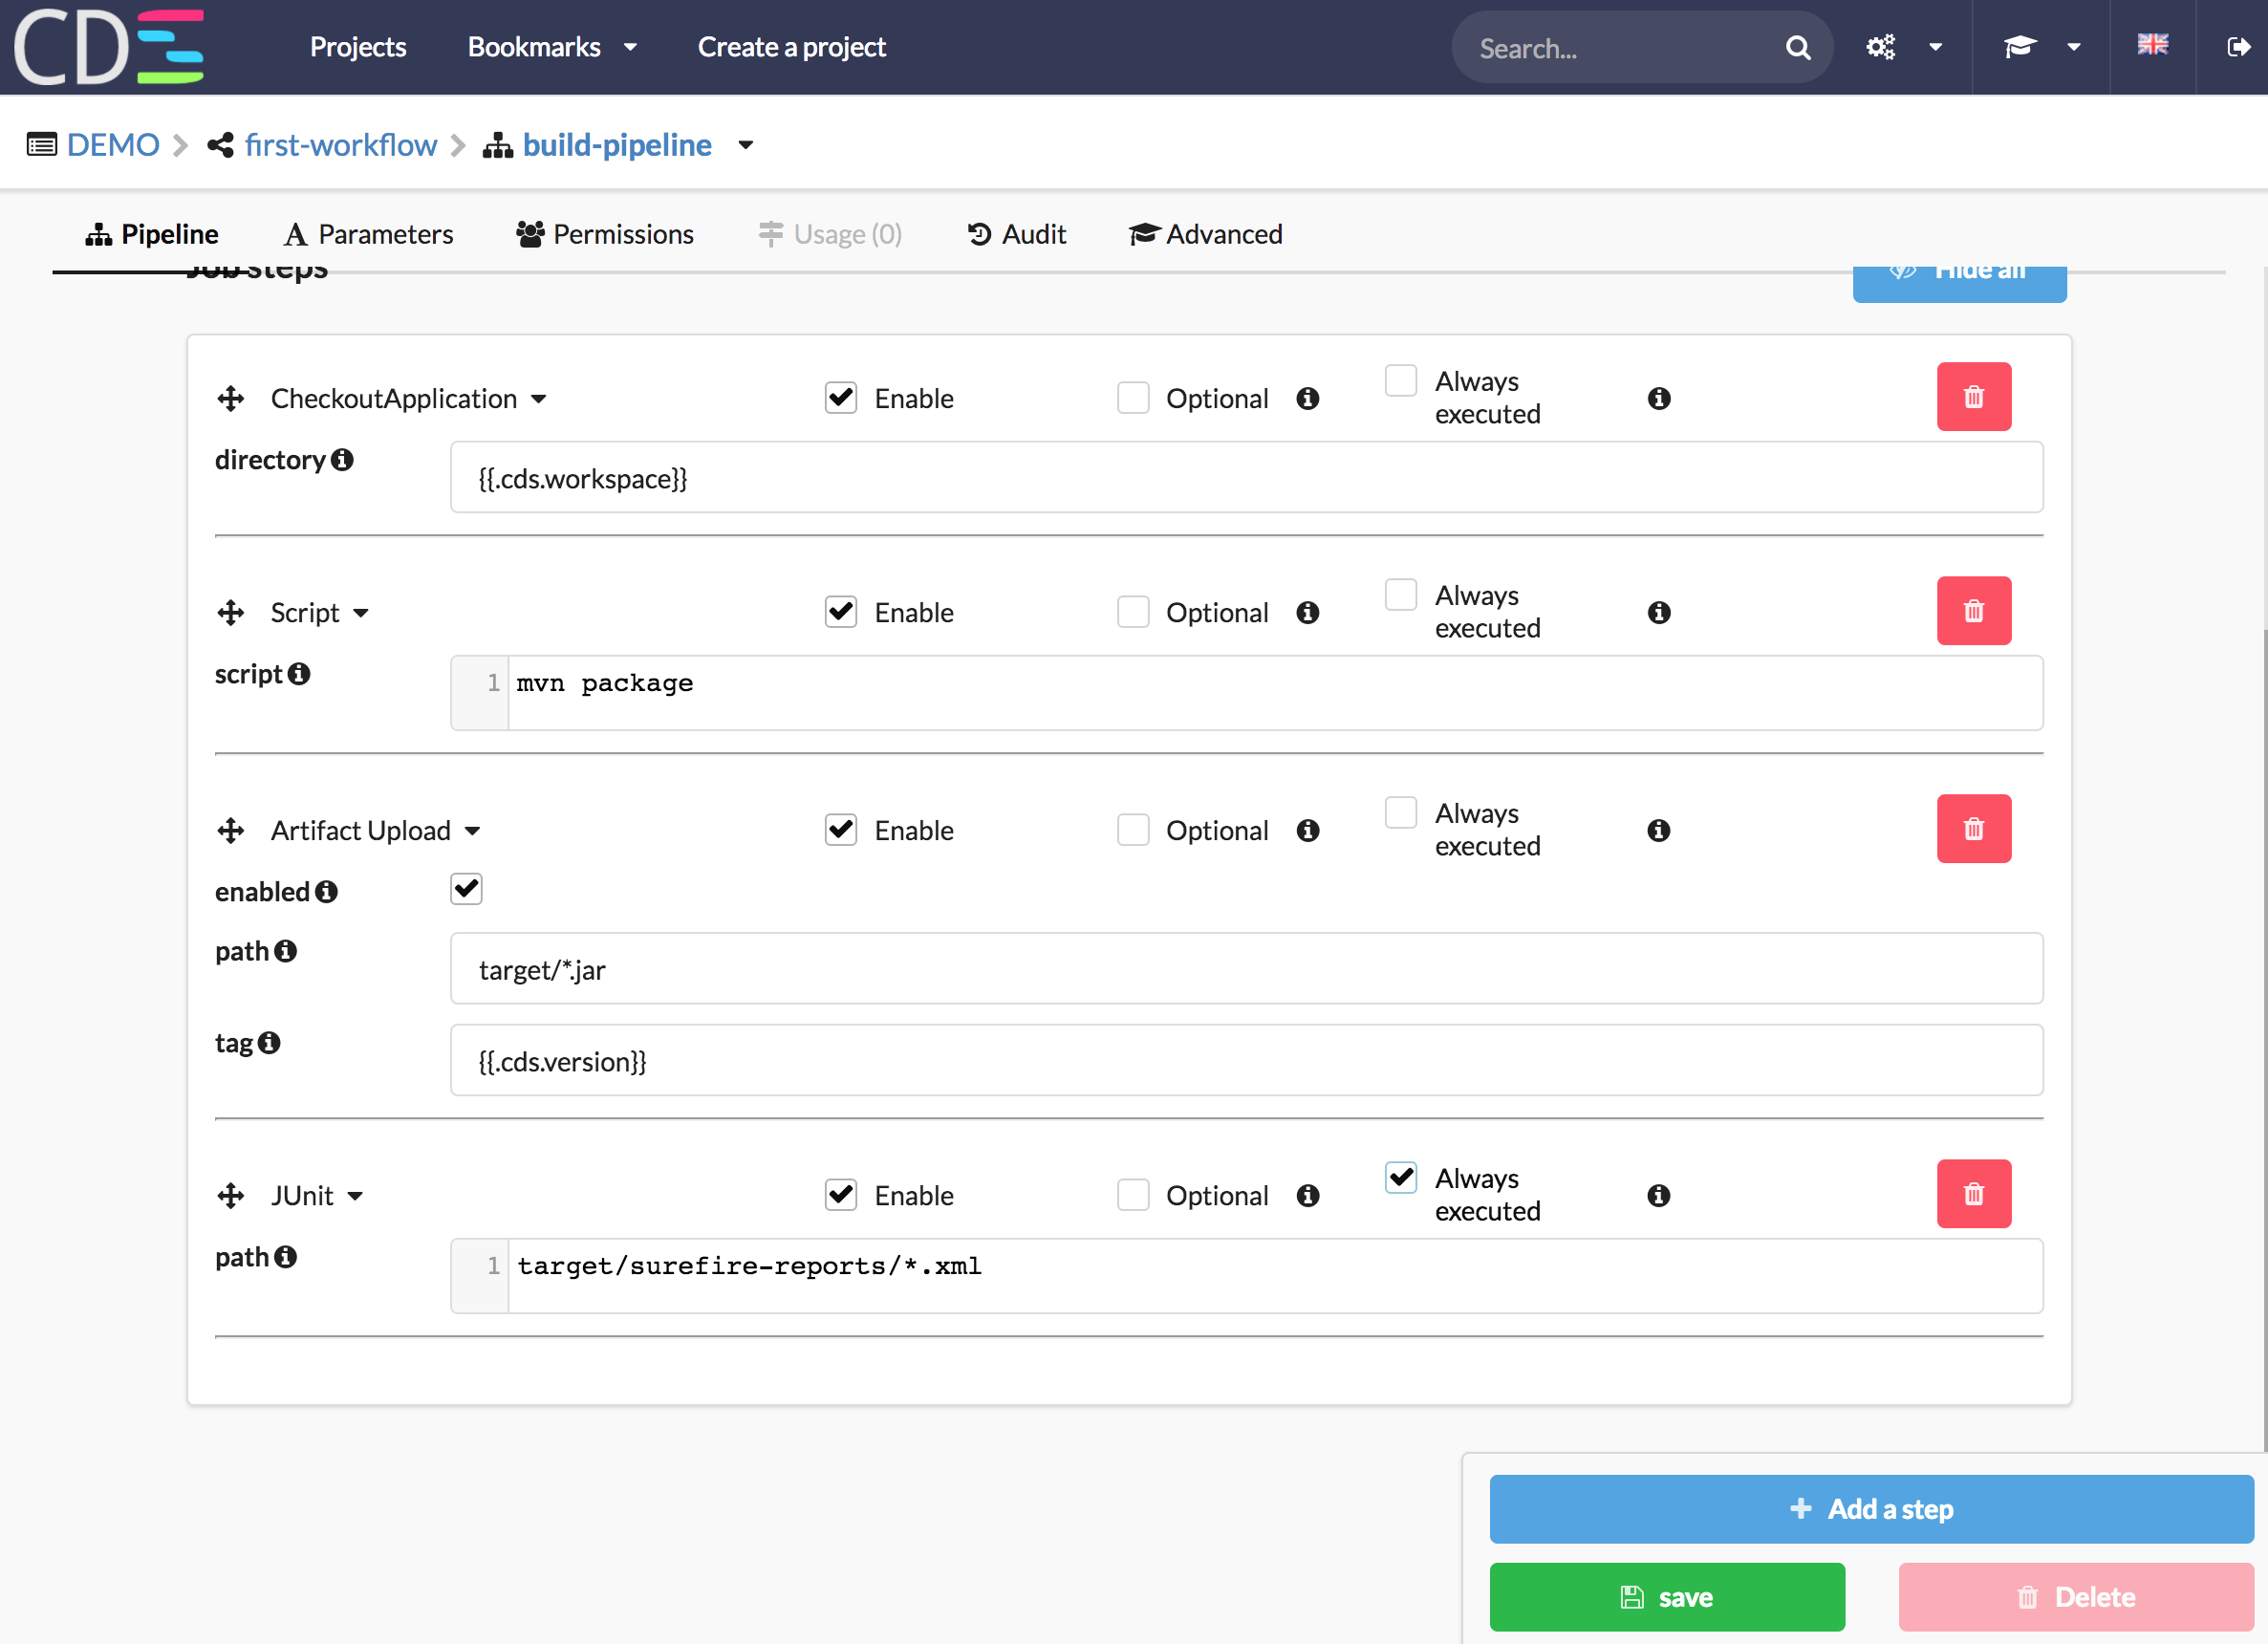
- Add the first step ‘CheckoutApplication’
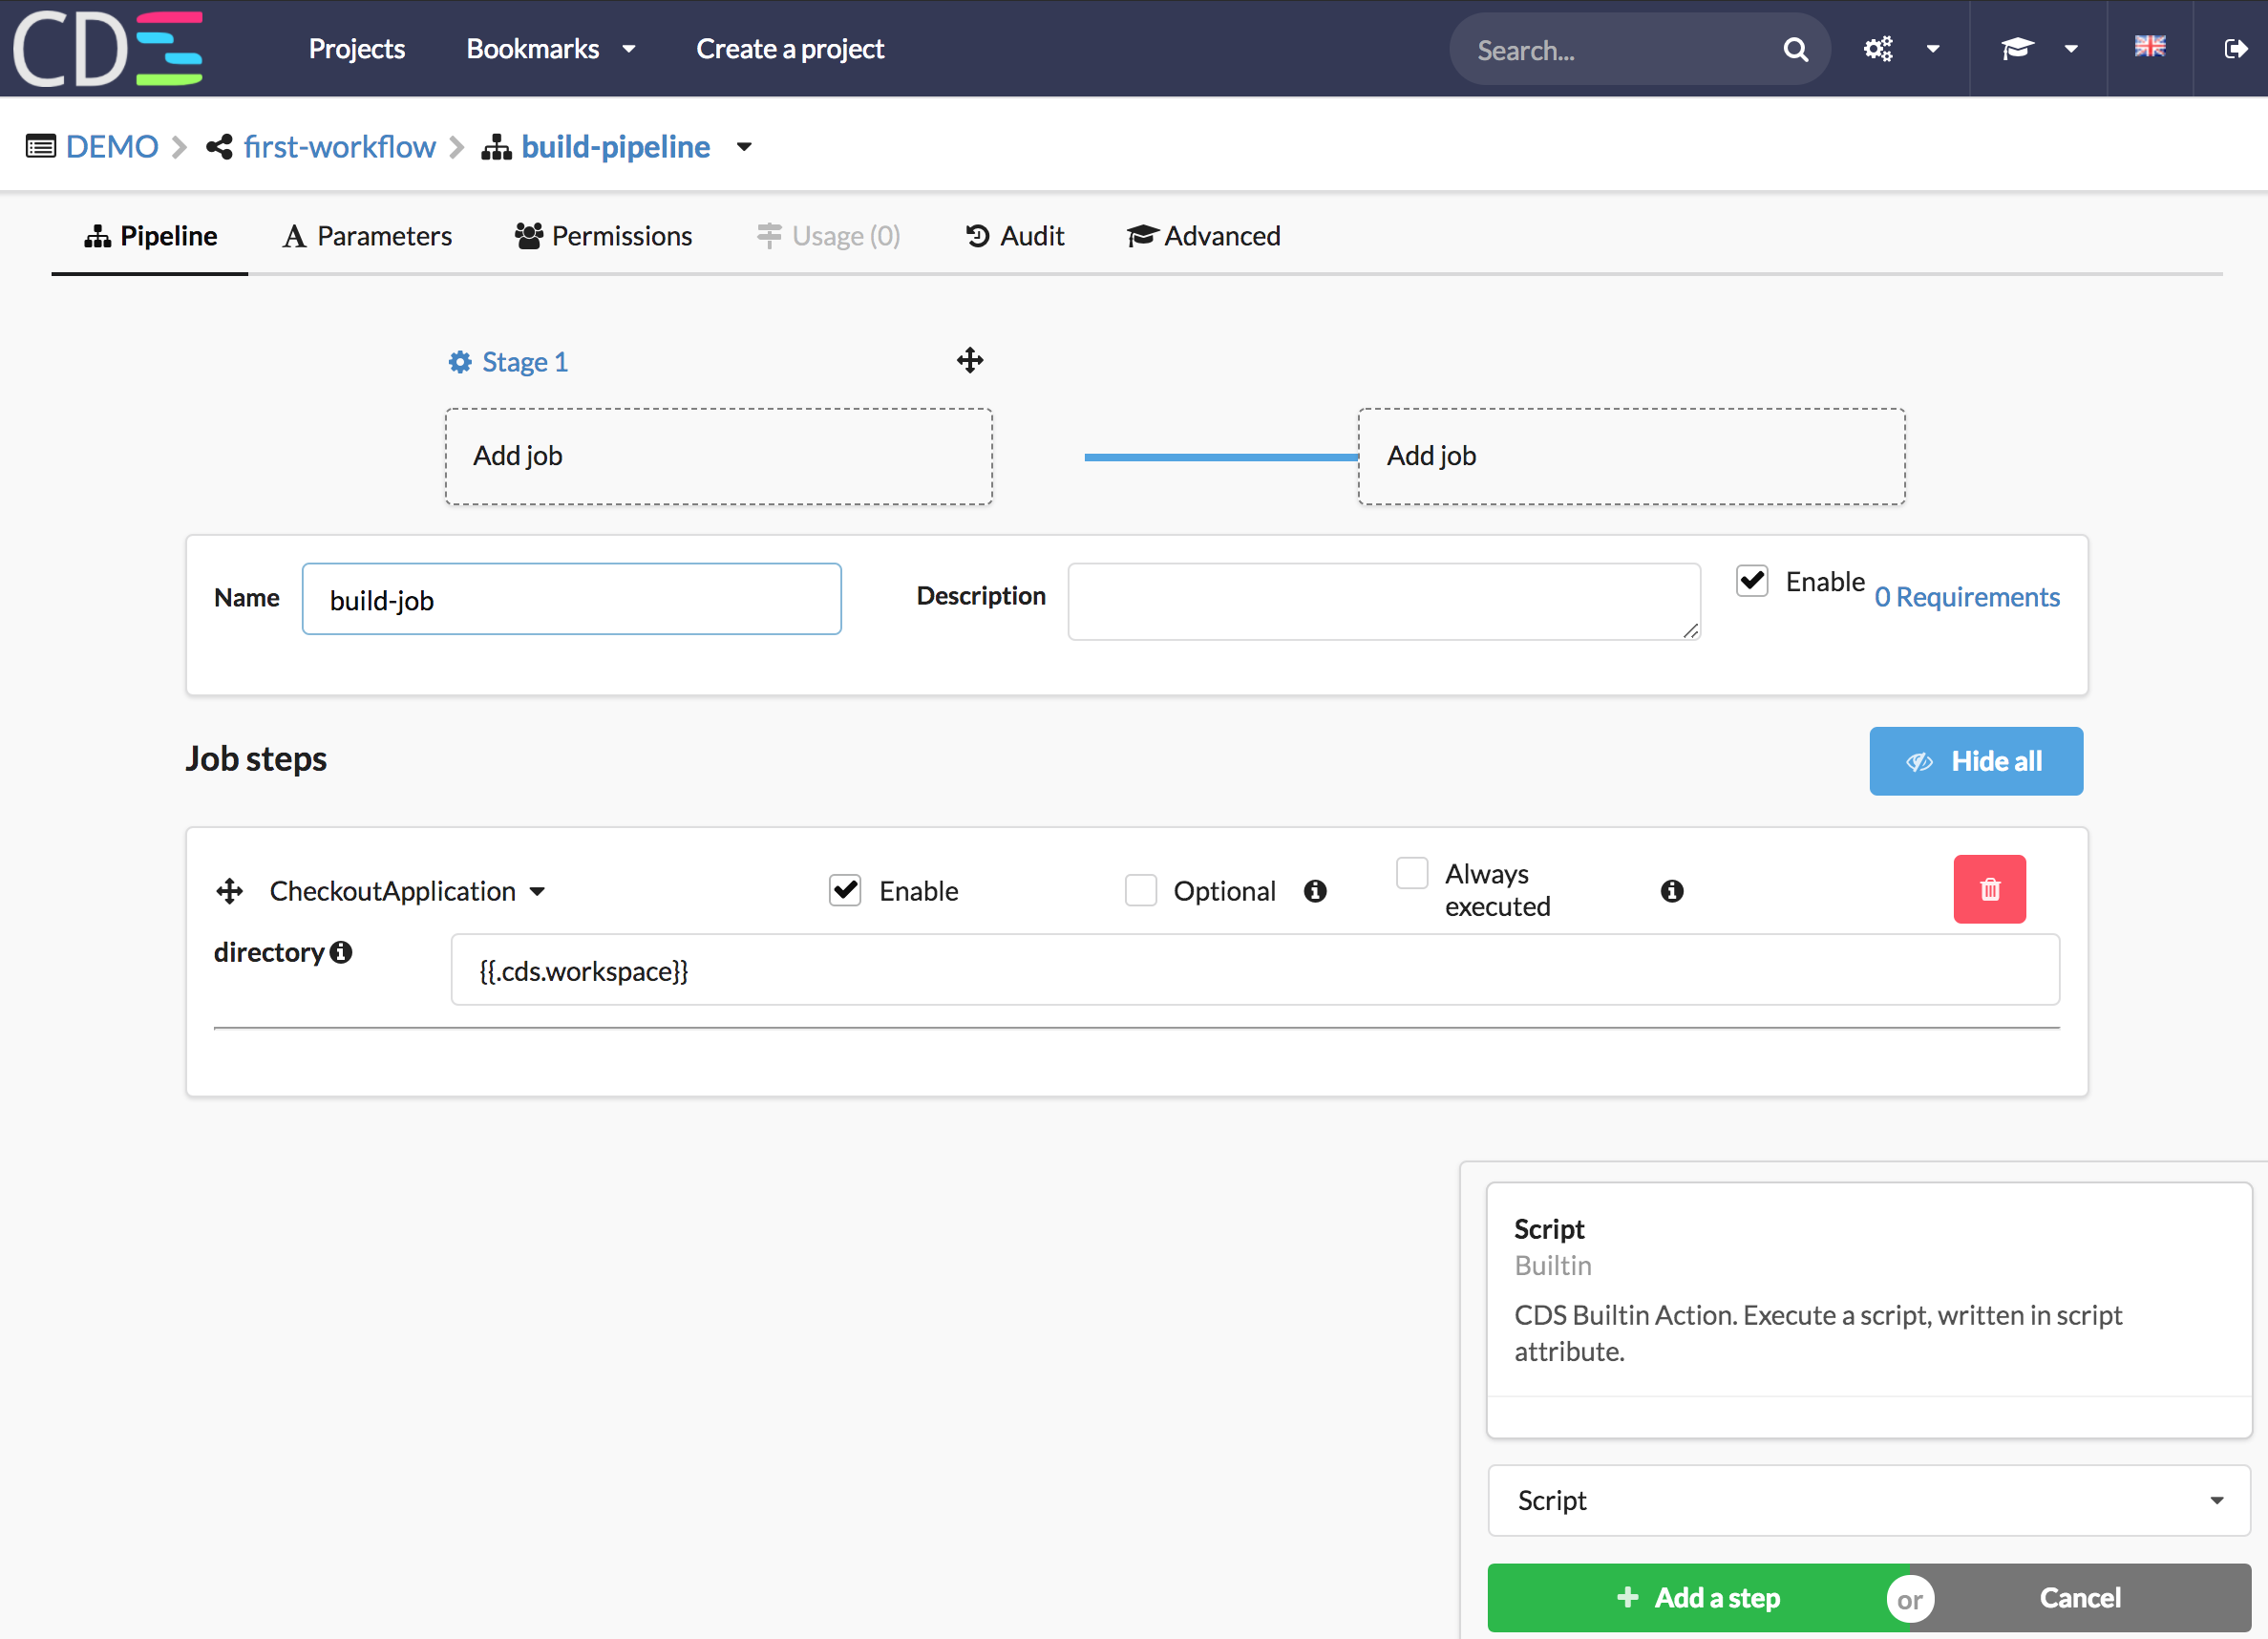
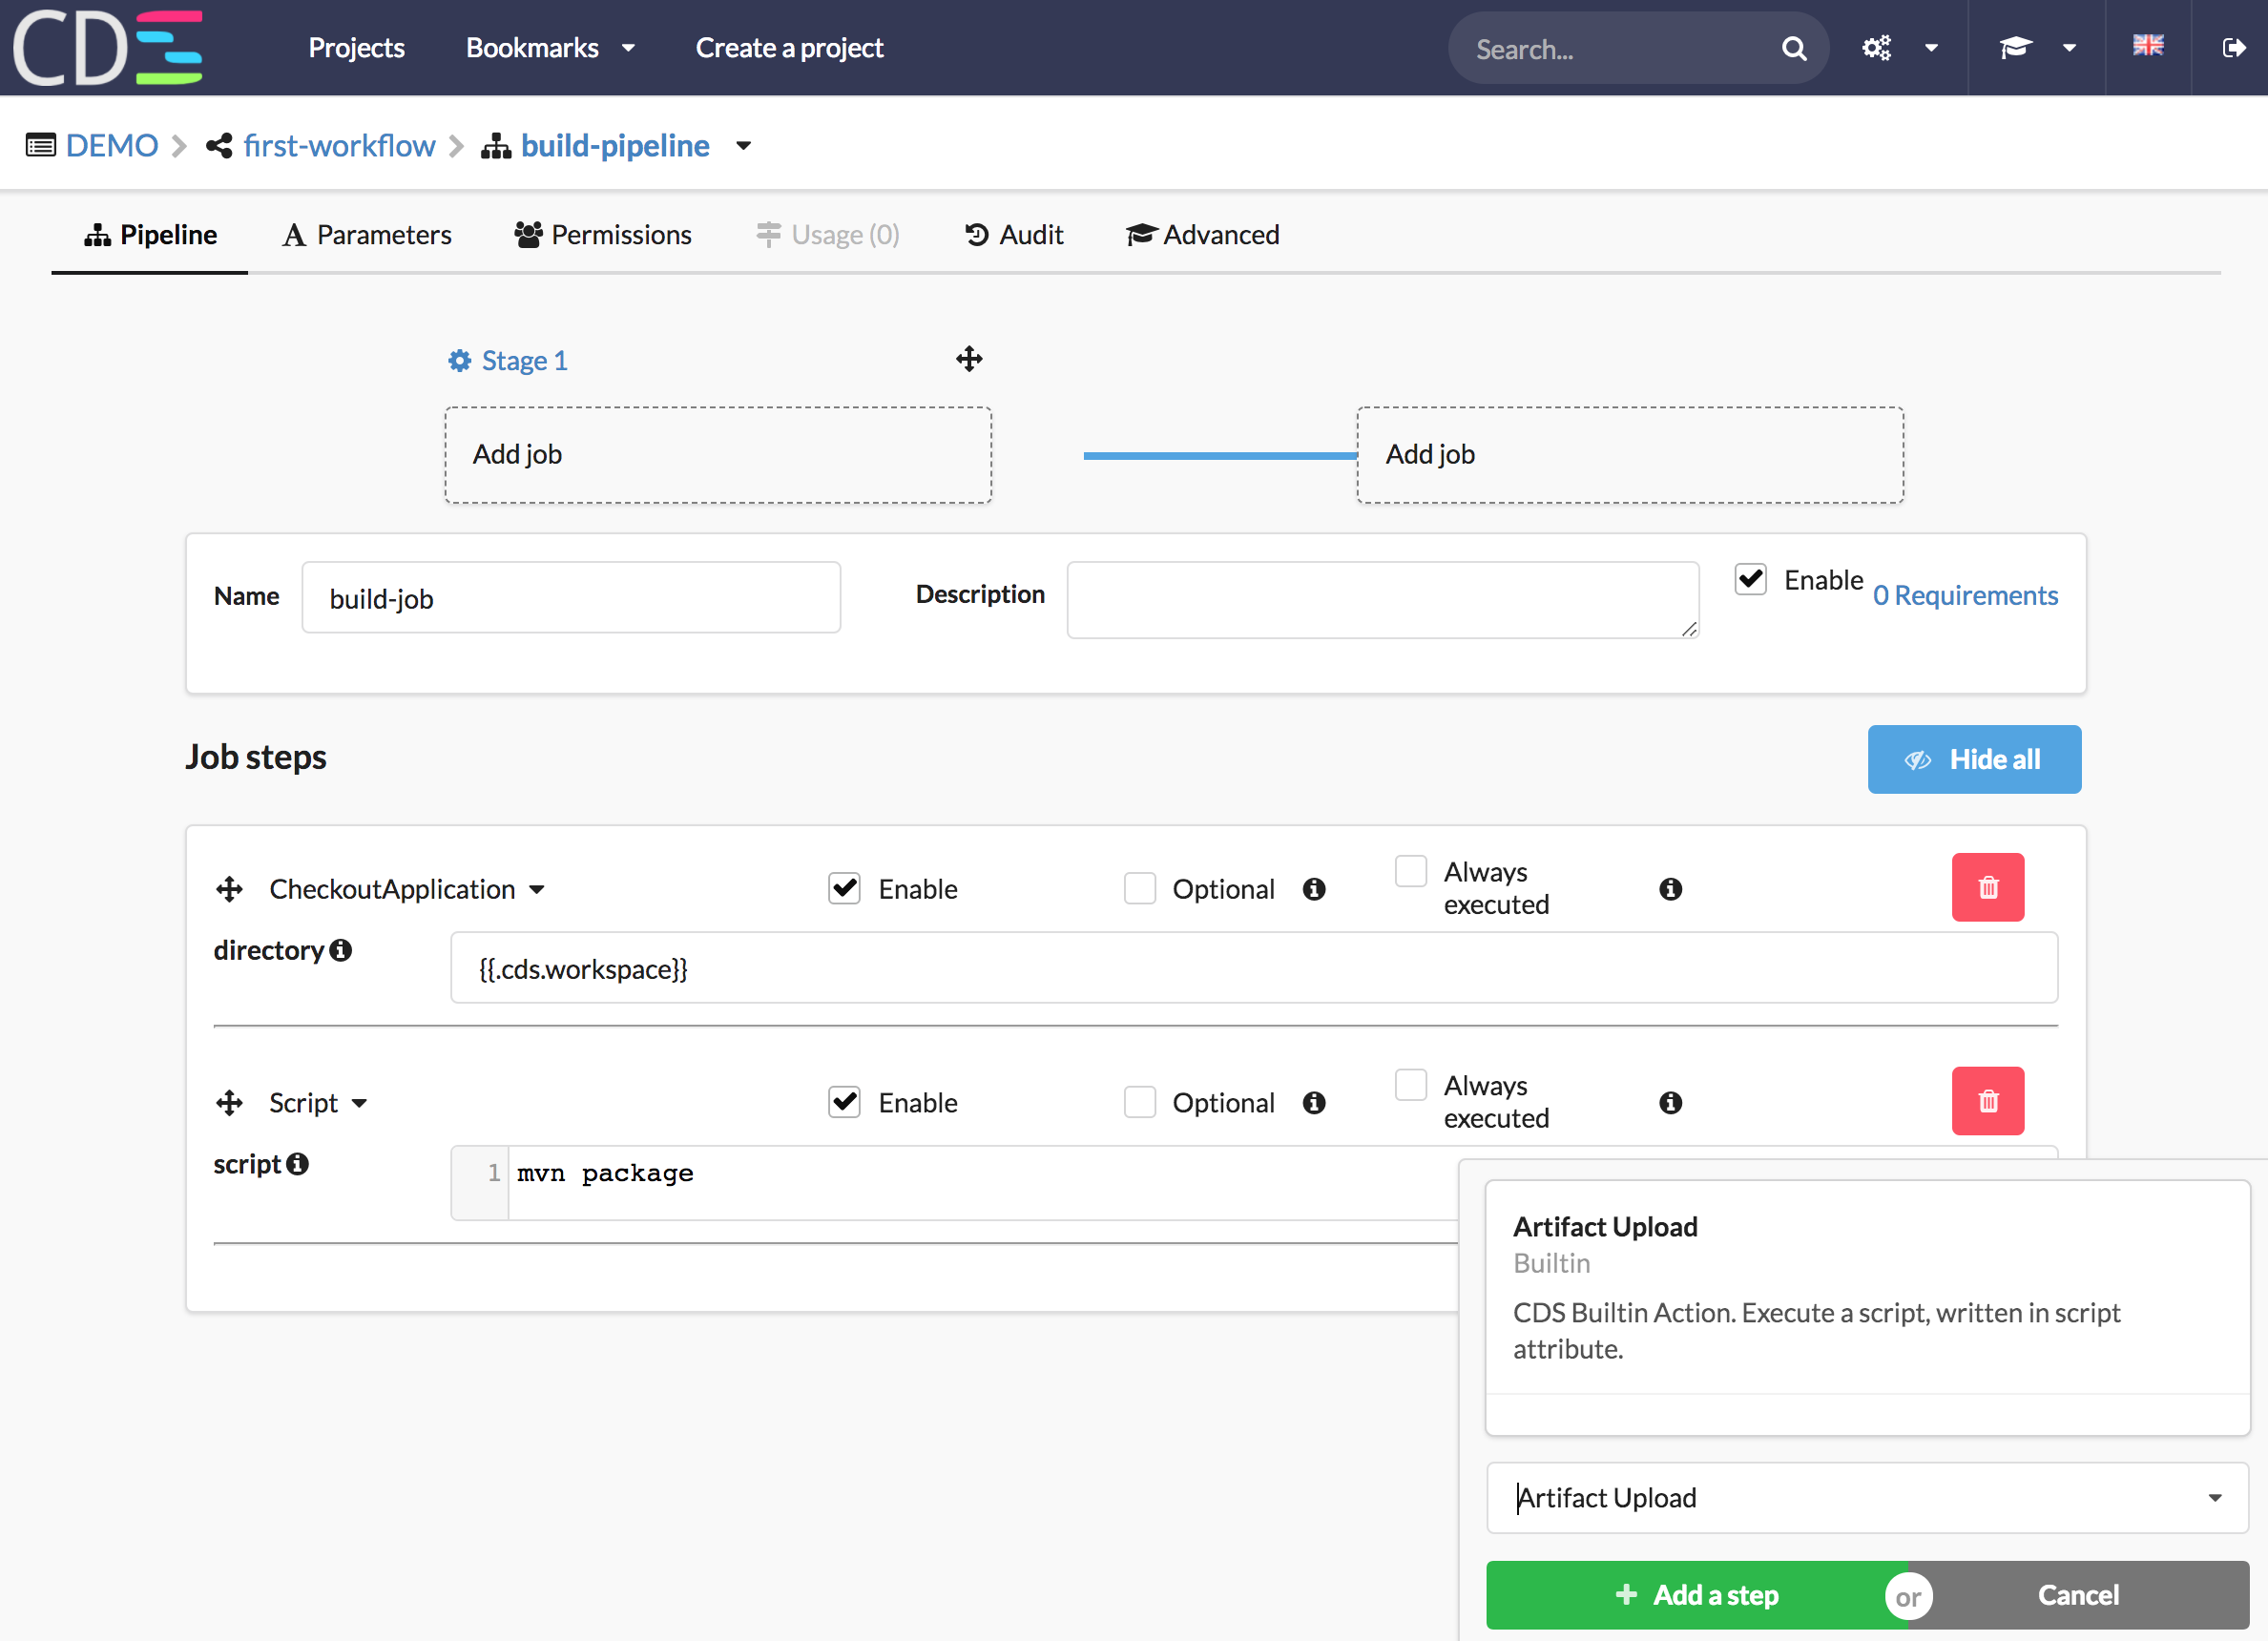
- Add a second step ‘Script’. The content of the script is `mvn package``
- The third step is ‘Artifact Upload’, to upload your built binary
- And the last step is ‘JUnit’. This step is ‘always executed’ and let you to see test results on UI.
- Last thing about the ‘build-pipeline’: as you use mvn, you probably want to add
mvnandjava. Click on Requirements link then add binaries prerequisites.

7 - Add a Hook on your workflow
In this example, we create a Workflow to build & deploy an application. This is a standard Continuous Integration & Continuous Delivery Workflow.
So, we have to trigger this workflow on each commit, on every git branches. This will be useful to compile code from all developers and deploy master branch if the build is Ok.
The application is linked to a GitHub Git Repository, we have two choices to trigger automatically the workflow:
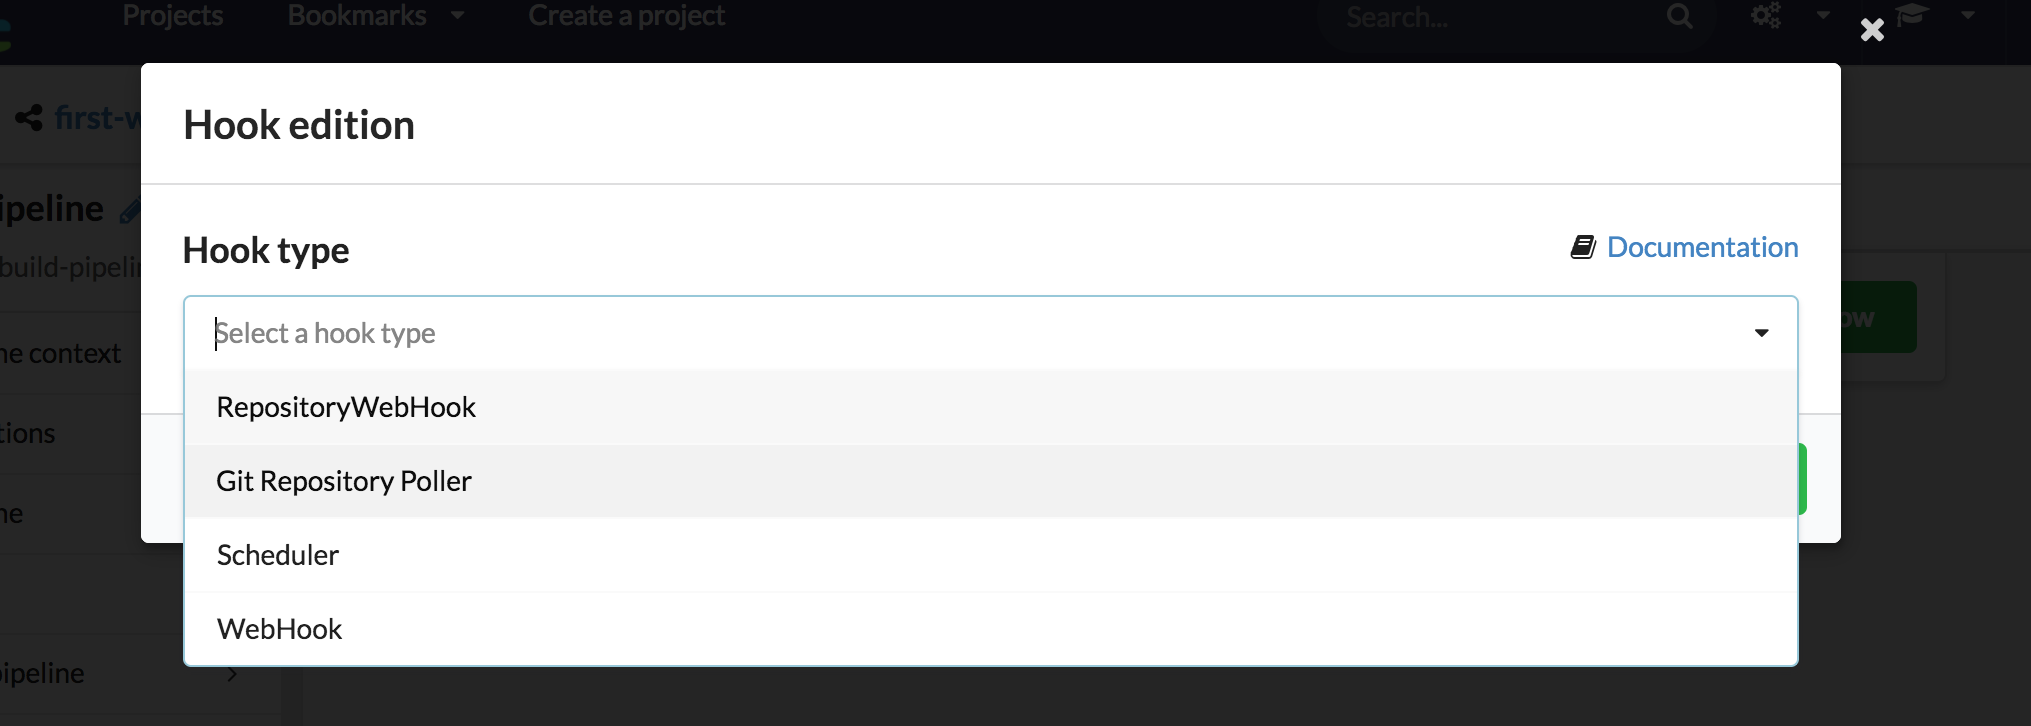
- add a Git Repository Webhook
- or add a Git Repository Poller.
The difference between both is simple: a Git Repository Webhook does not work if your CDS Instance is not reachable from GitHub. So, we have to add a Git Repository Poller
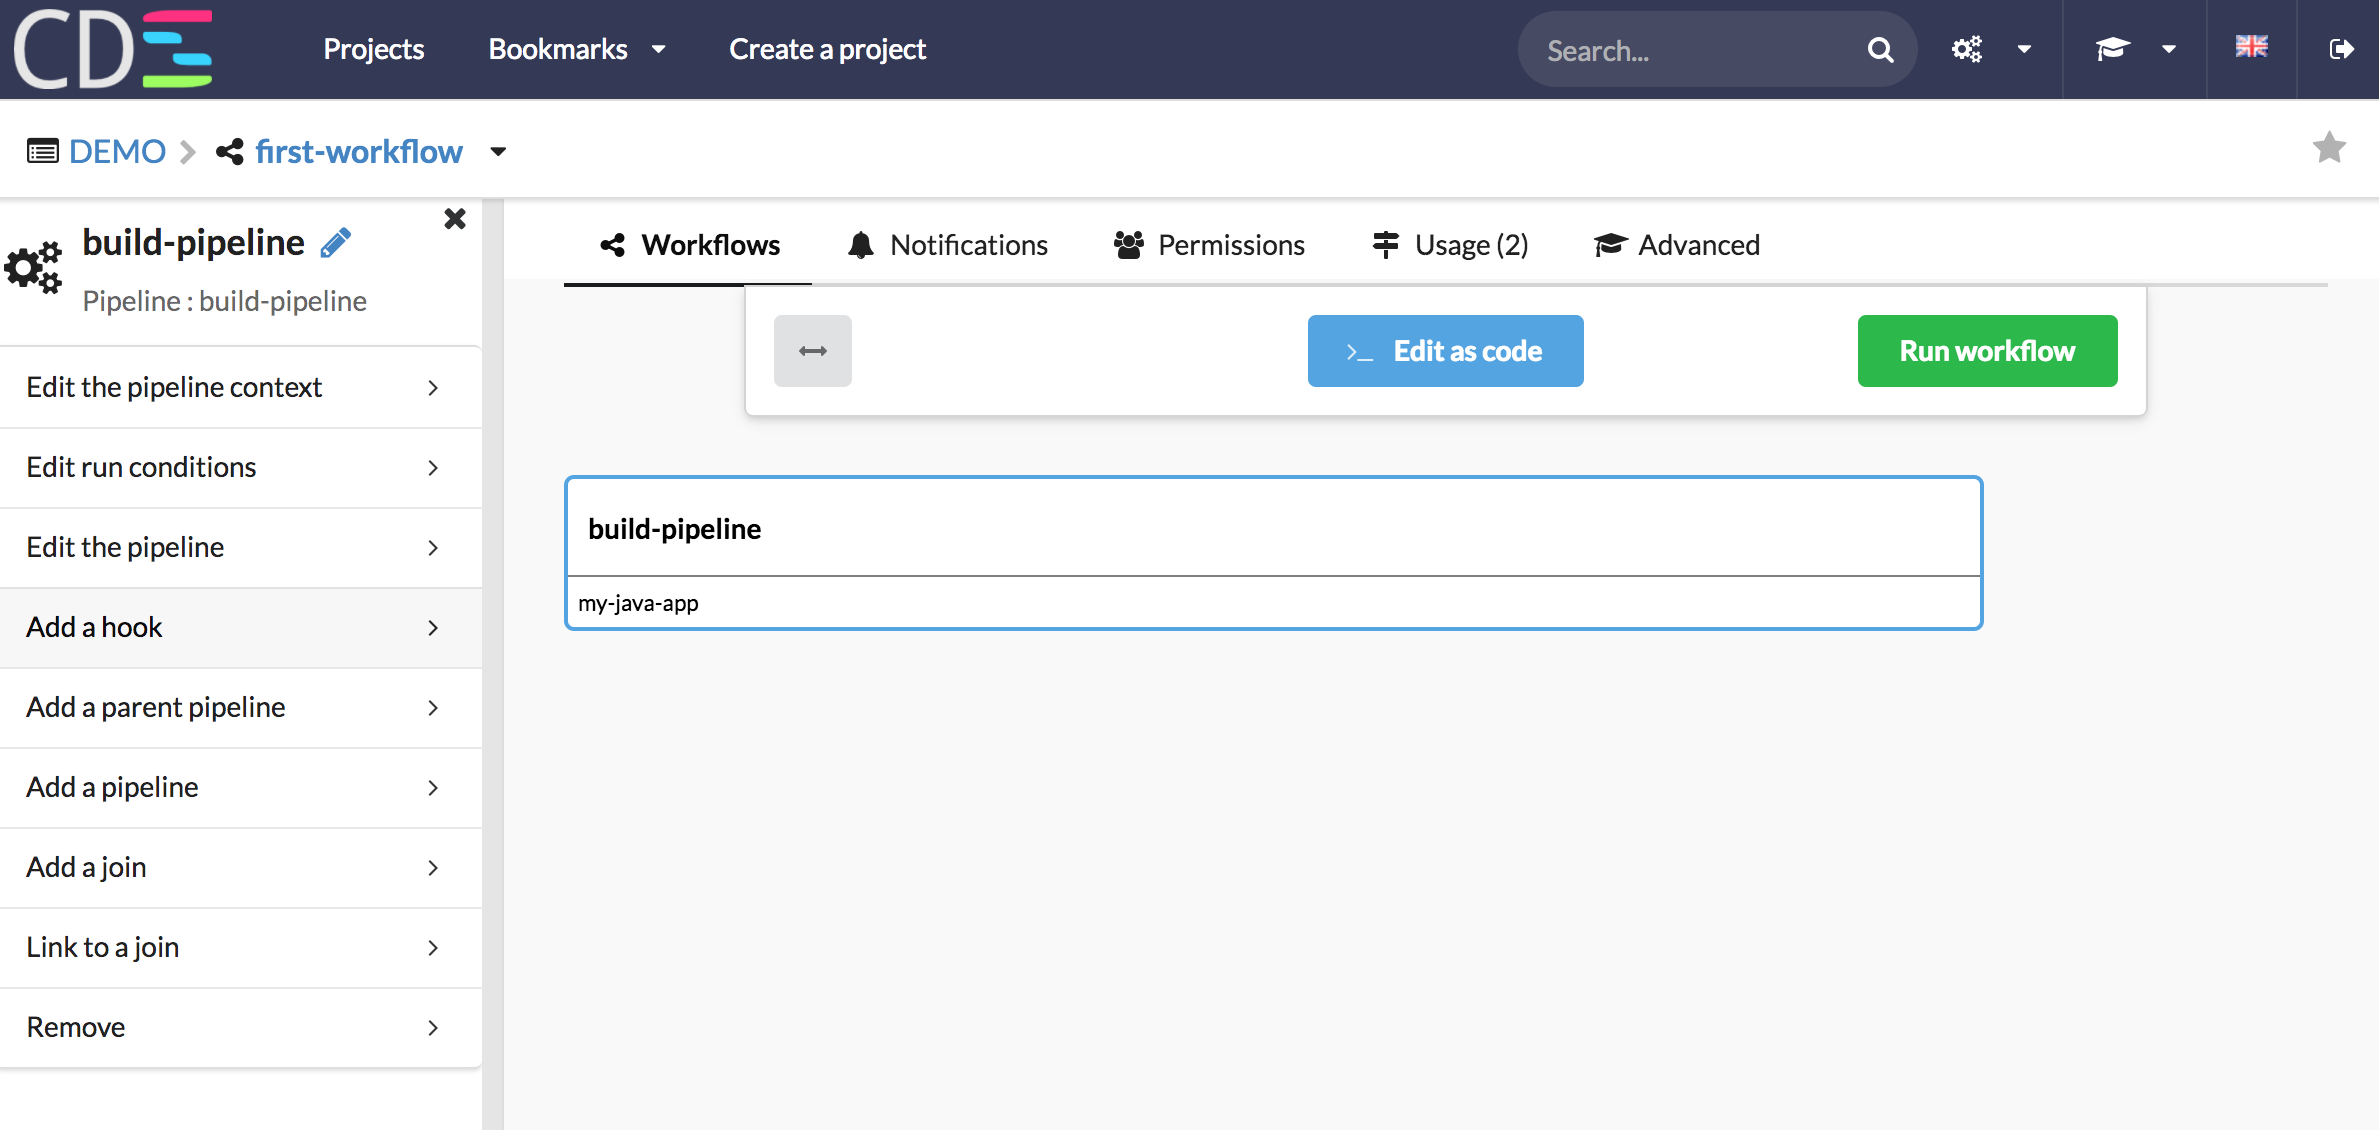
- Select the pipeline root, then click on ‘Add a hook’
- Choose a Git Repository Poller
- The poller is added and linked to your first pipeline
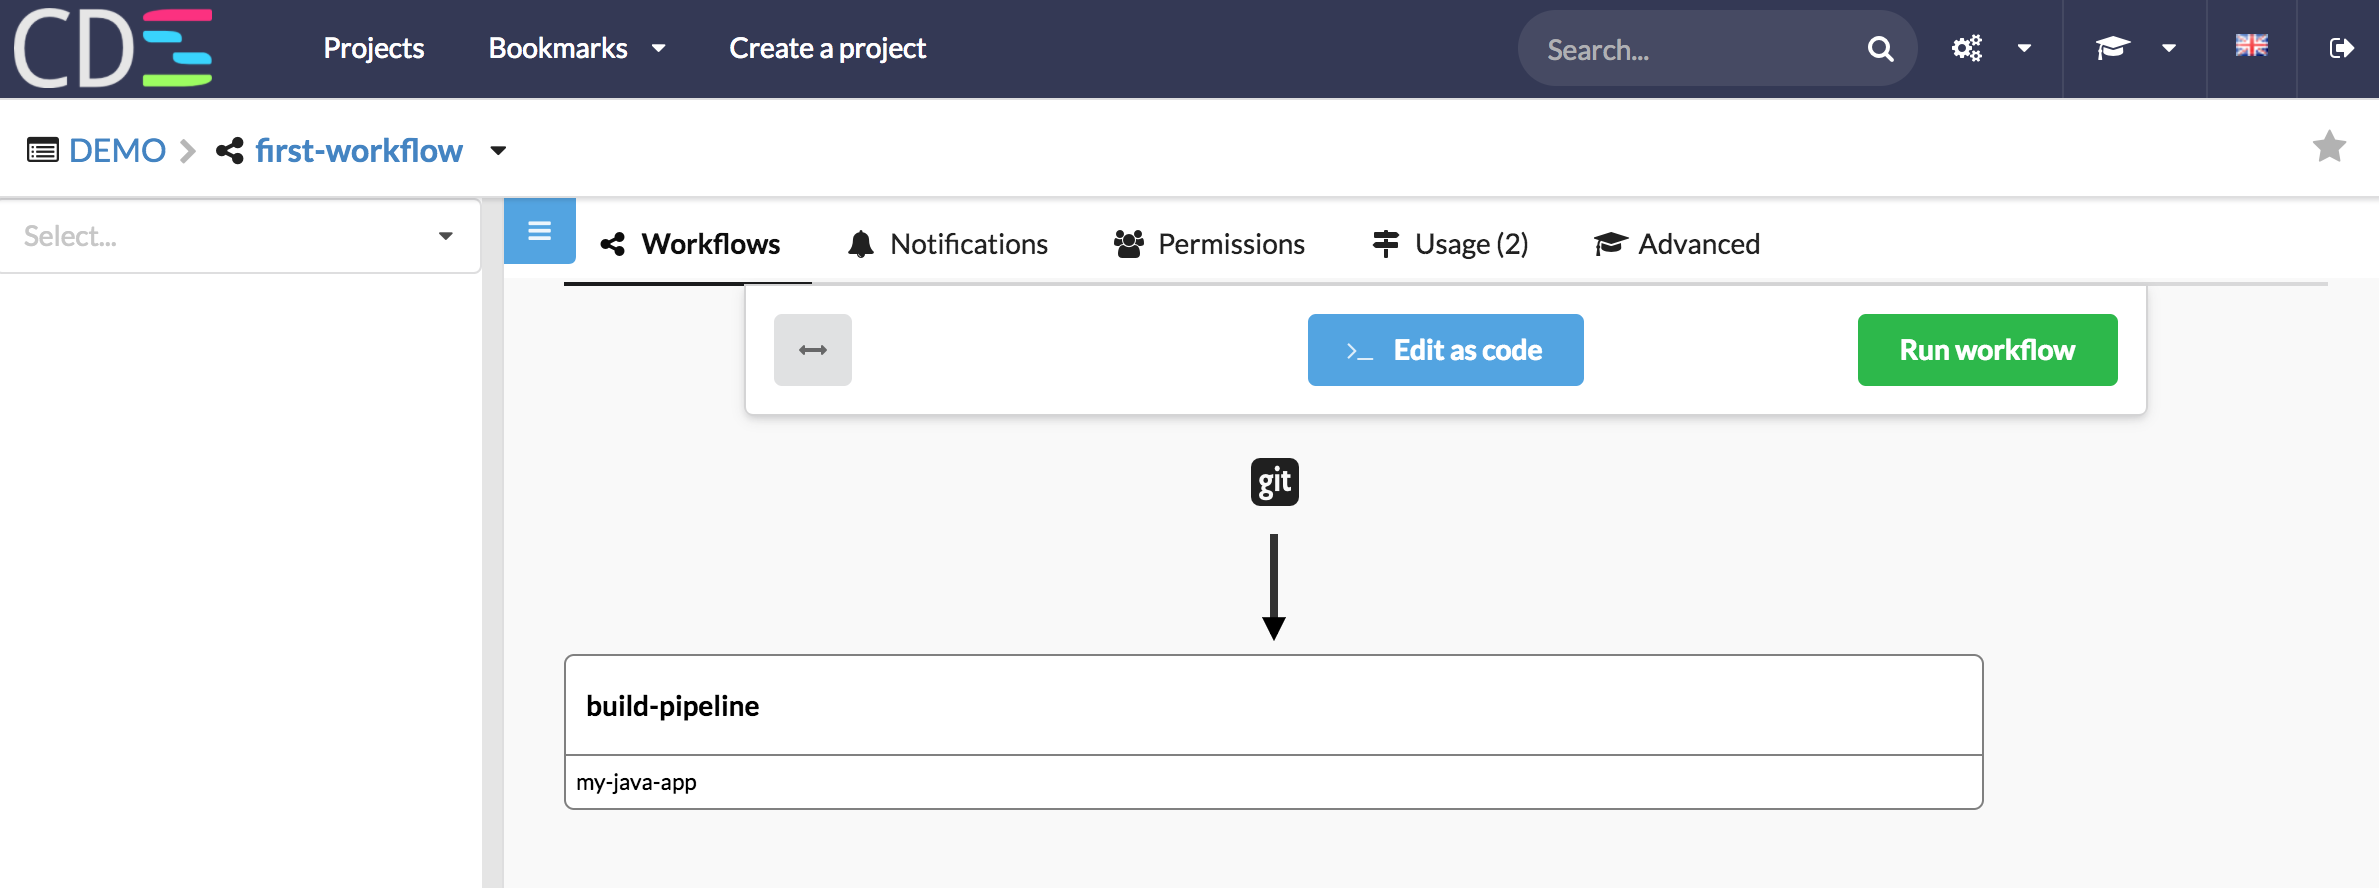
8 - Run your workflow
It’s time to launch your Workflow, click on the green button ‘Run workflow’.
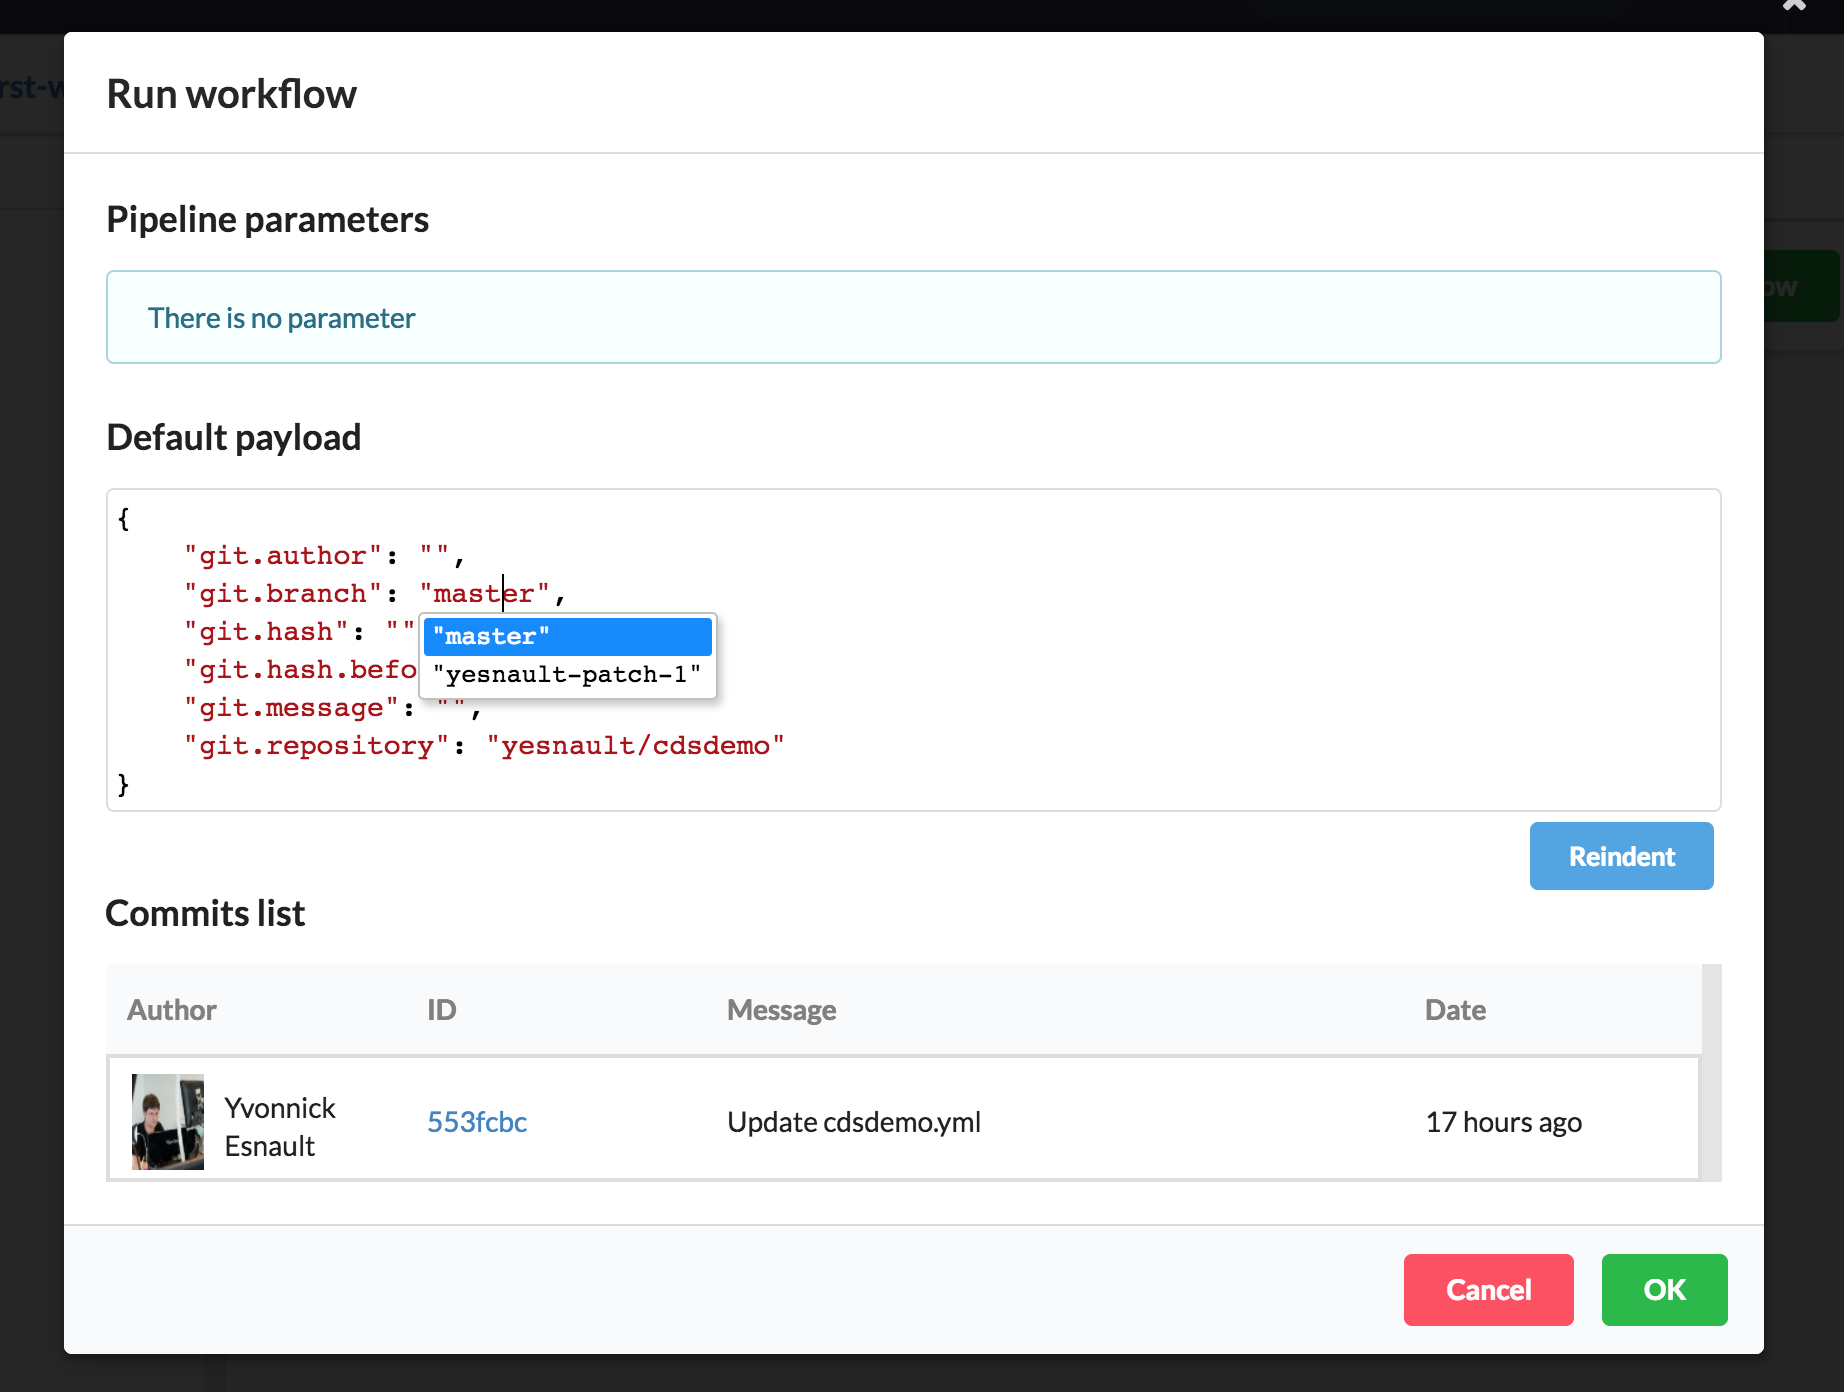
- On the popup, you can choose the git branch, then click on green button ‘OK’
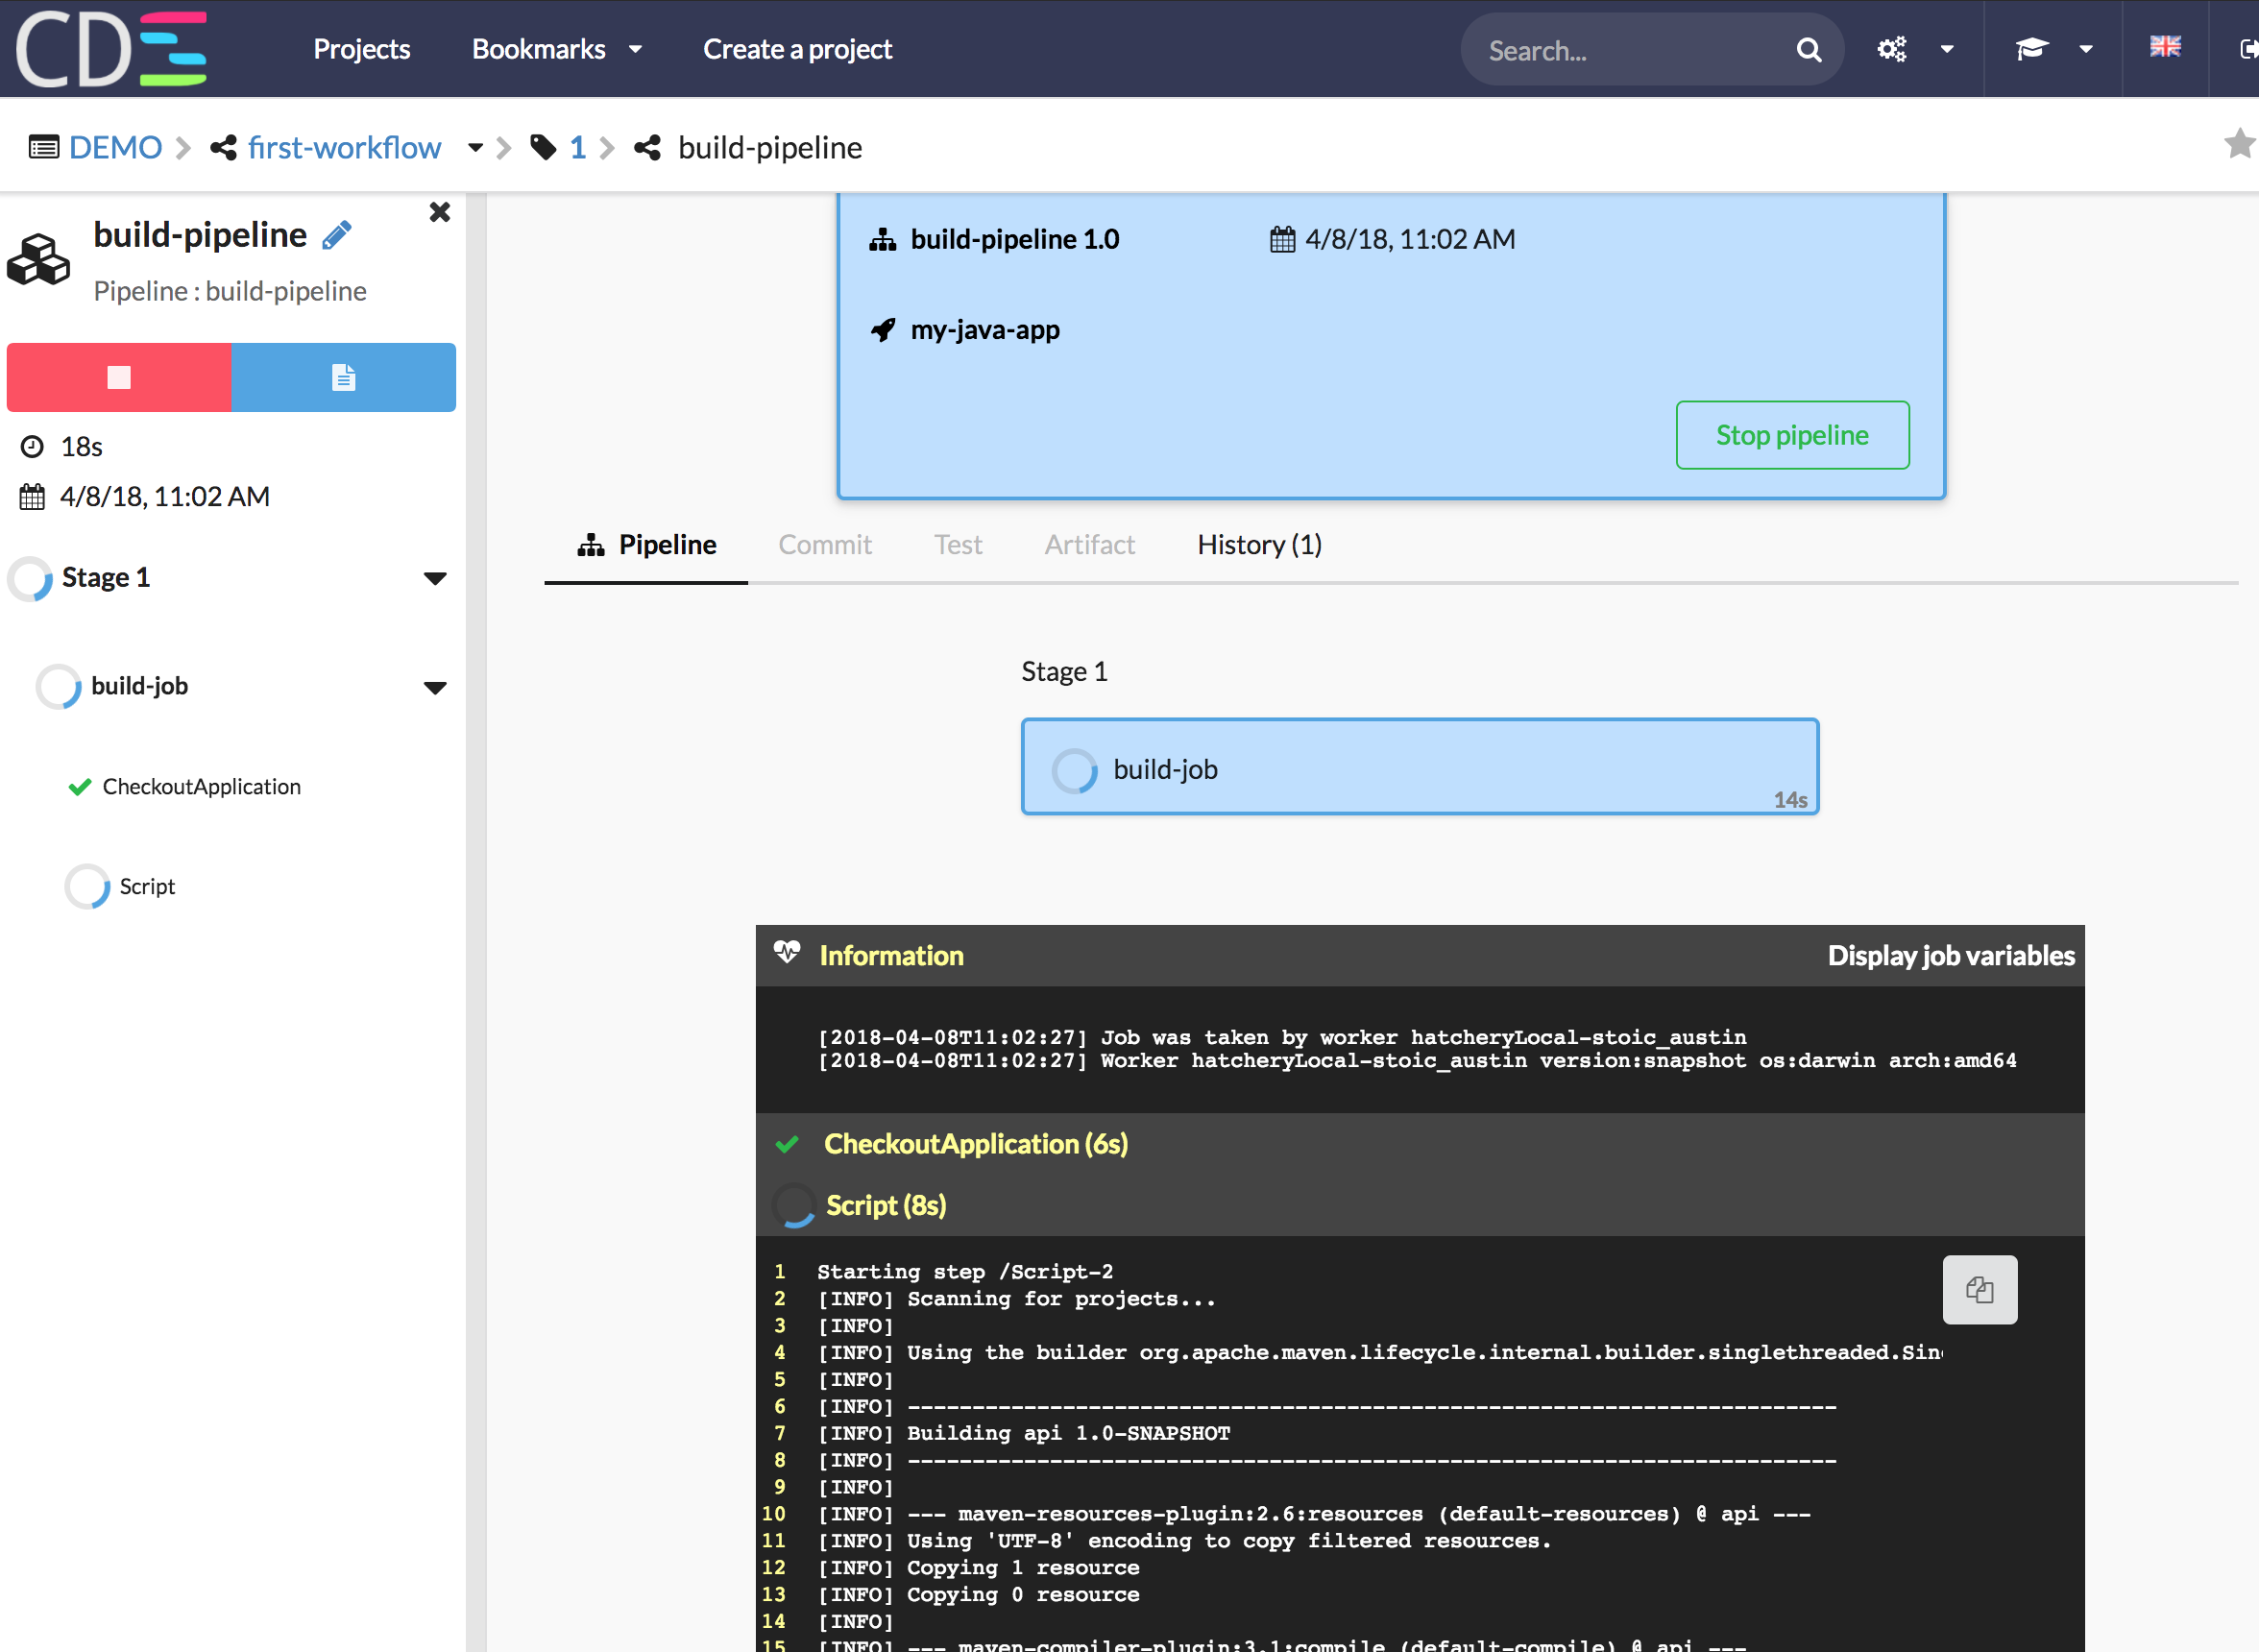
- The first pipeline is building (you can double-click on it, it’s a shortcut), you can see logs.
- The pipeline is done, it’s a success.
- Click on ‘Test’ tab, you can see Unit Tests.
- Click on ‘Artifact’, you see the built artifact.


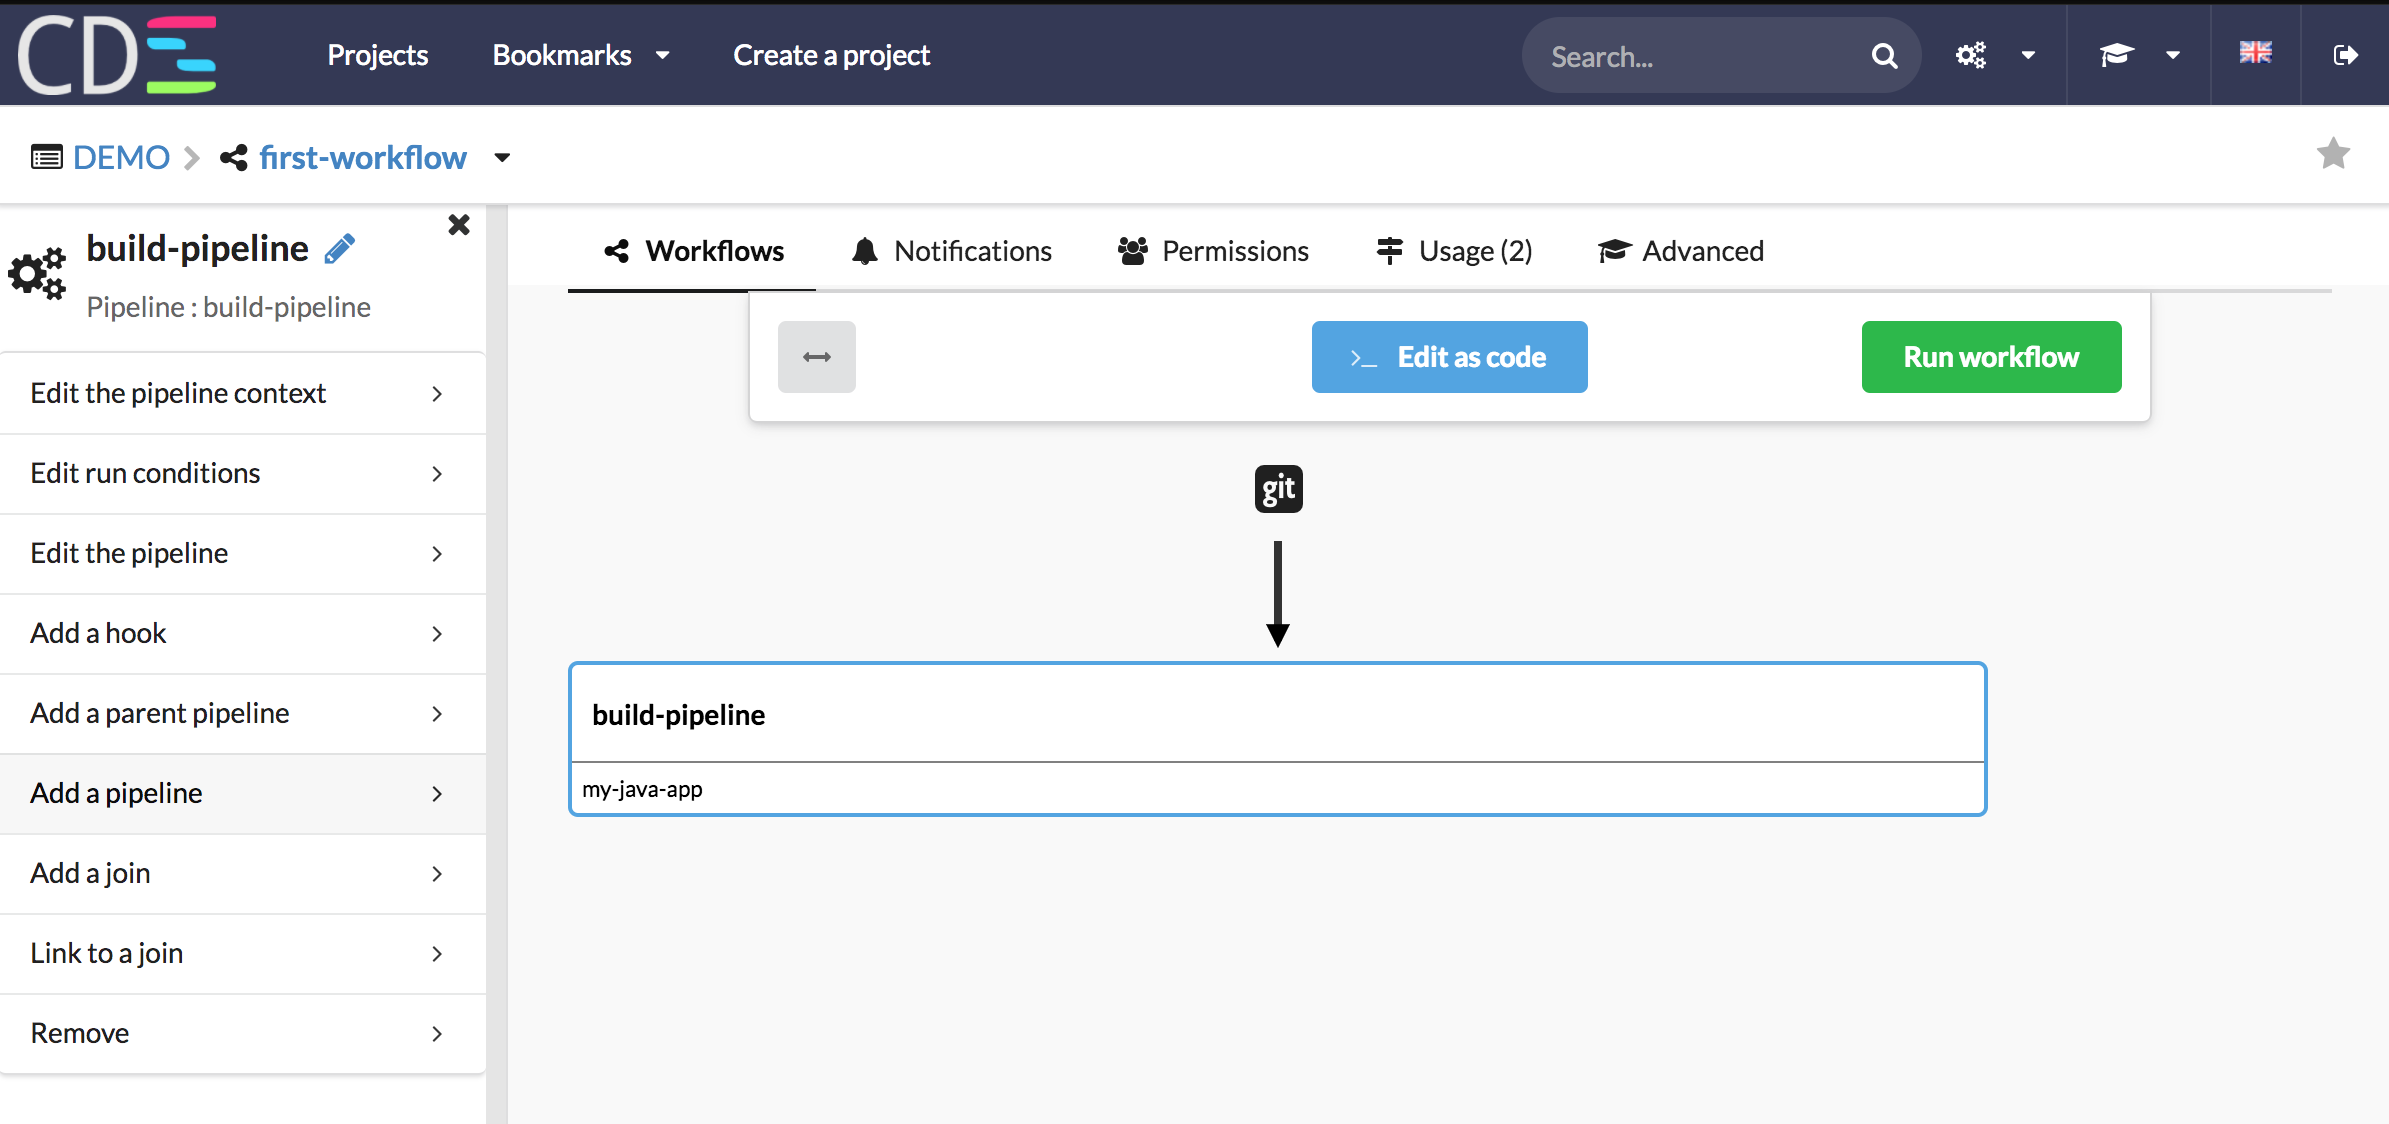
9 - Add a pipeline for deploying your application on staging
Ok, we have an artifact to deploy. Let’s create a deploy pipeline and trigger it after the build pipeline.
- Select the ‘build-pipeline’
- Create a ‘deploy-pipeline’, then click on ‘Next’
- Select the application ‘my-java-app’, then click on ‘Next’
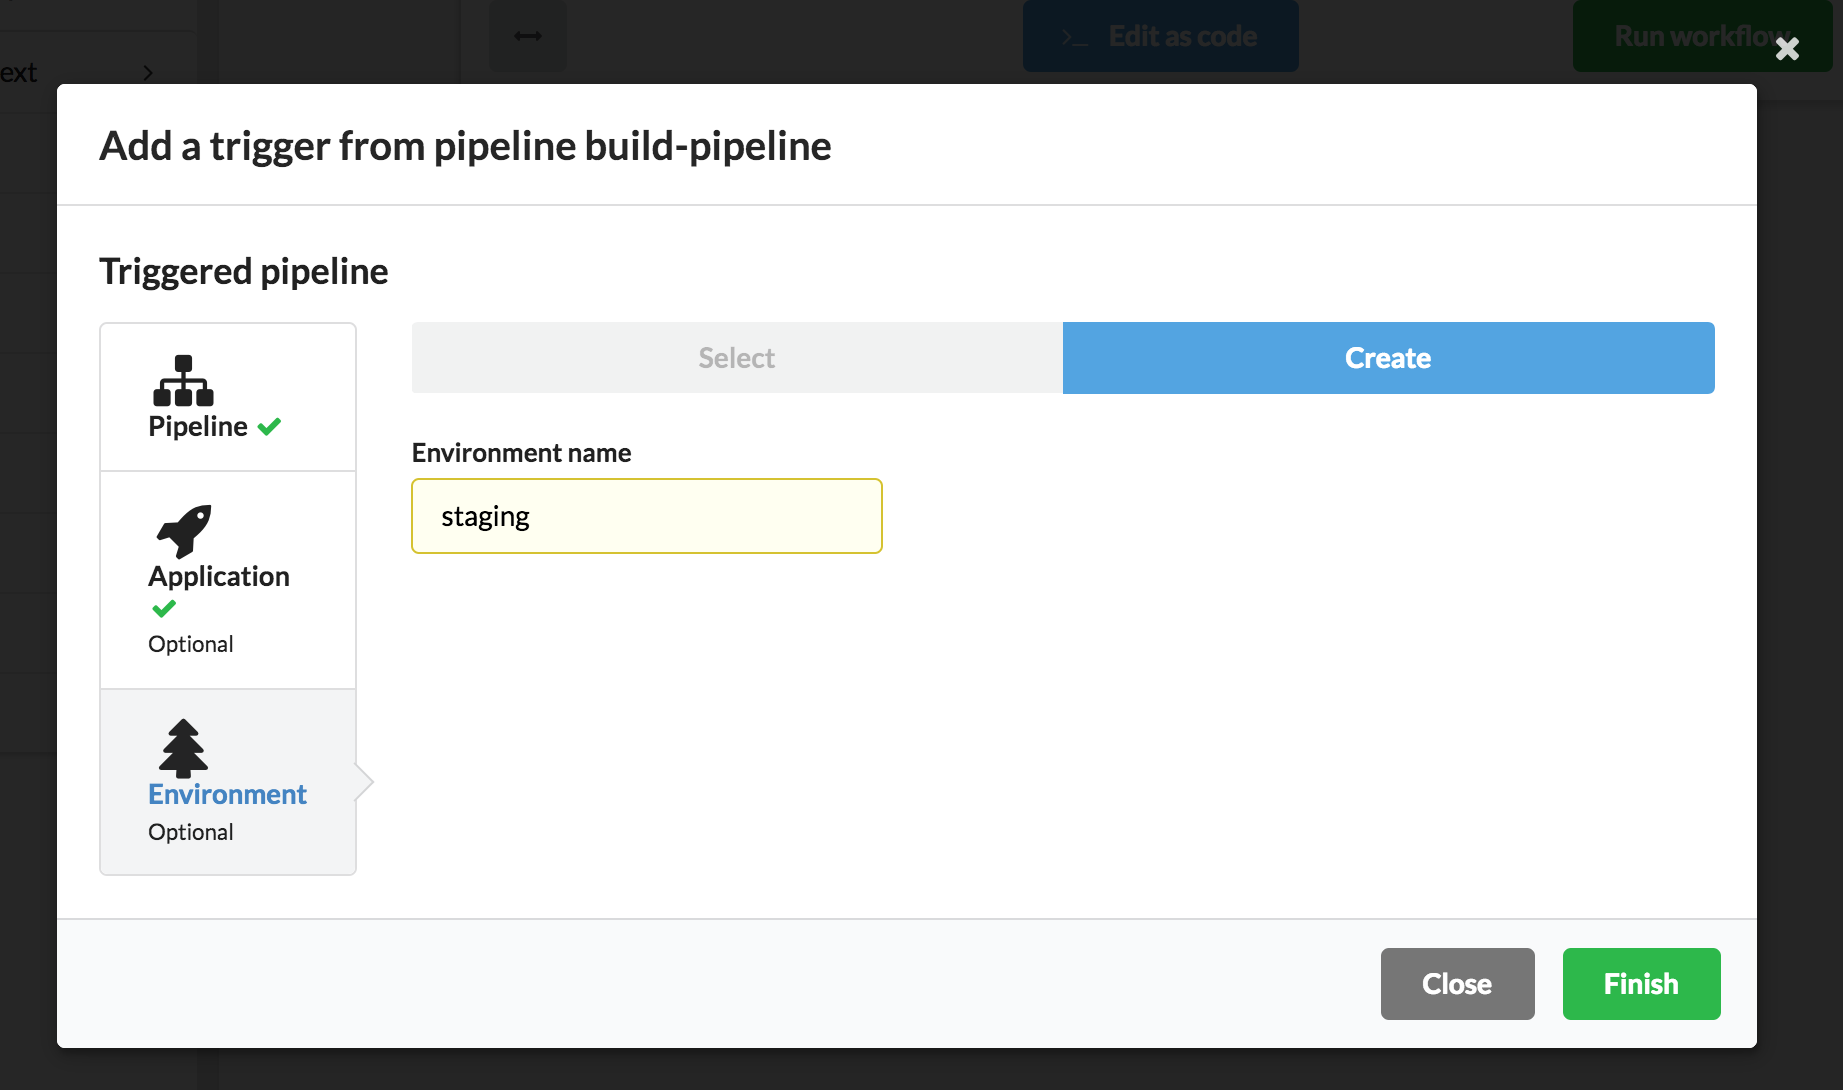
- Create a new environment named ‘staging’, then click on ‘Finish’
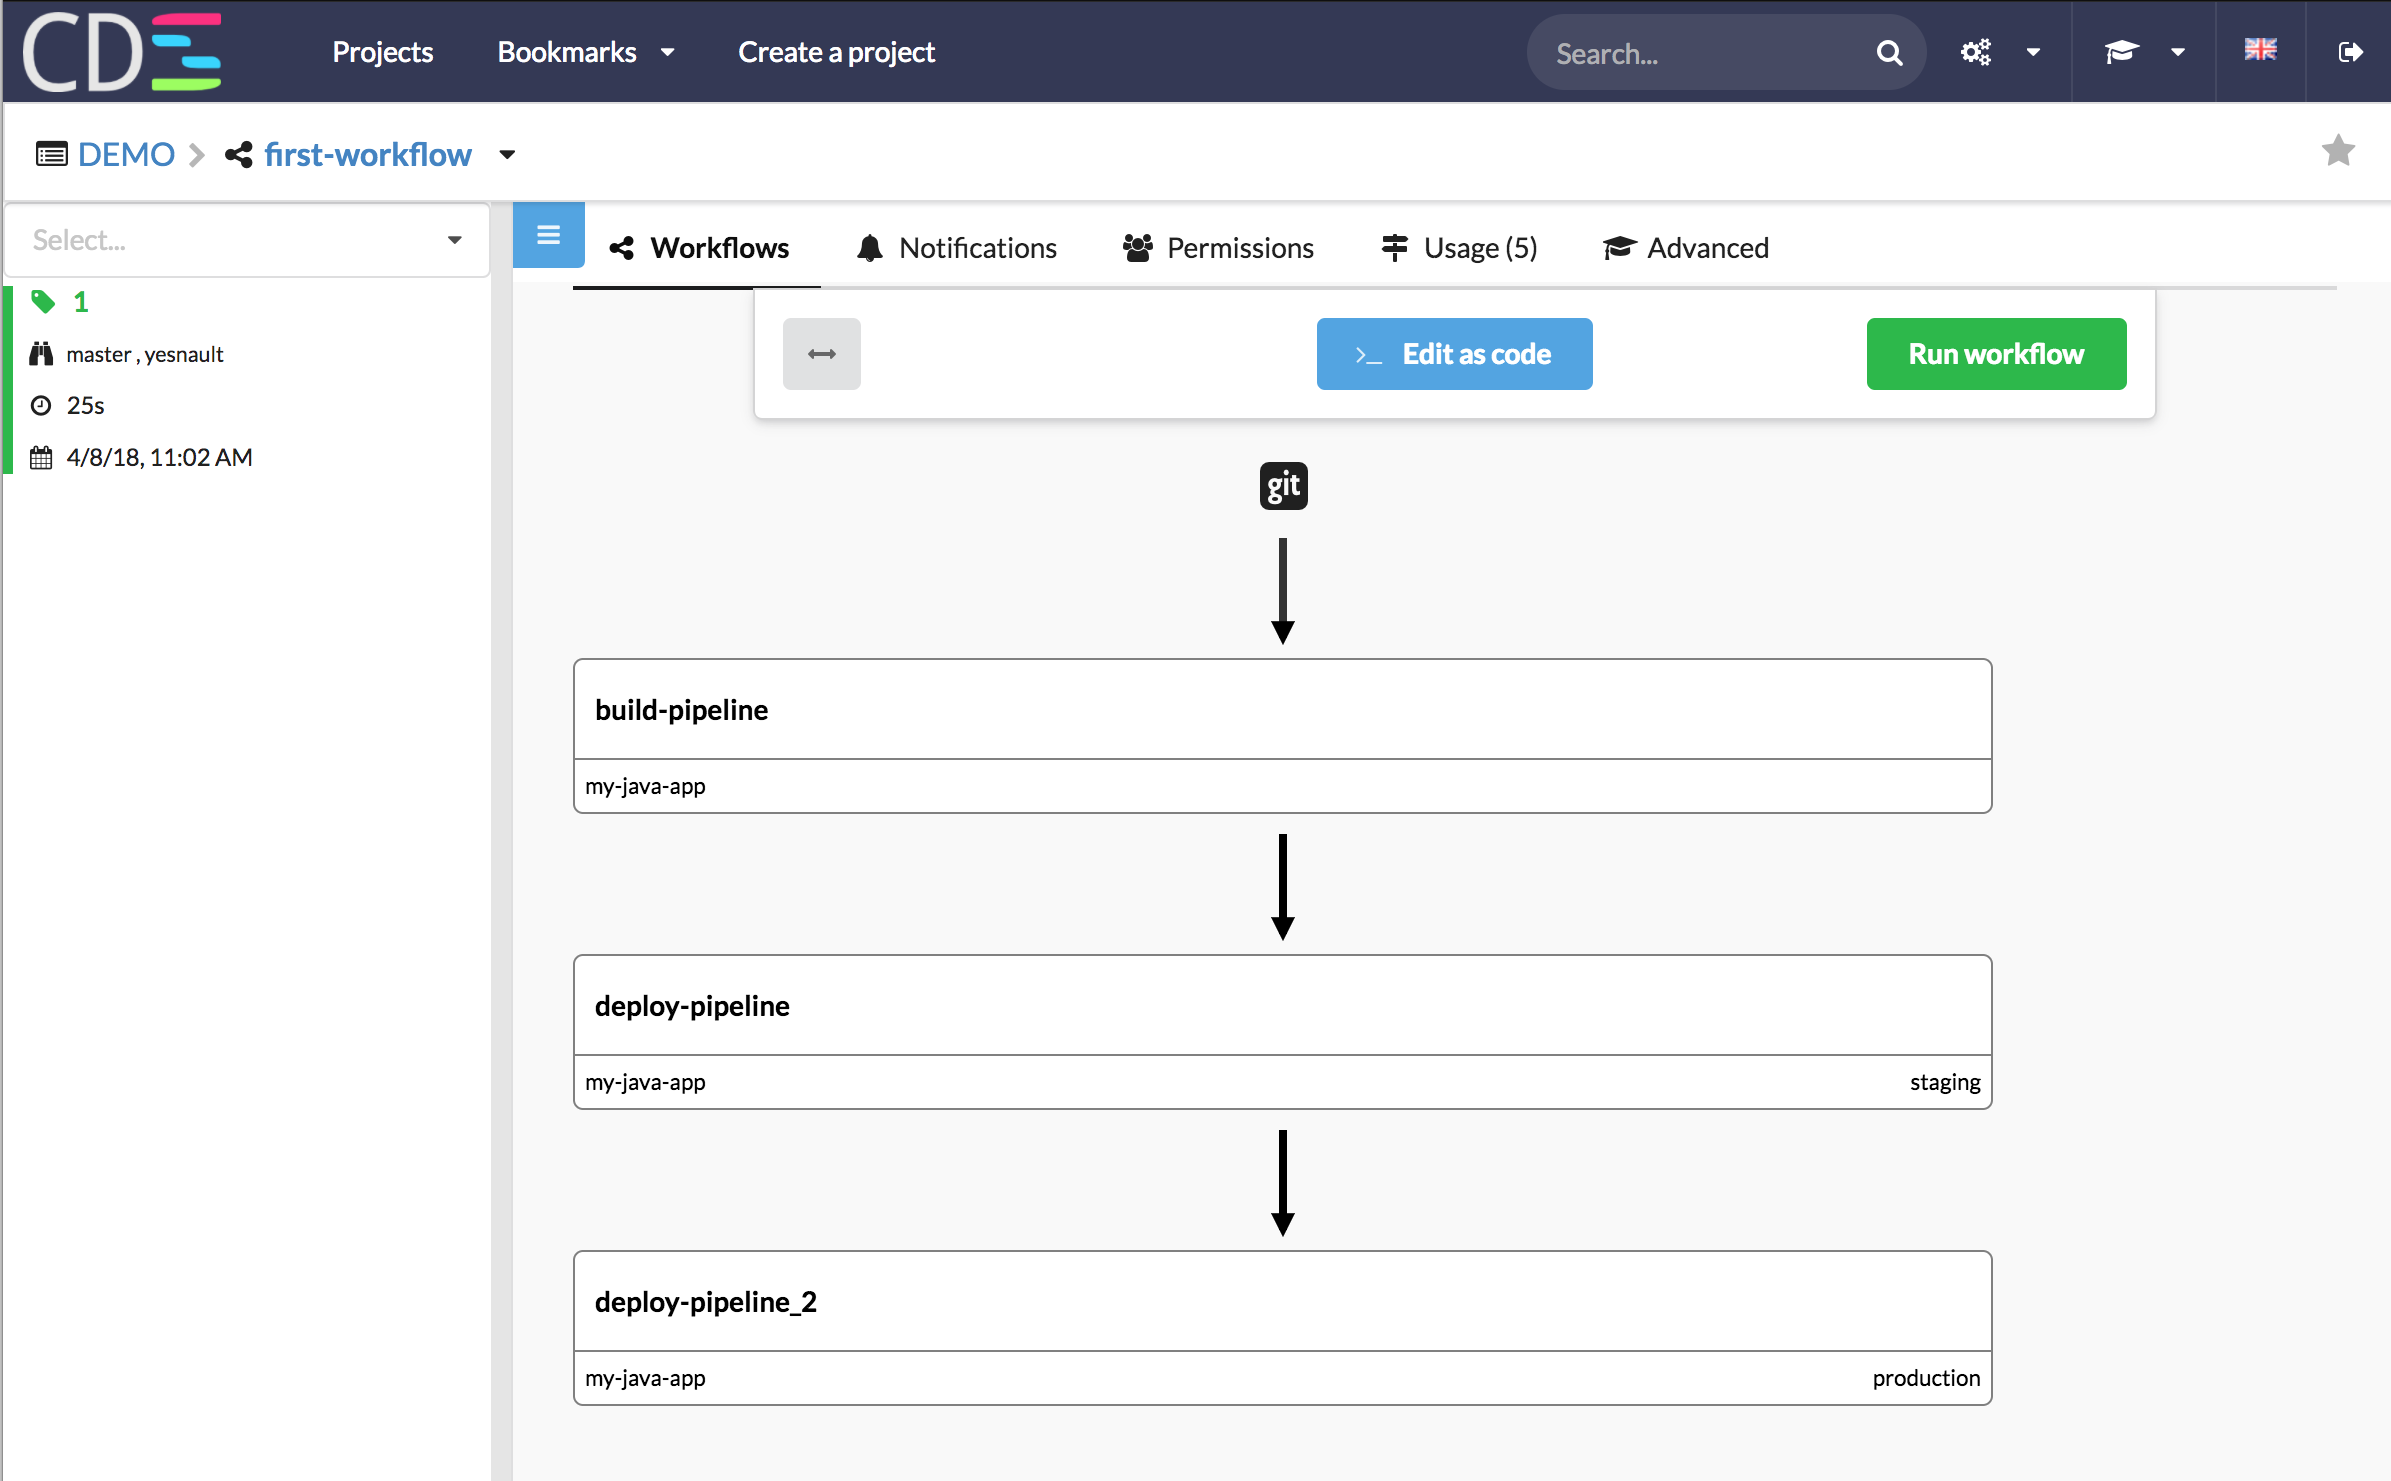
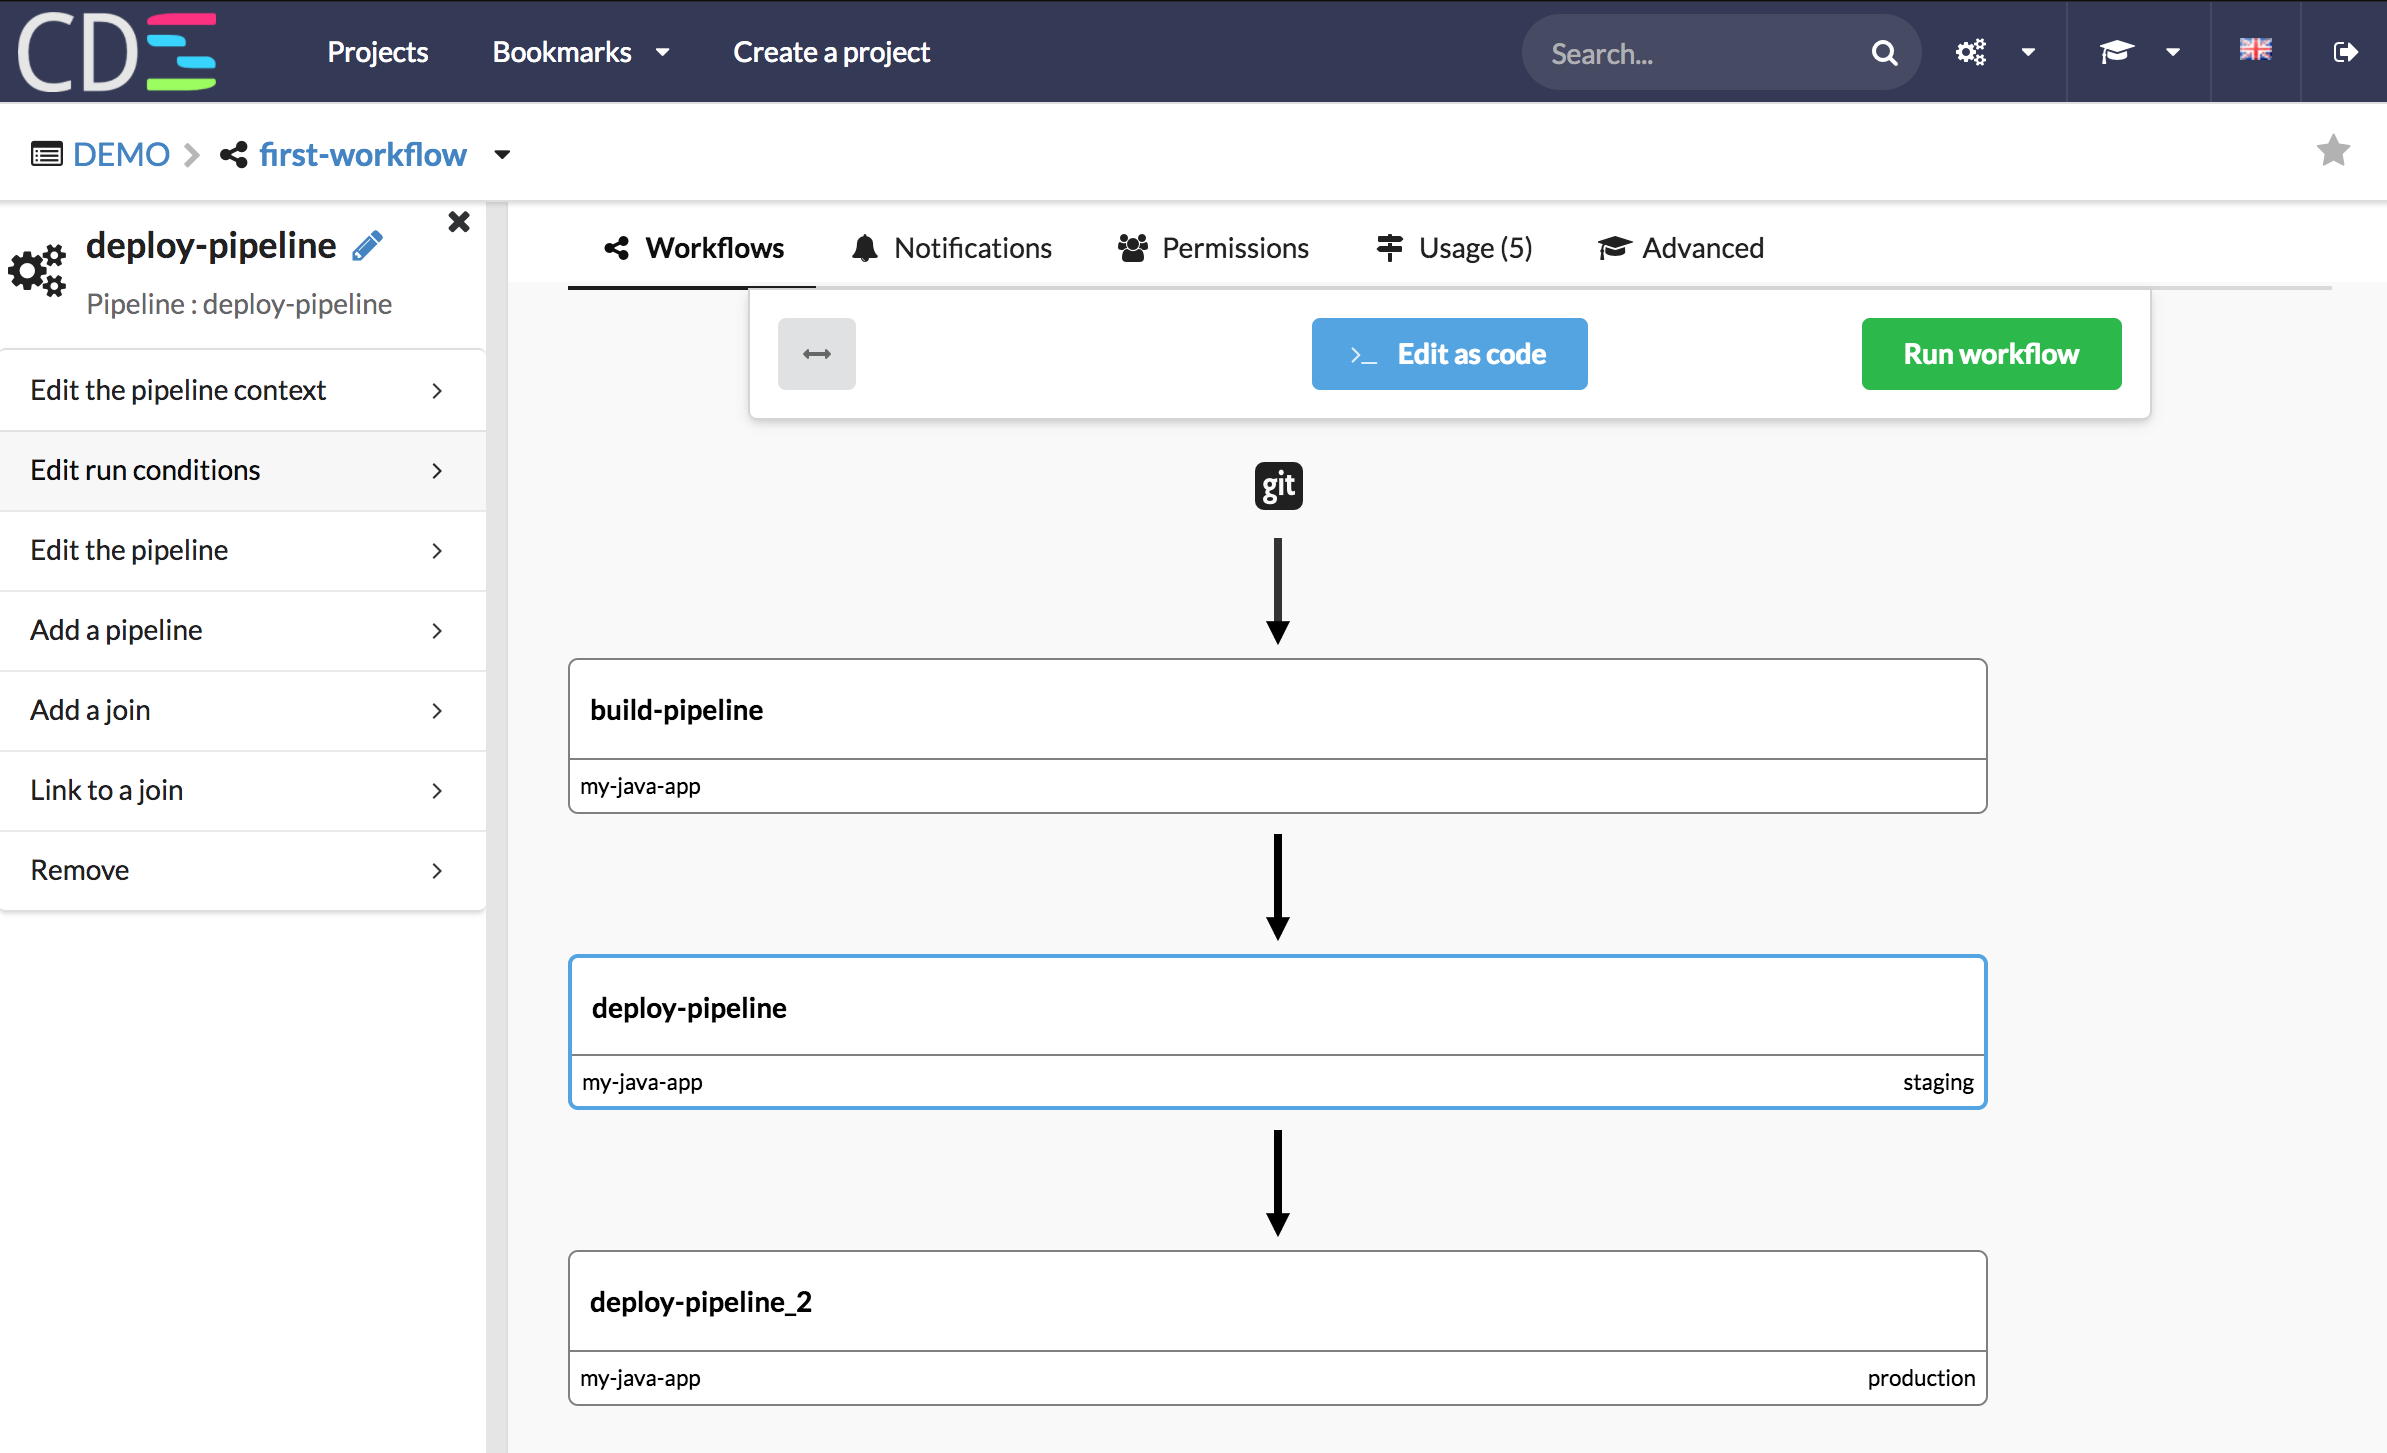
- The workflow contains now two pipelines


10 - Add a pipeline for deploying your application on production
Same as previous, we will add a pipeline to deploy in production.
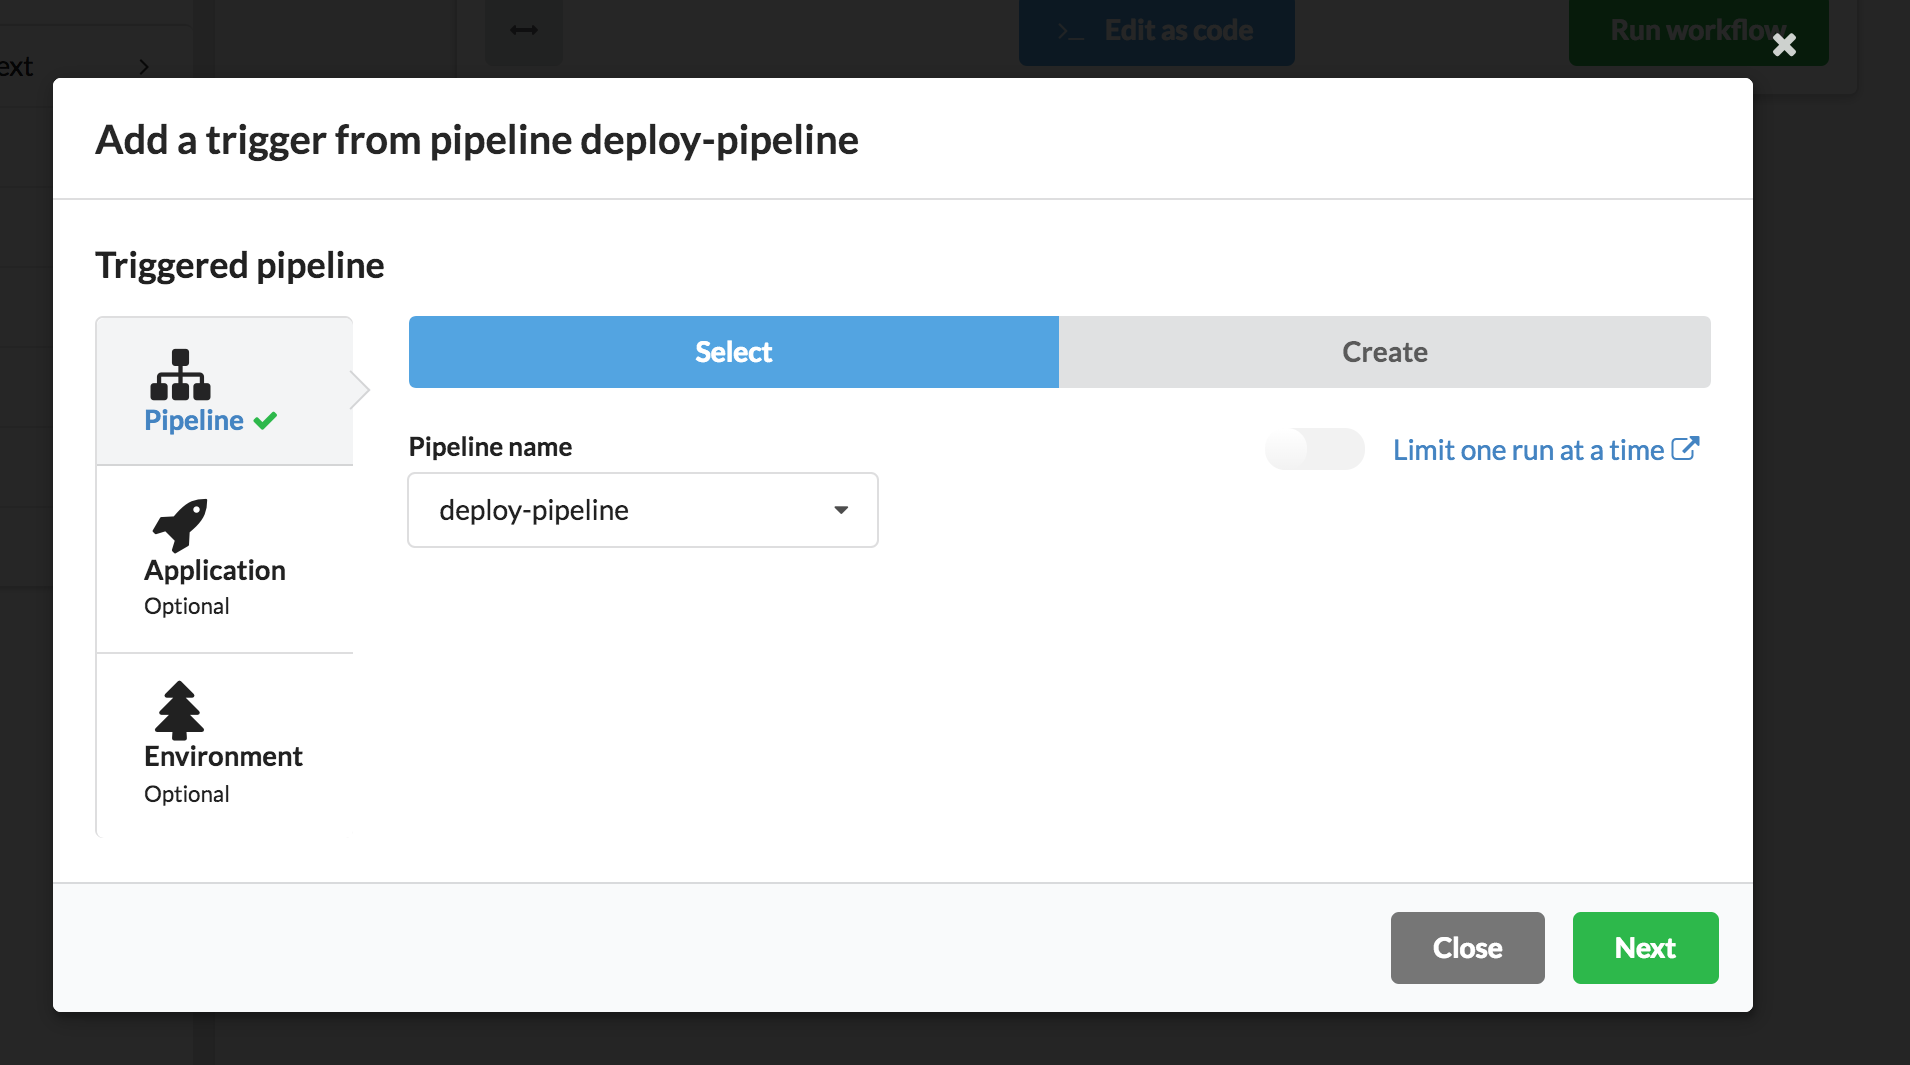
- Select the ‘deploy-pipeline’
- Select the ‘deploy-pipeline’, then click on ‘Next’
- Select the application ‘my-java-app’, then click on ‘Next’
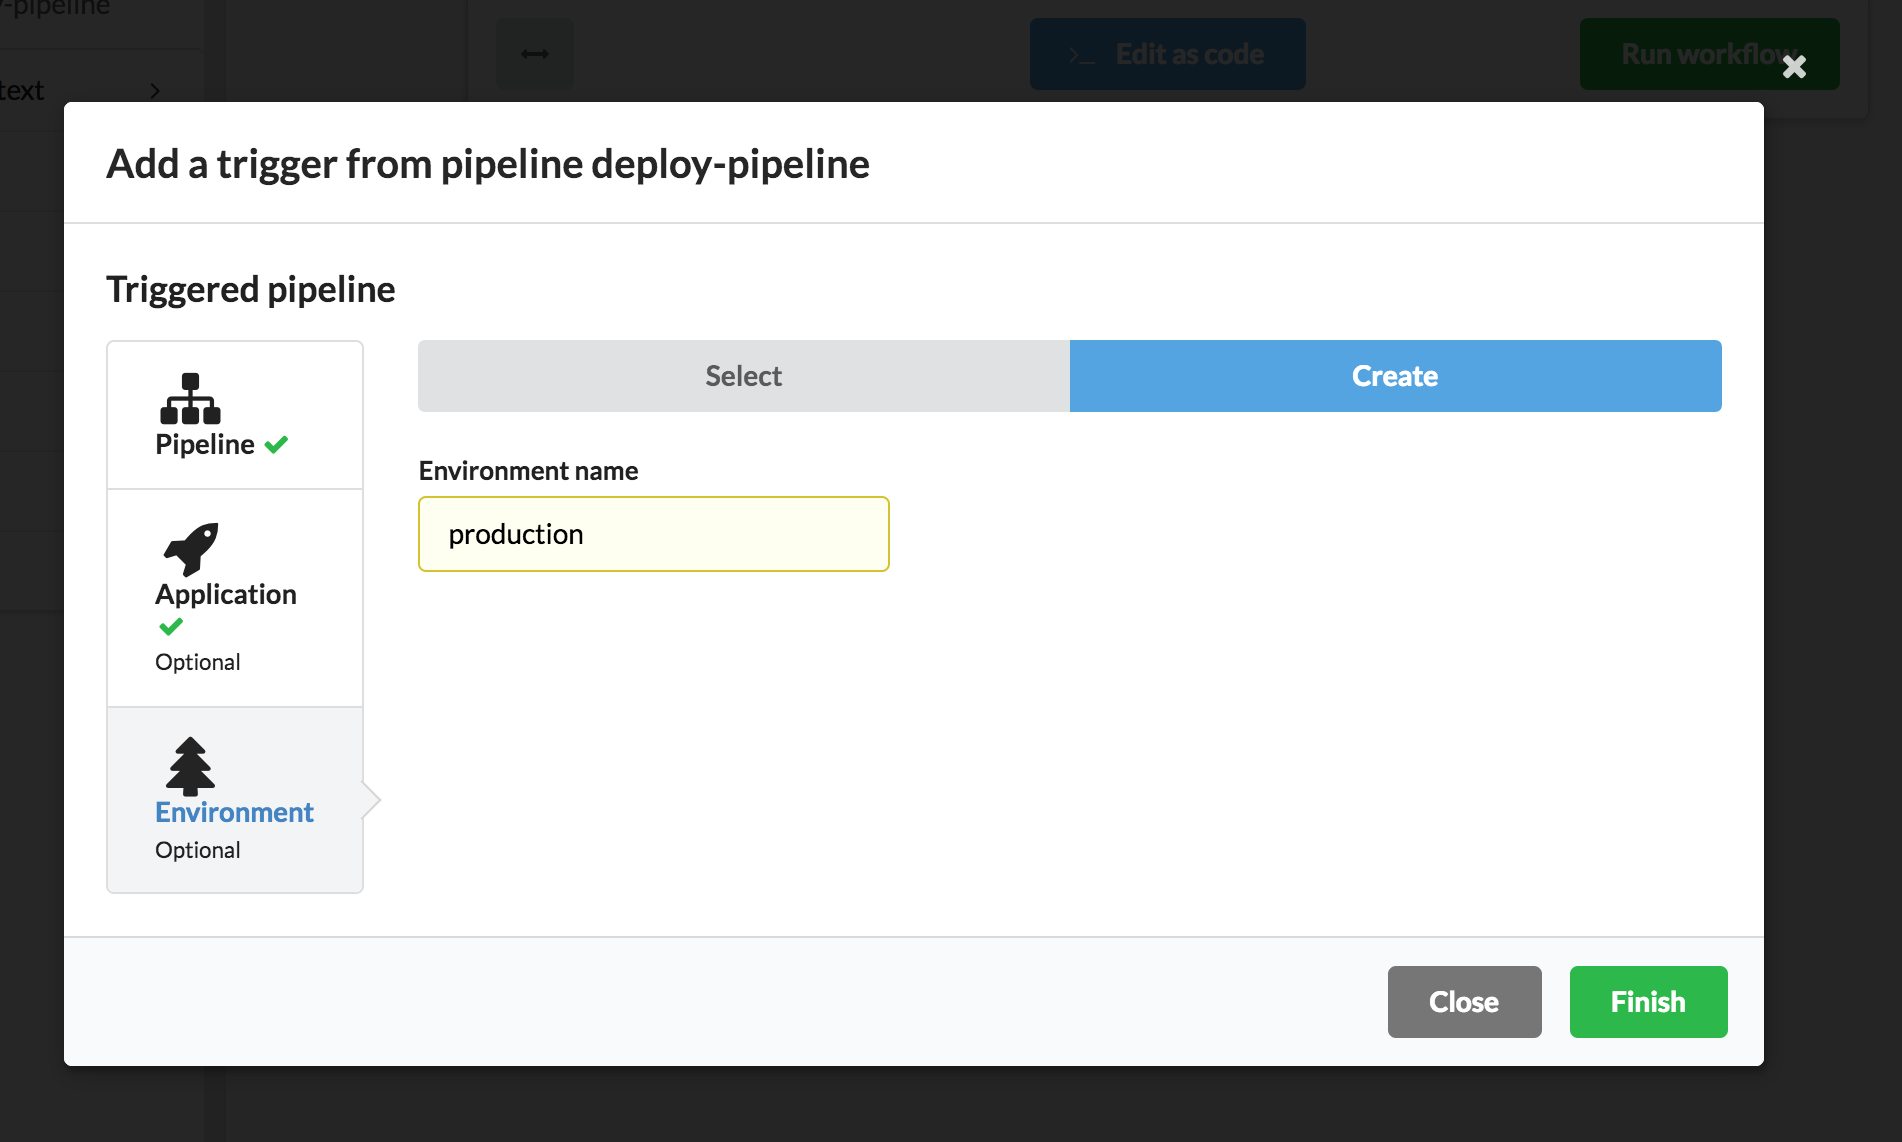
- Create a new environment named ‘production’, then click on ‘Finish’
- The workflow contains now two pipelines


11 - Add run conditions before deploying
So, now, you have a workflow to build your application and deploy it on your staging environment.
But, we don’t want to deploy all builds, from all branches, we want to deploy only the
master branch.
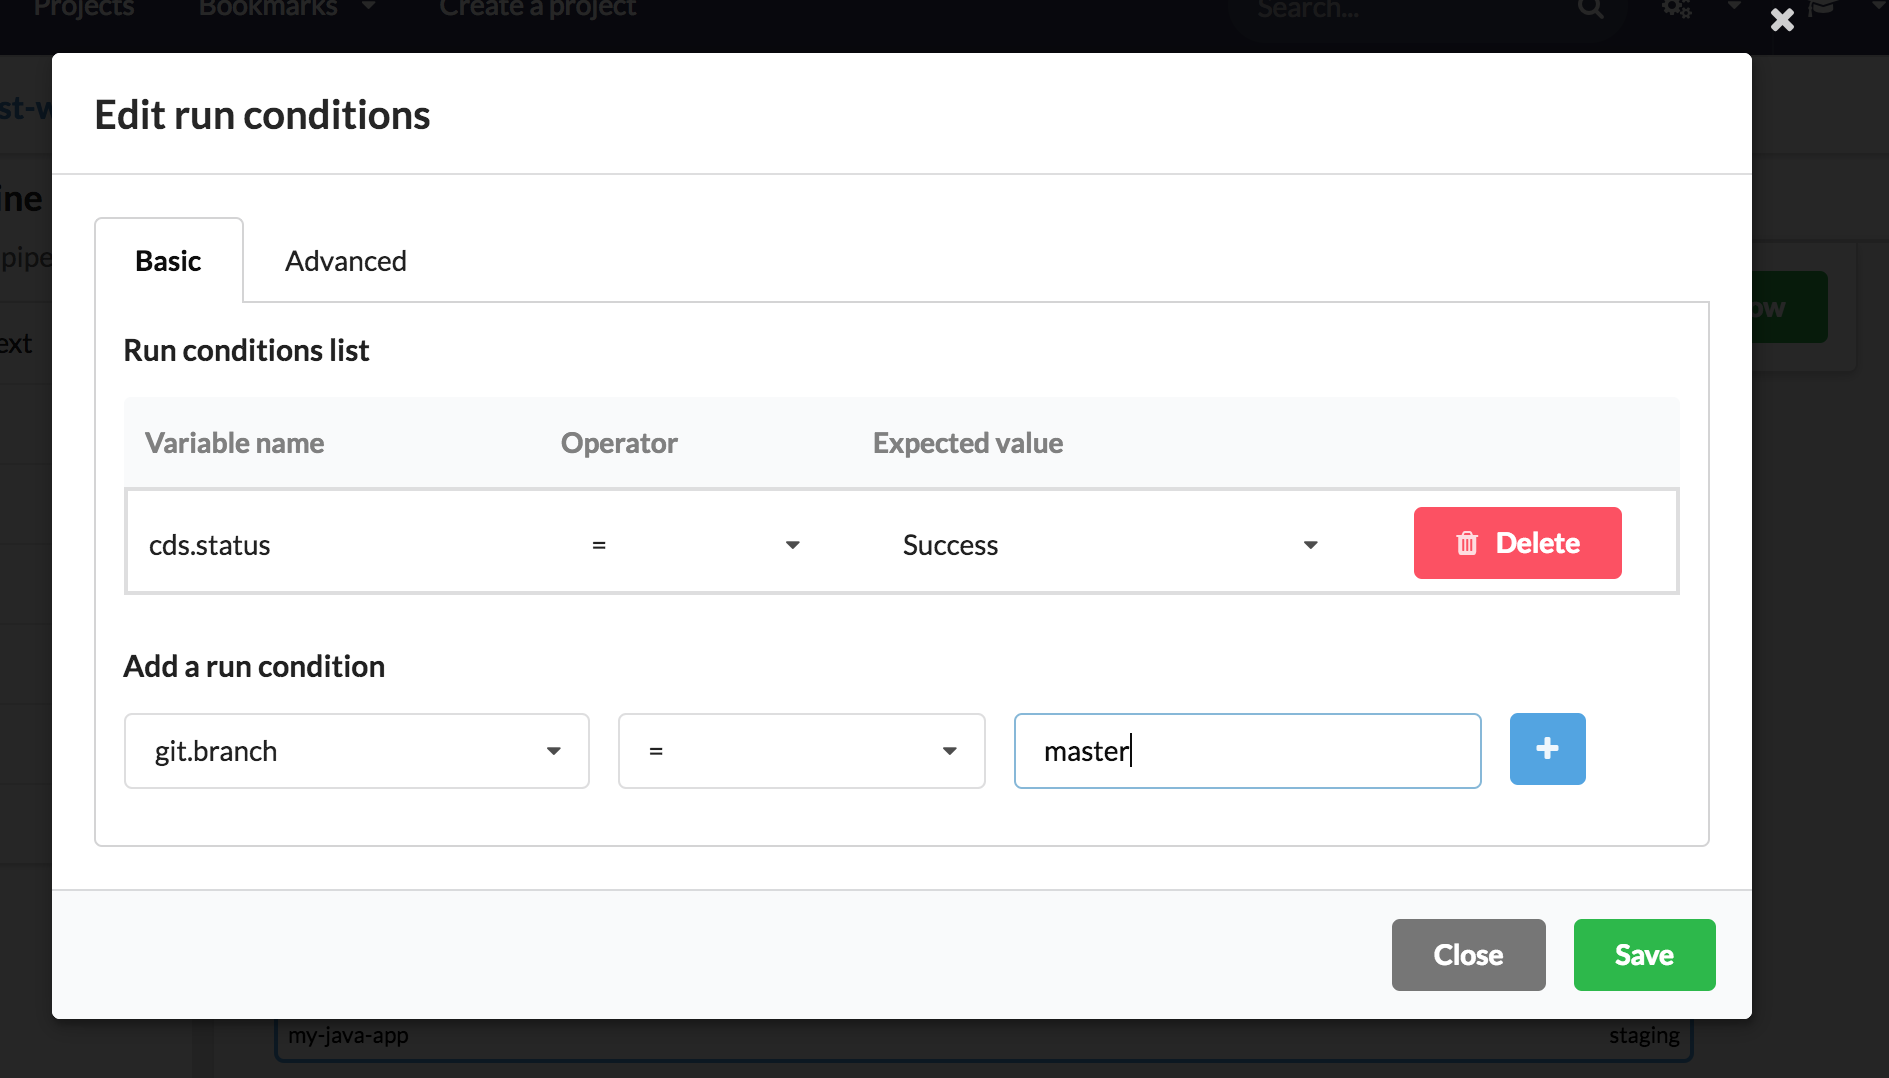
Let’s create a Run Condition on git.branch, to trigger automatically a deployment on staging if git branch is equals to master.
- Select the ‘deploy-pipeline’, then click on ‘Edit run Conditions’
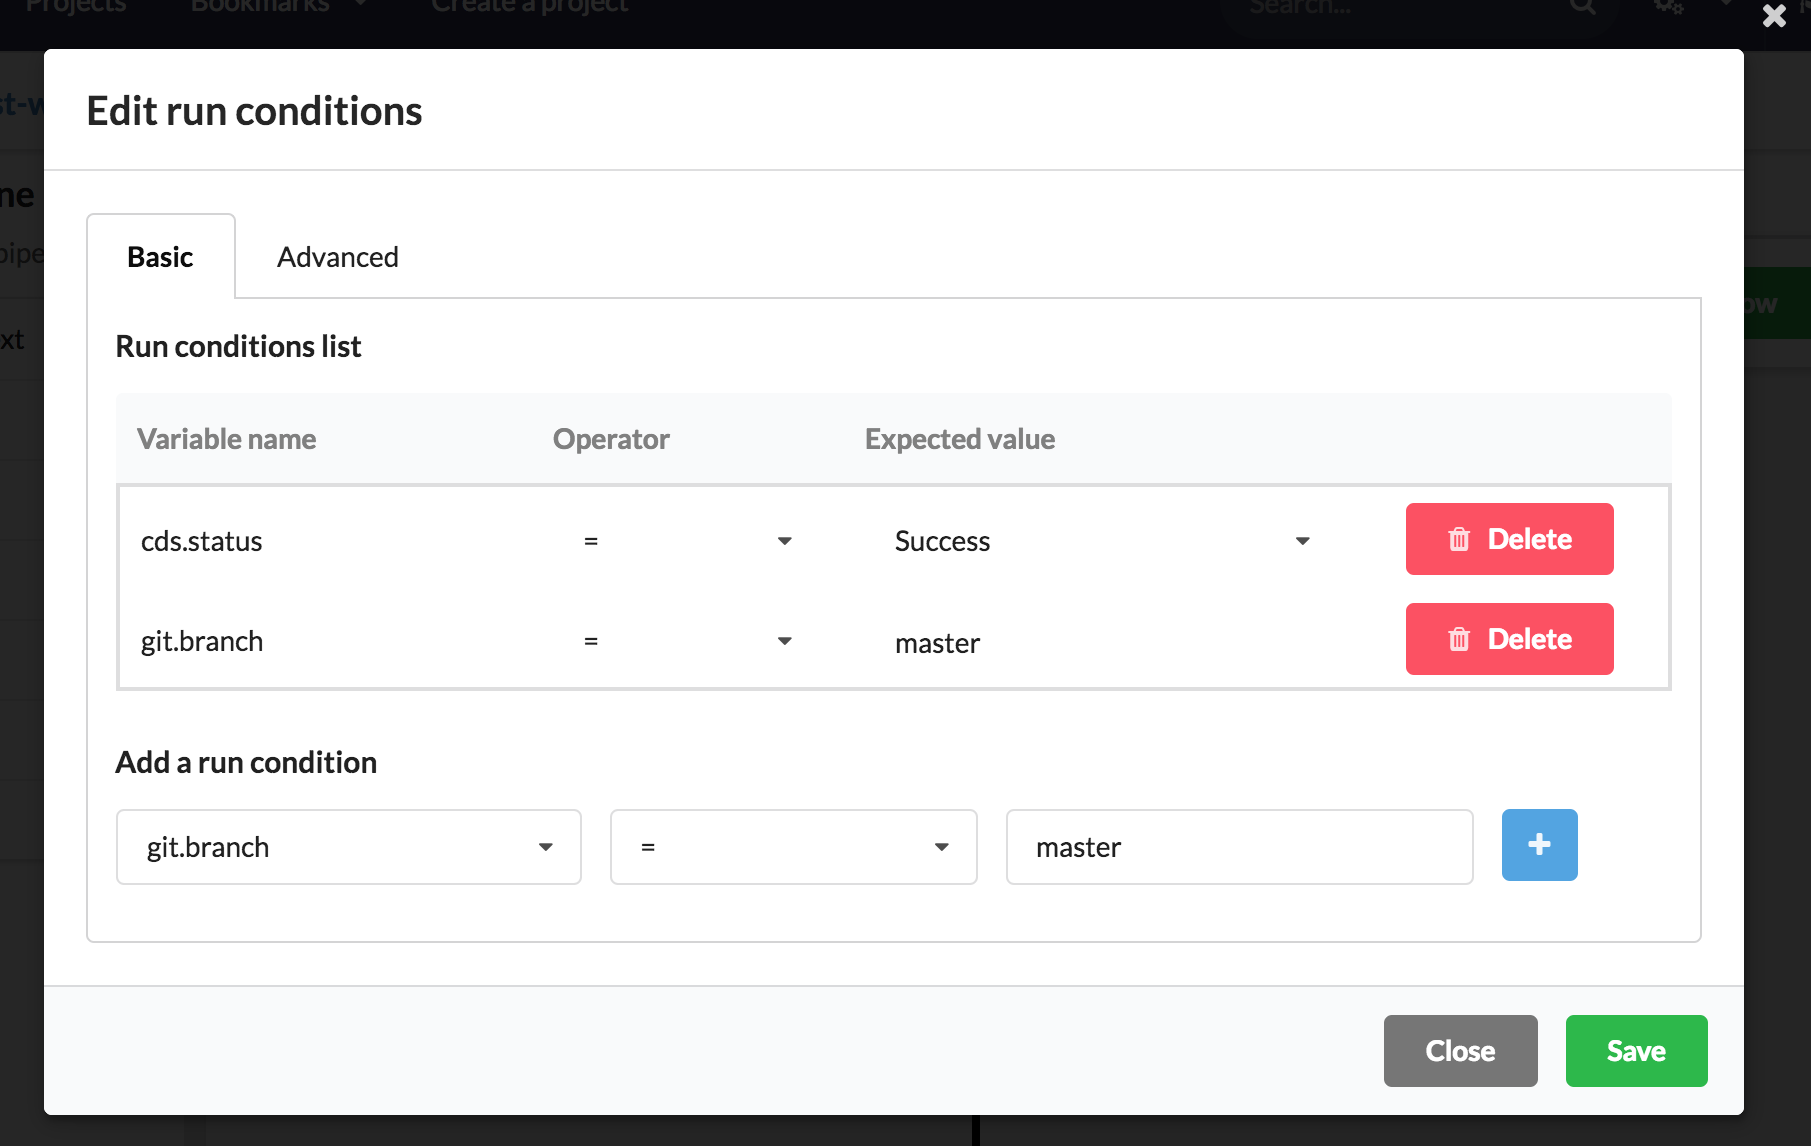
- Add a run condition ‘git.branch’, with value ‘master’, click on ‘Plus’ button
- Click on ‘Save’
12 - Add run conditions before deploying in production
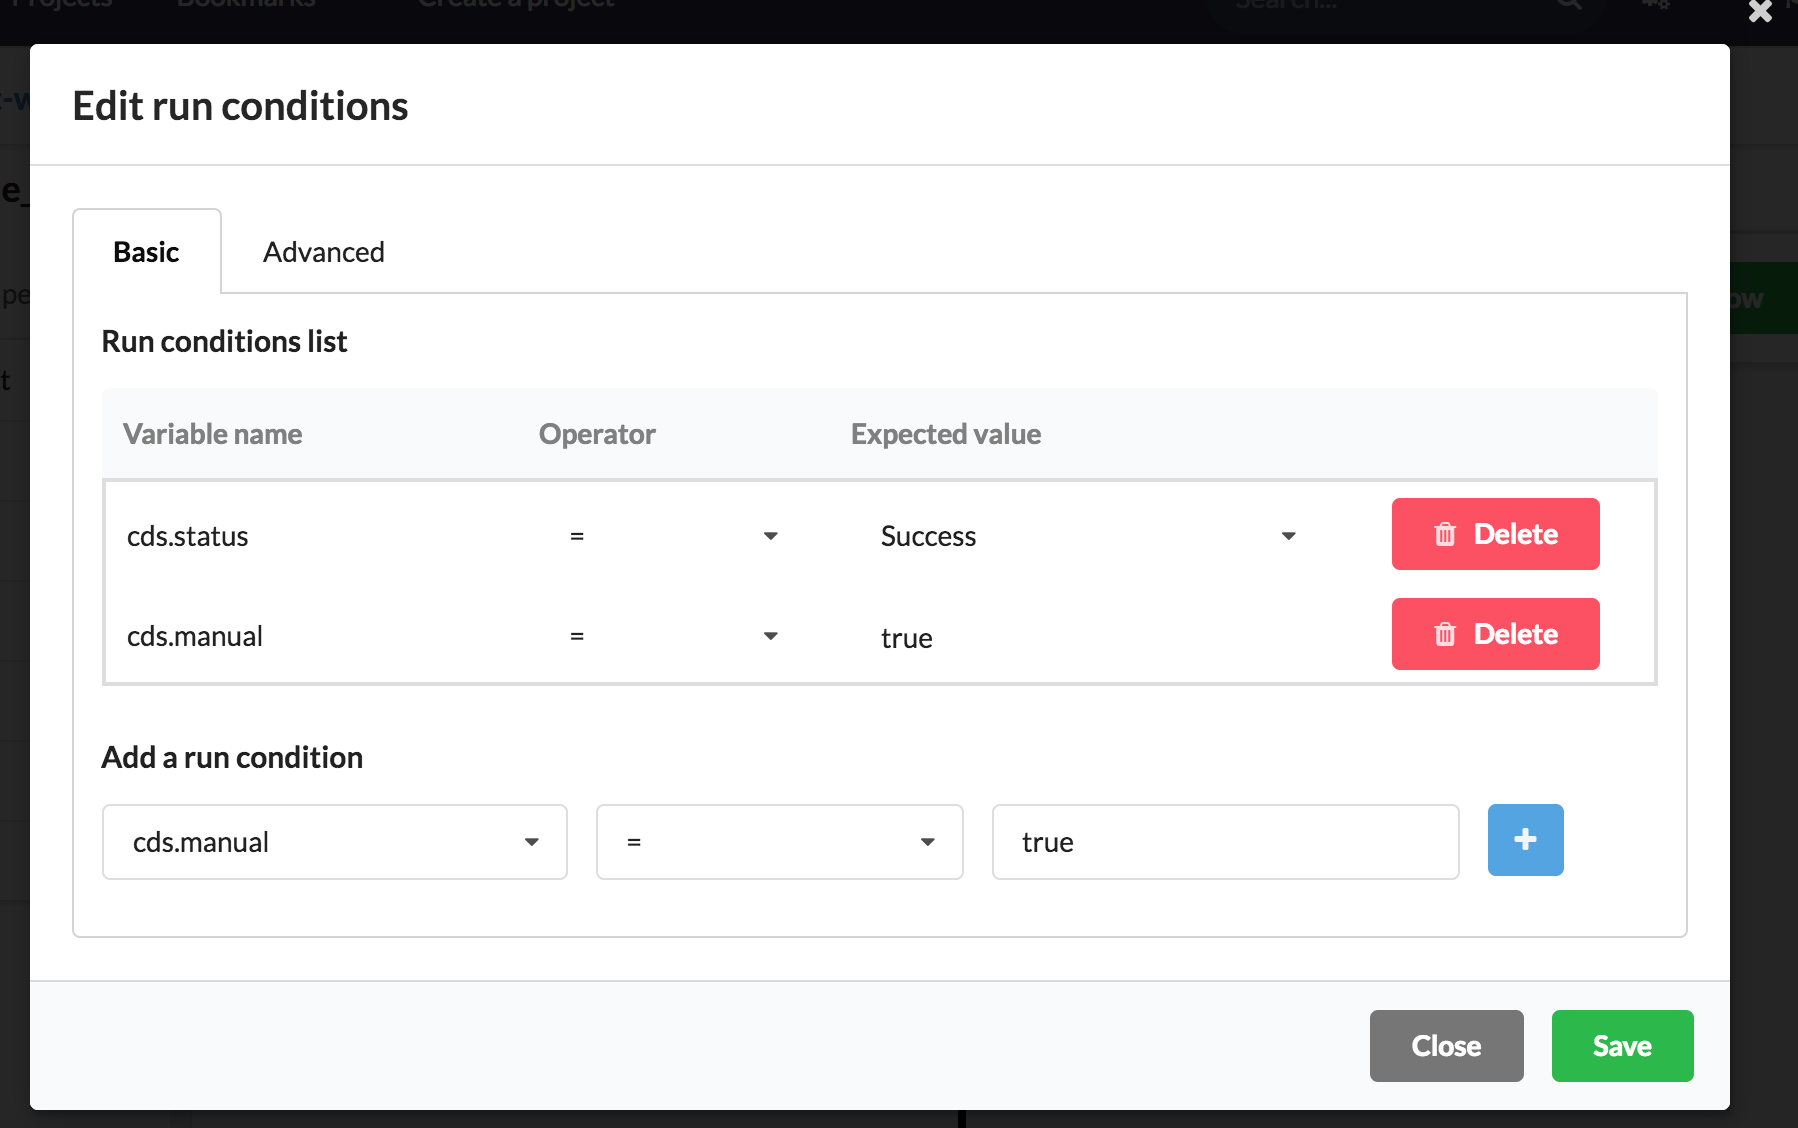
Same as ‘deploy-pipeline’ on staging, we will add condition on the pipeline which deploy in ‘production’.
- Select the ‘deploy-pipeline_2’, then click on ‘Edit run Conditions’
- Add a run condition ‘cds.manual’, with value ‘true’, click on ‘Plus’ button

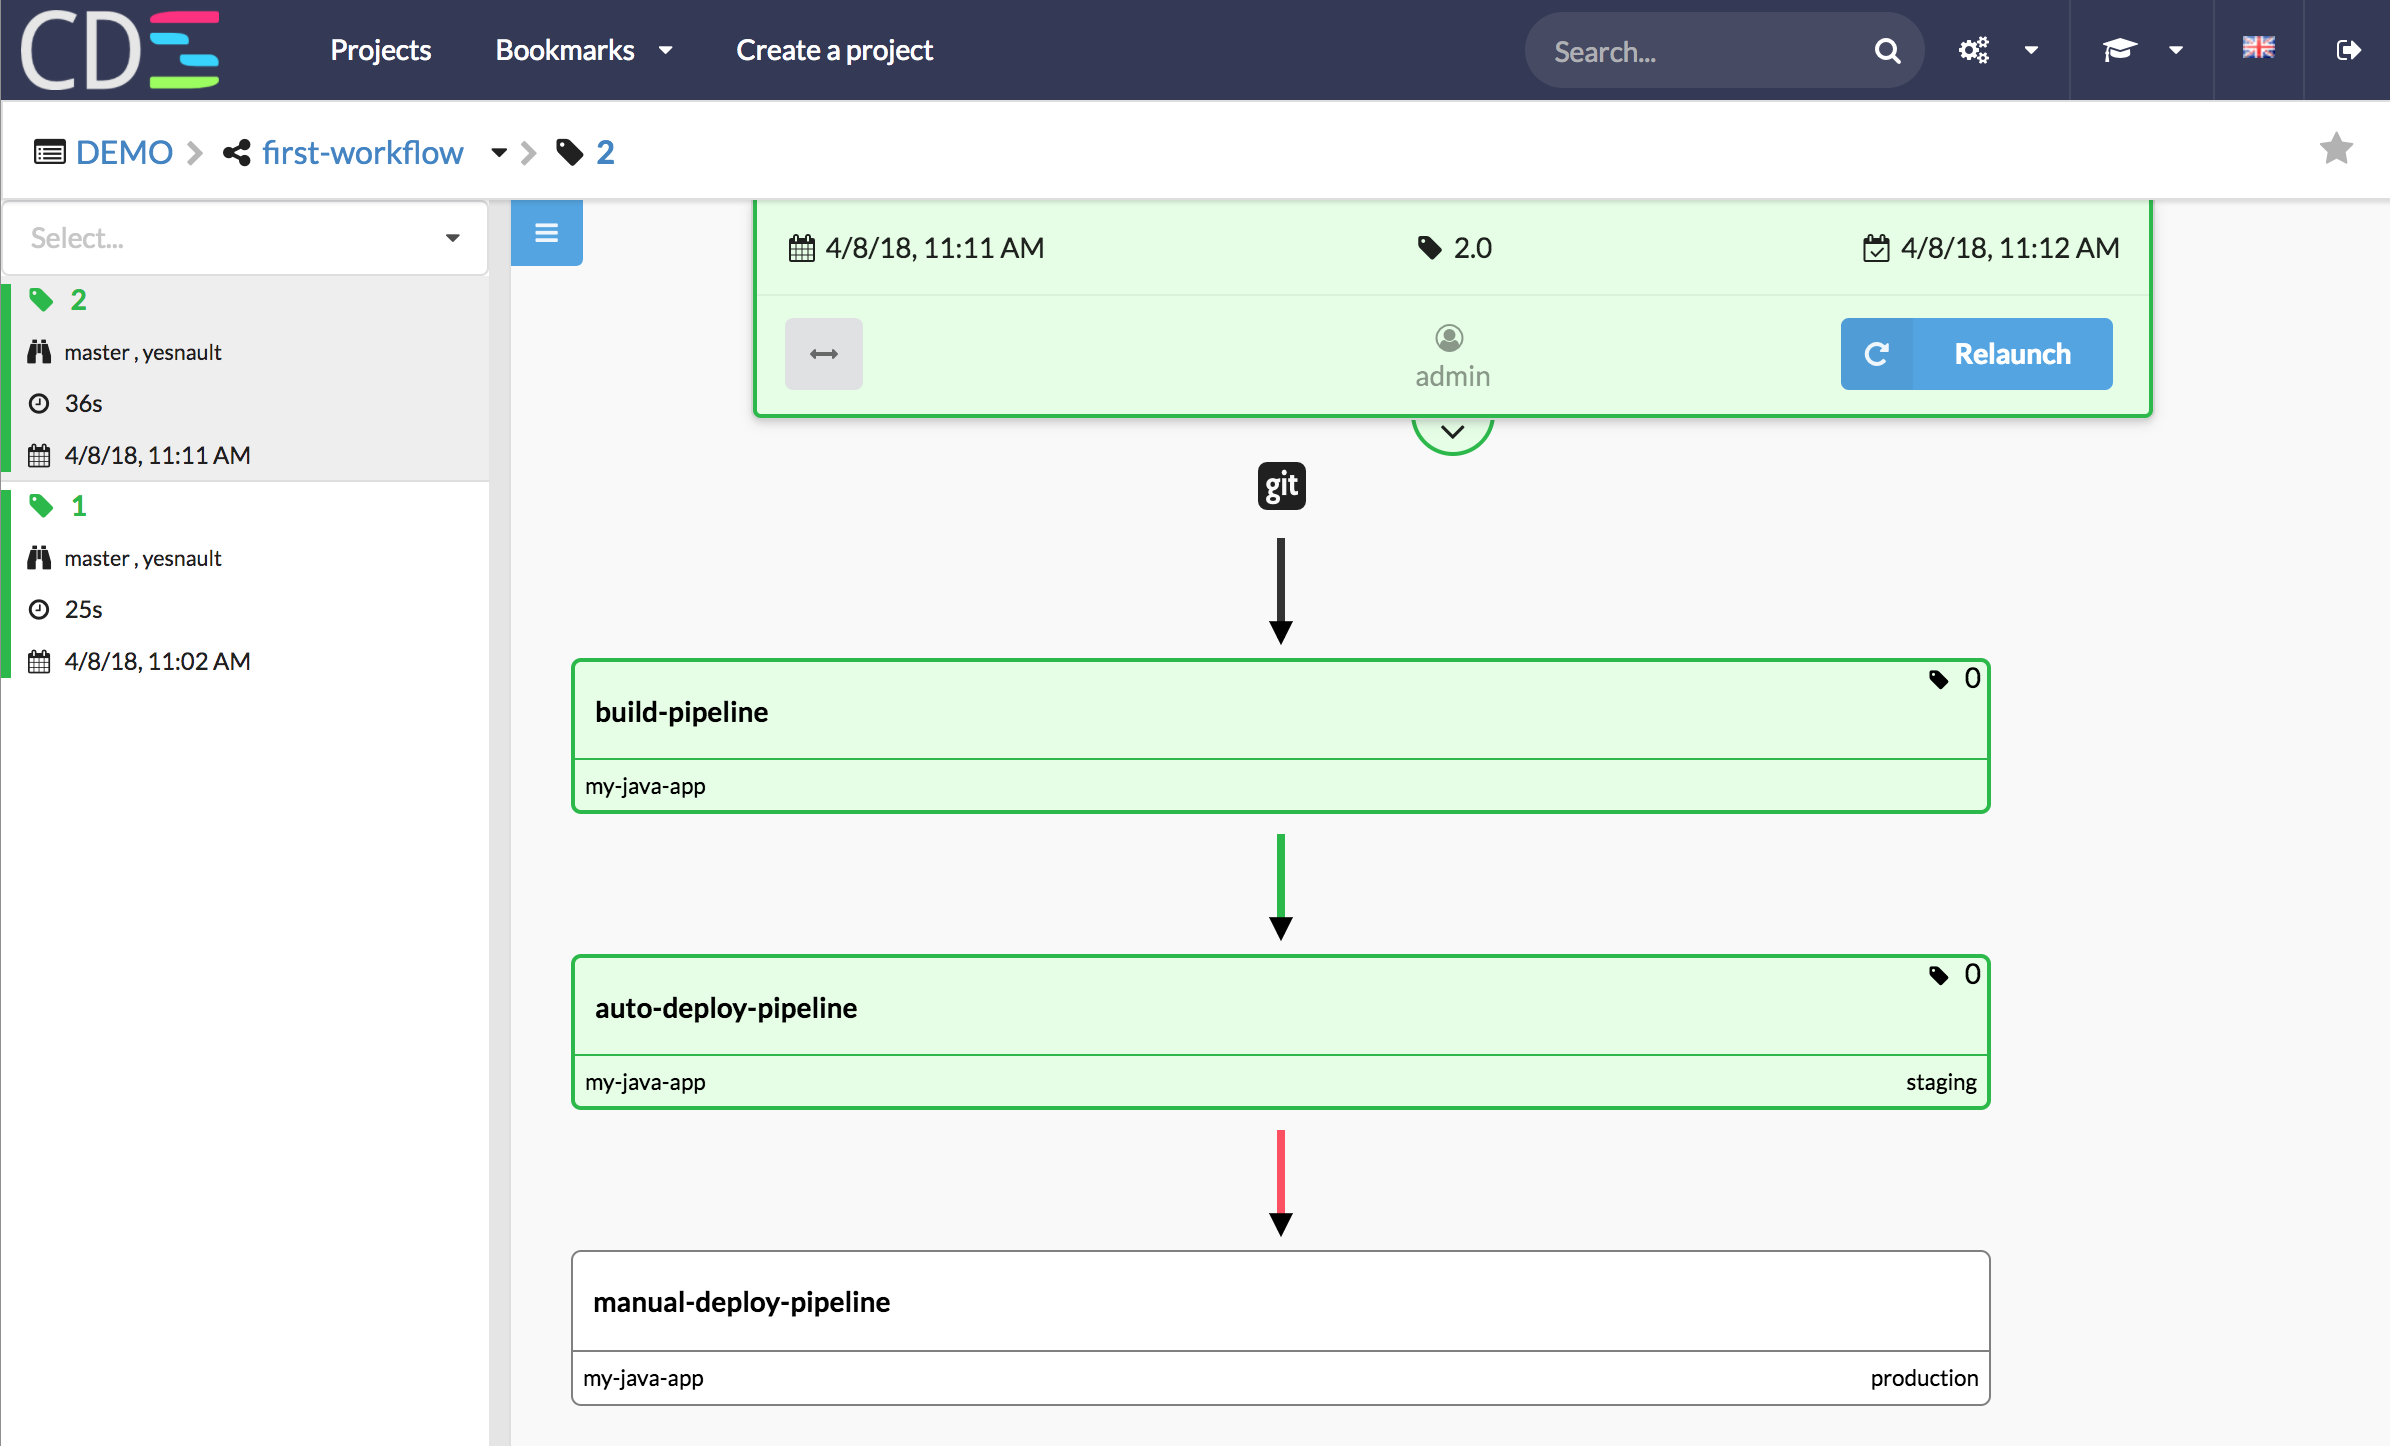
13 - Edit the name of the pipelines in your workflow
In your project, you’ve got two pipelines: ‘build-pipeline’ and ‘deploy-pipeline’. The ‘deploy-pipeline’ is used twice: once for ‘staging’ deploy, another for ‘production’.
Let’s rename the pipelines on your workflow.
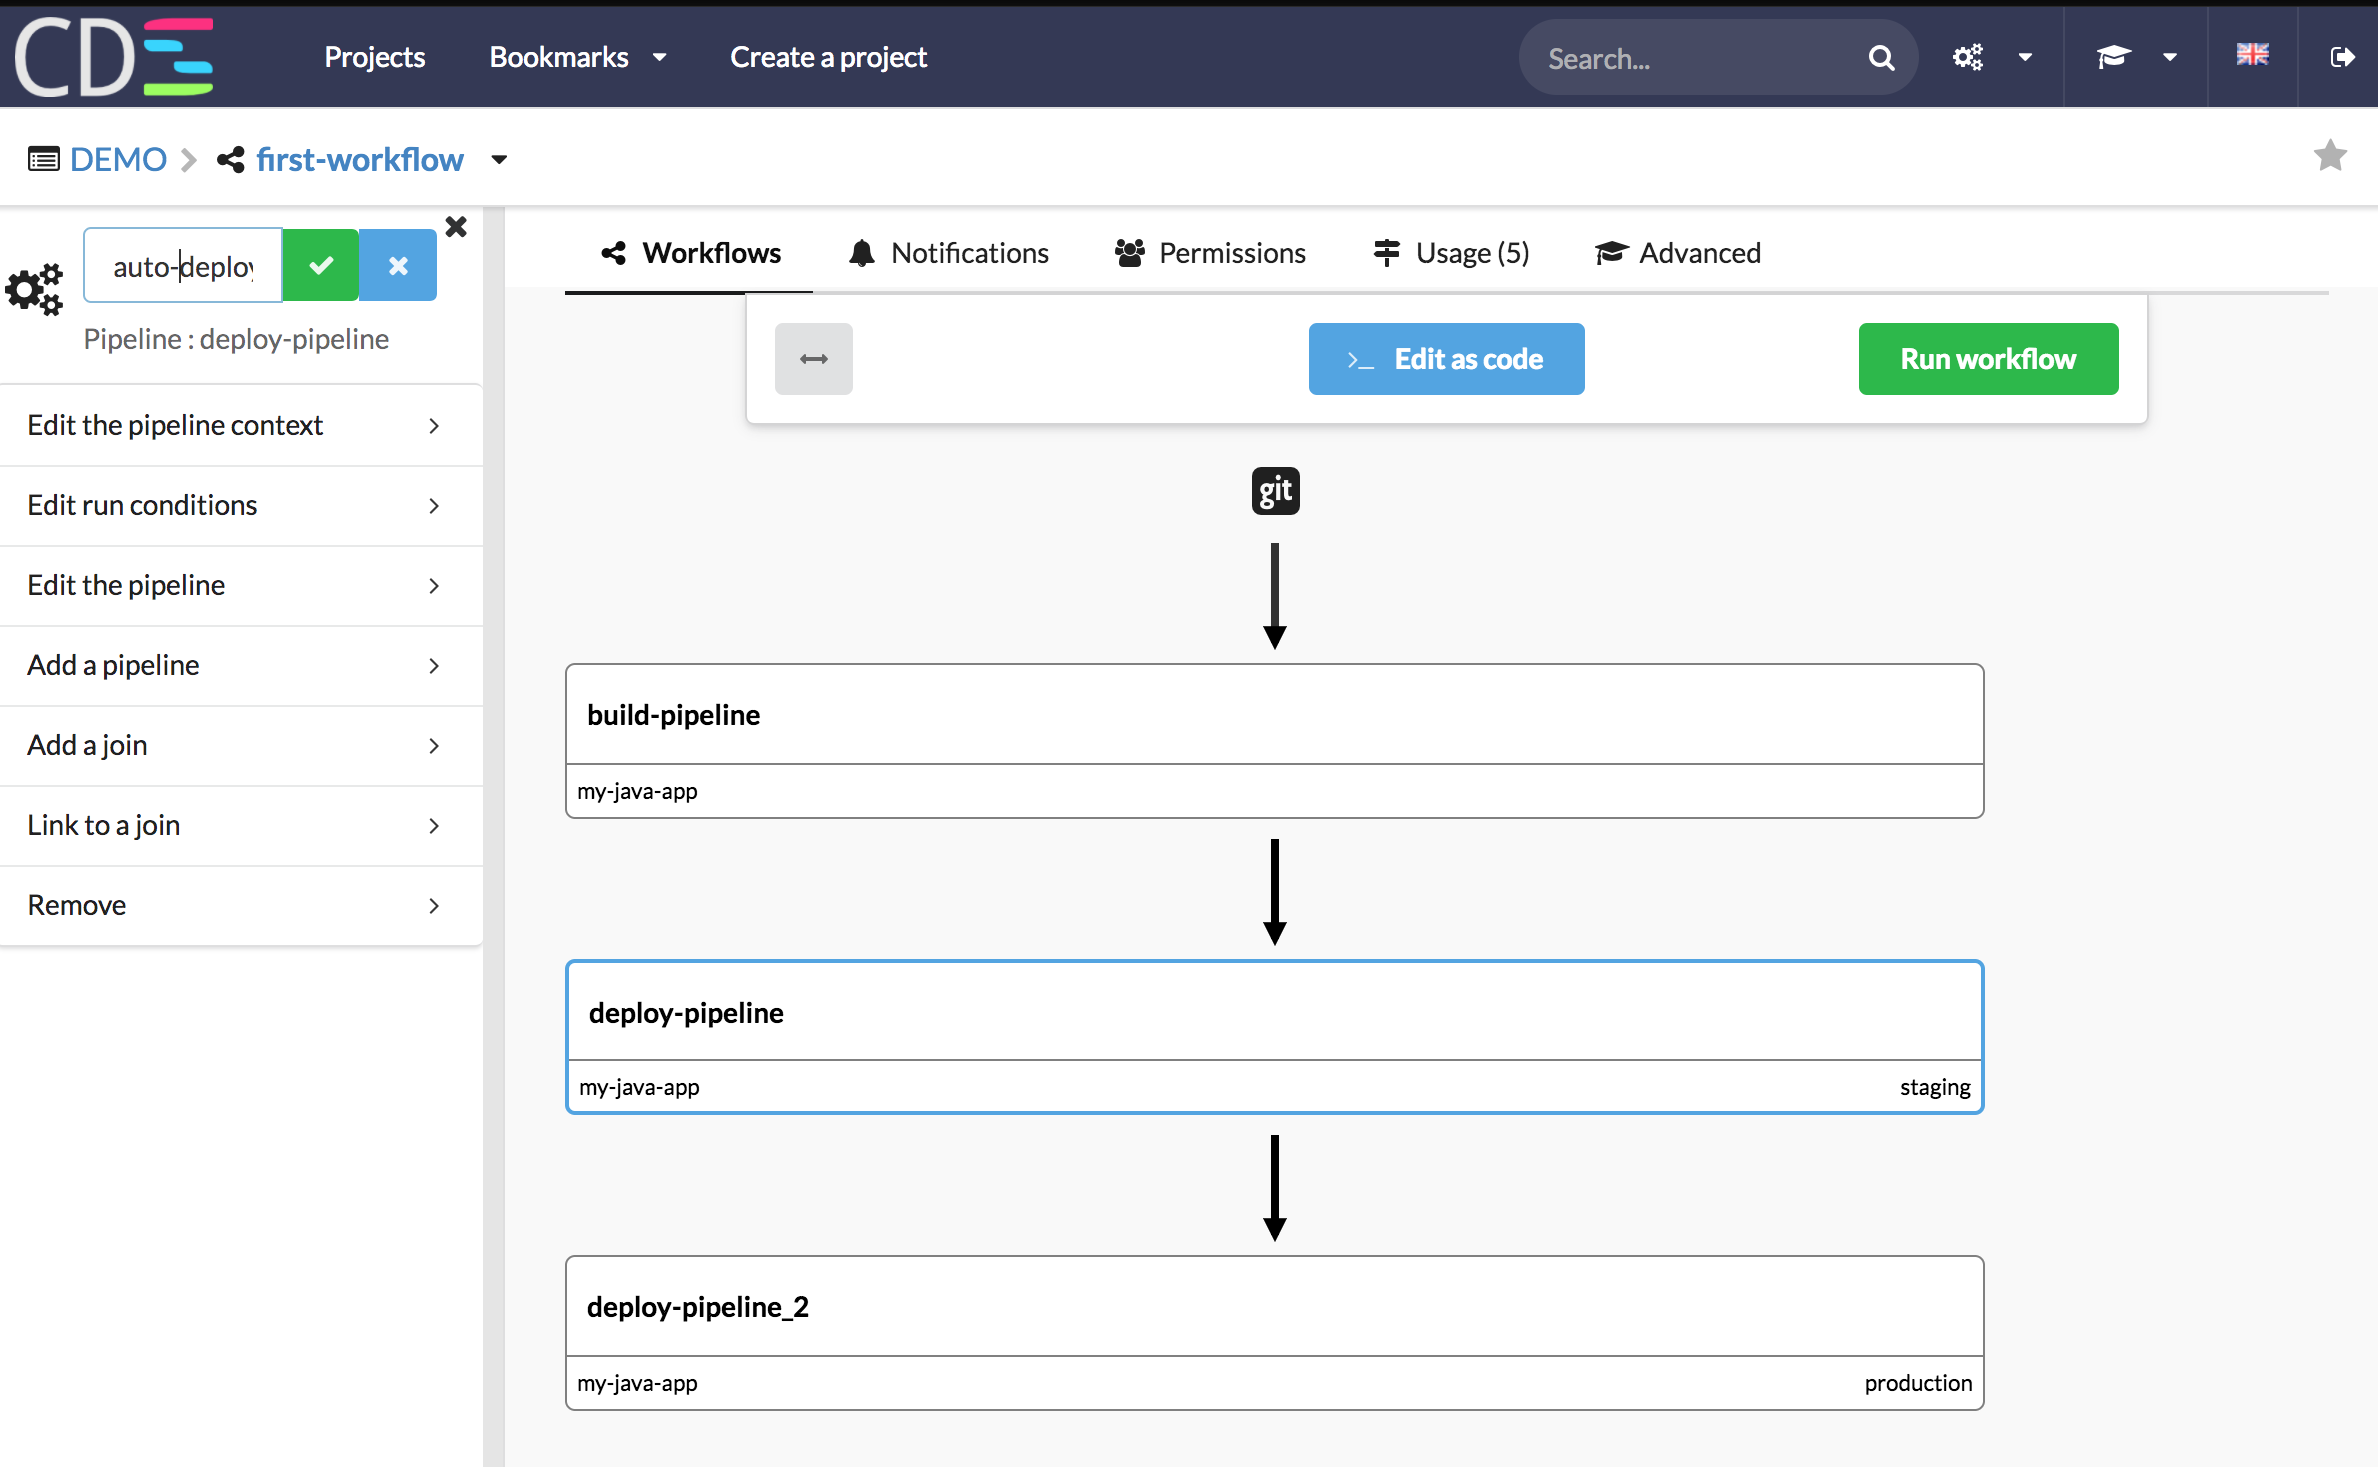
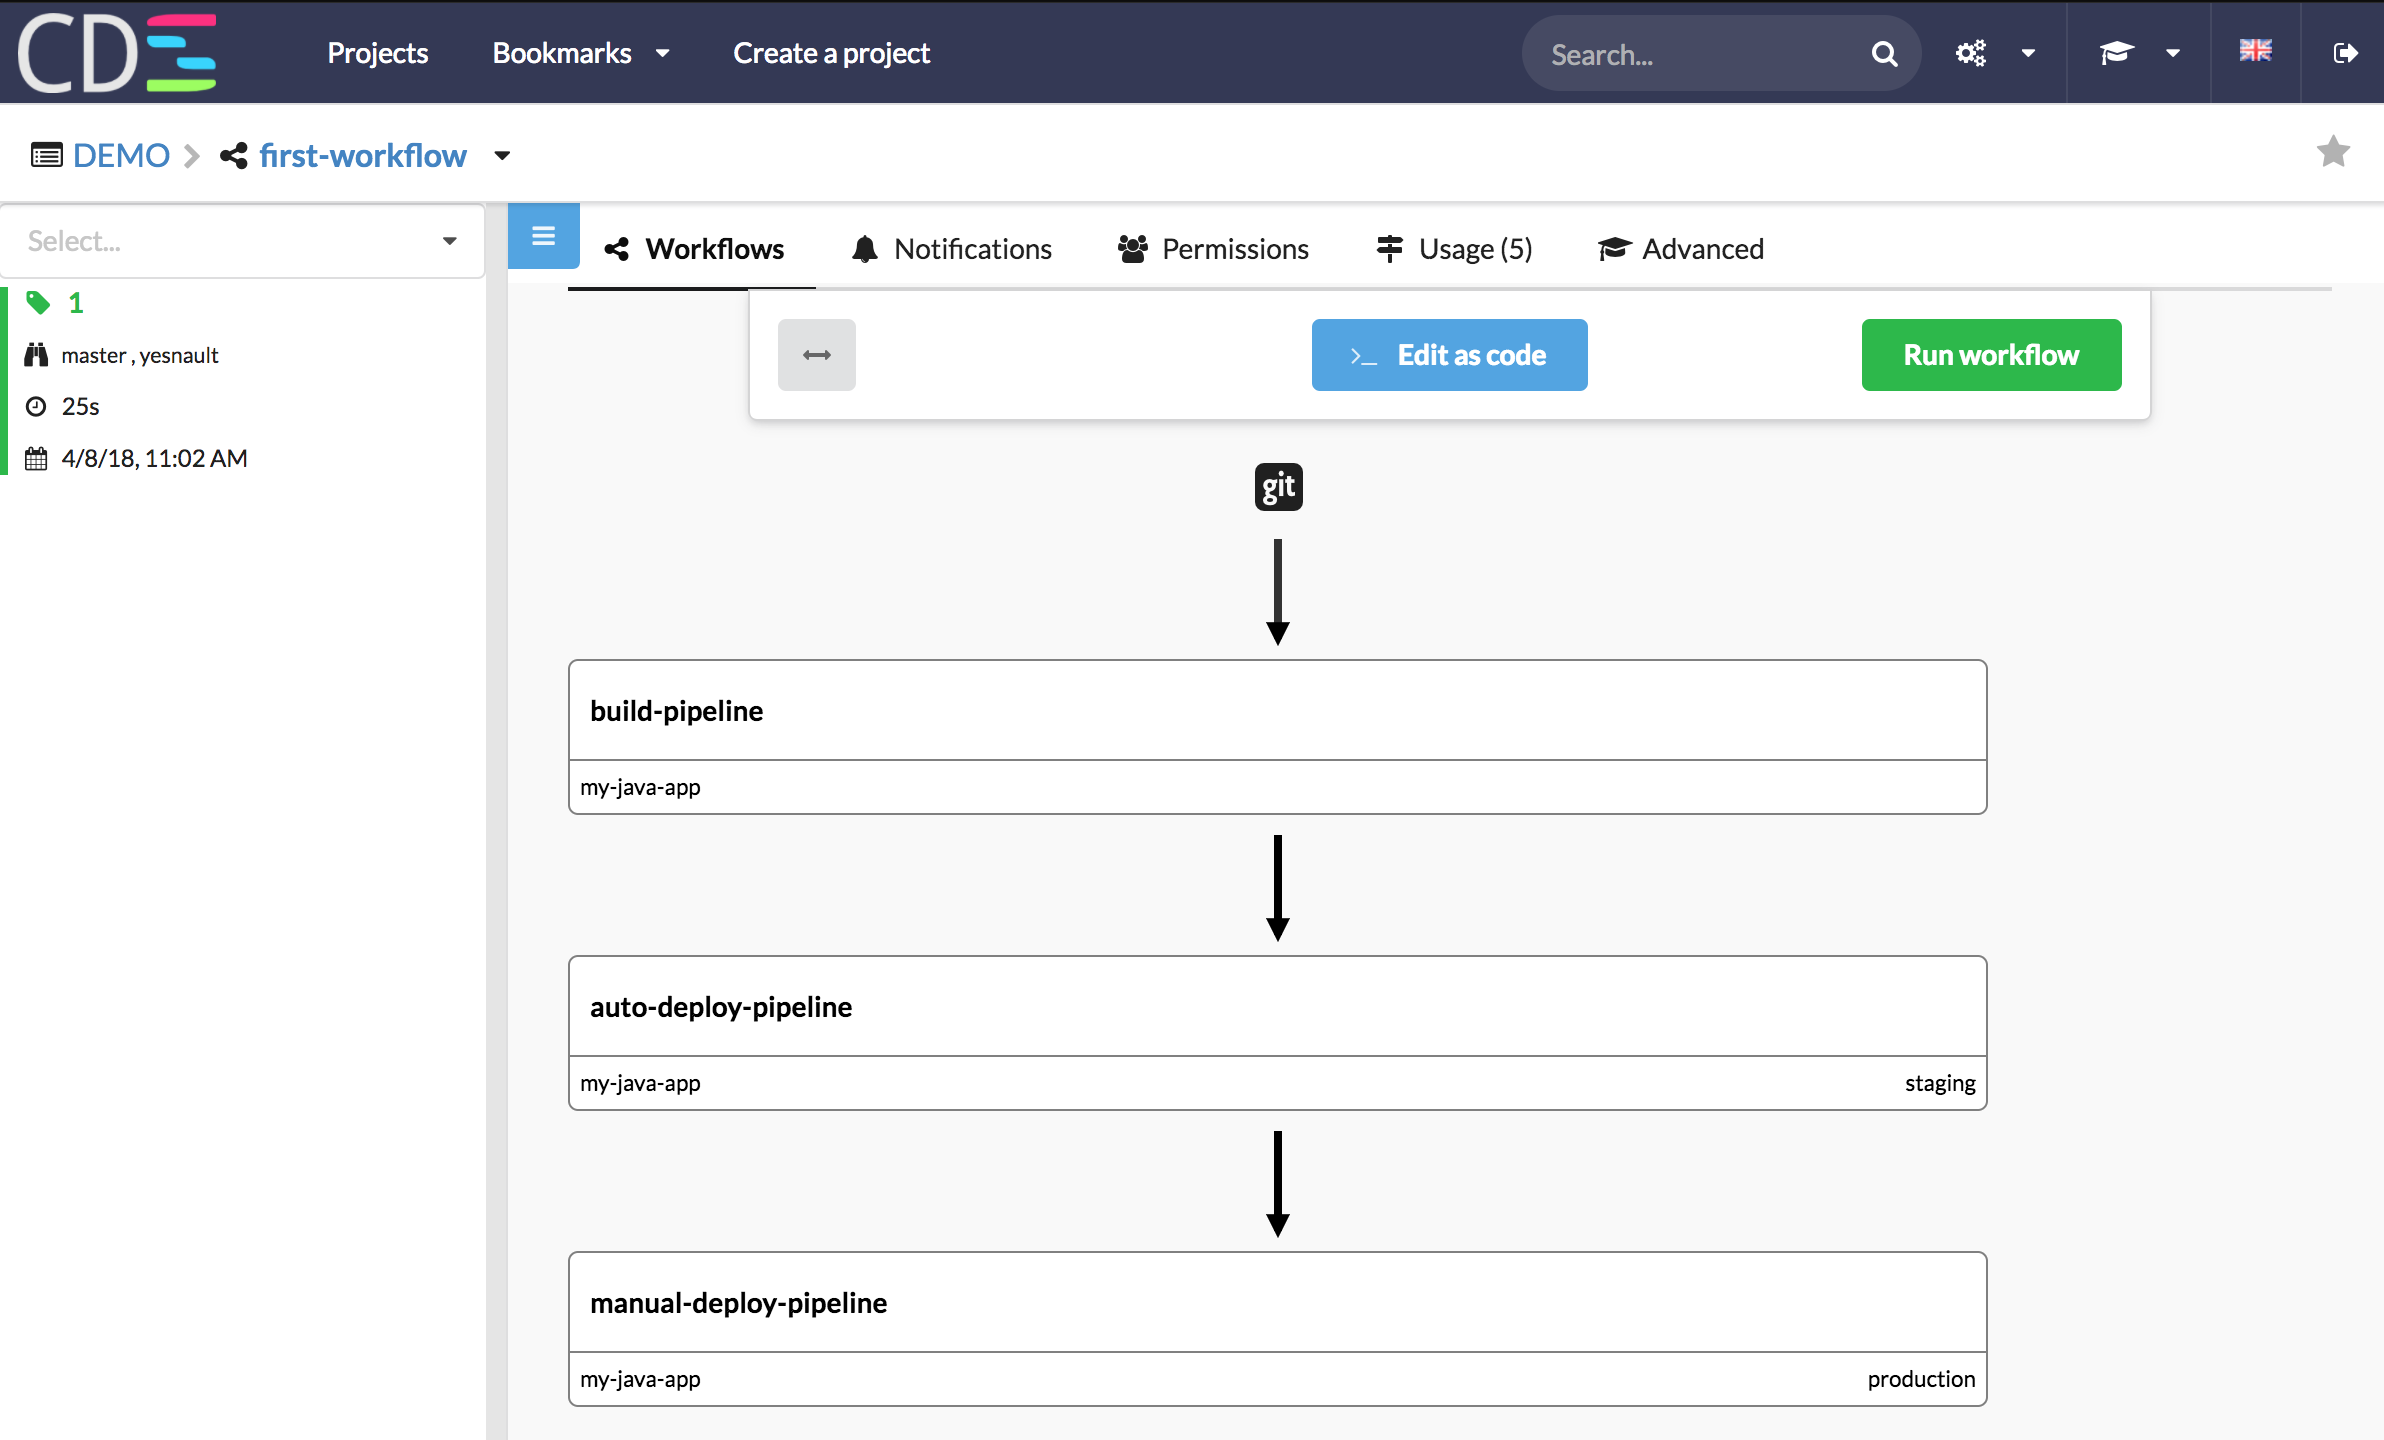
- Select the ‘deploy-pipeline’, then on the top left, click on on the edit button. Rename to ‘auto-deploy-pipeline’
- Do the same for the second ‘deploy-pipeline’, rename it to ‘manual-deploy-pipeline’
14 - Edit the ‘deploy-pipeline’
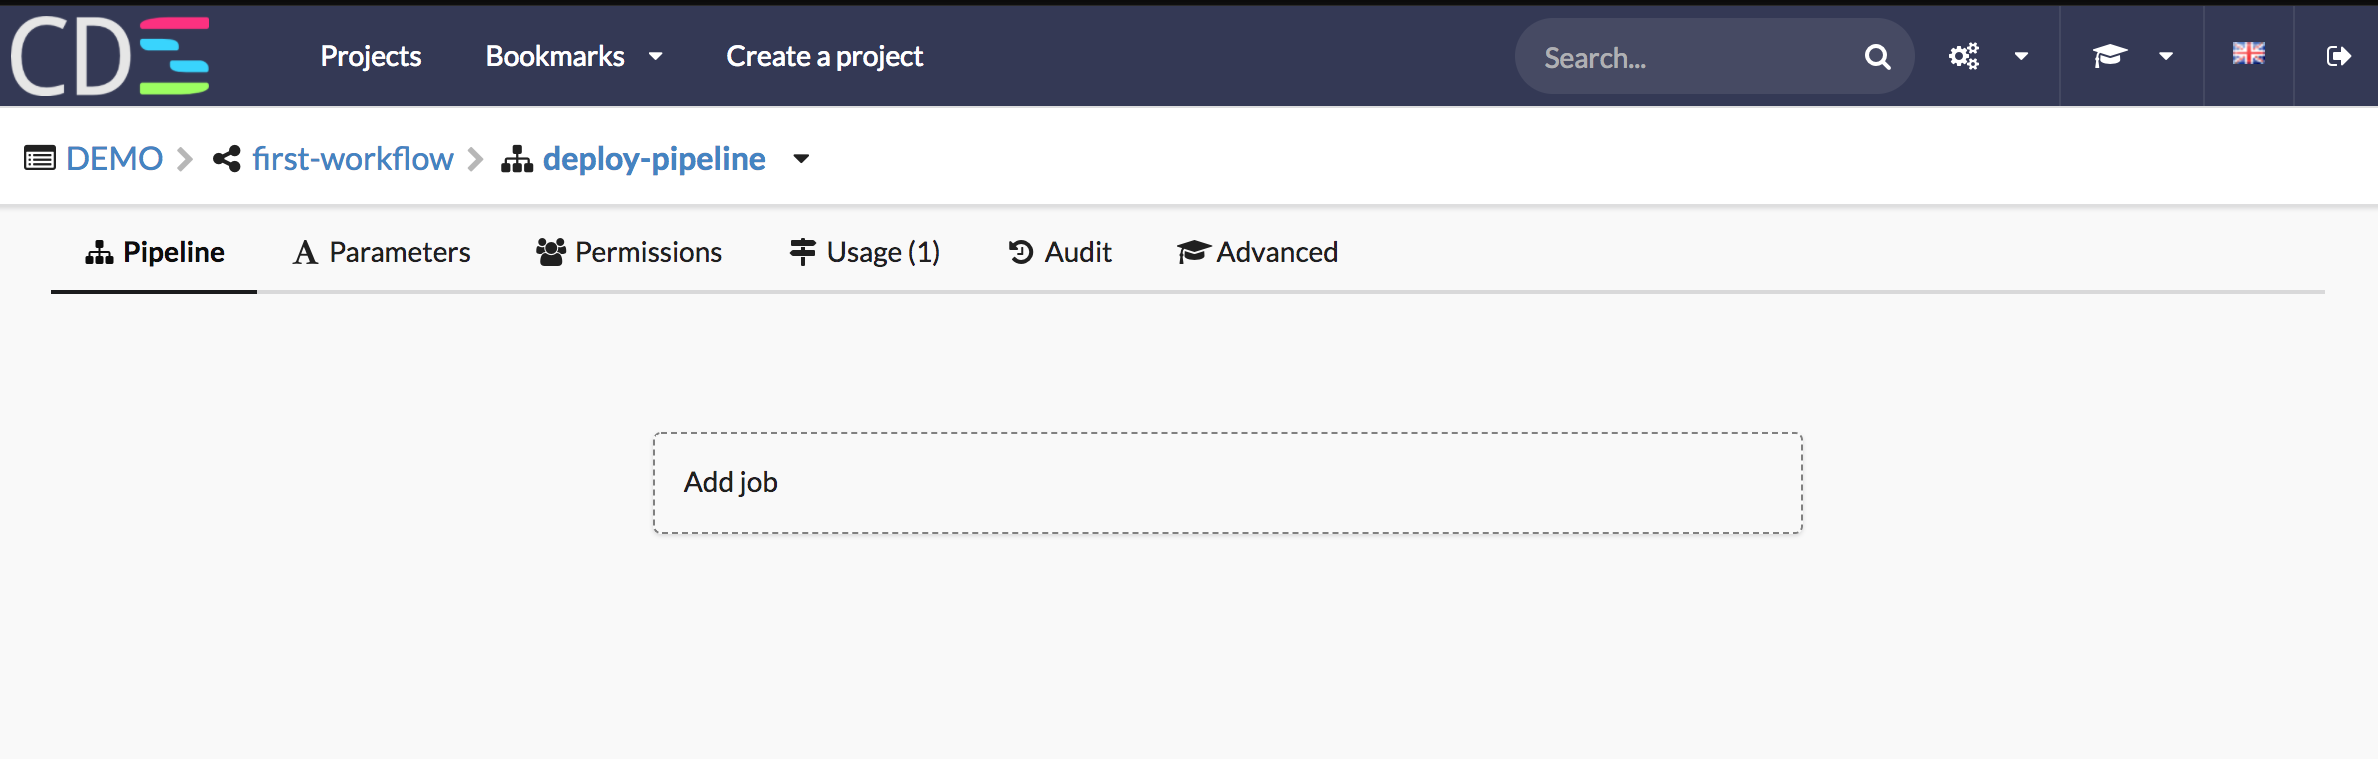
The ‘deploy-pipeline’ is empty for now. Let’s add some stuff to simulate a deployment. We will use CDS Variable from application.
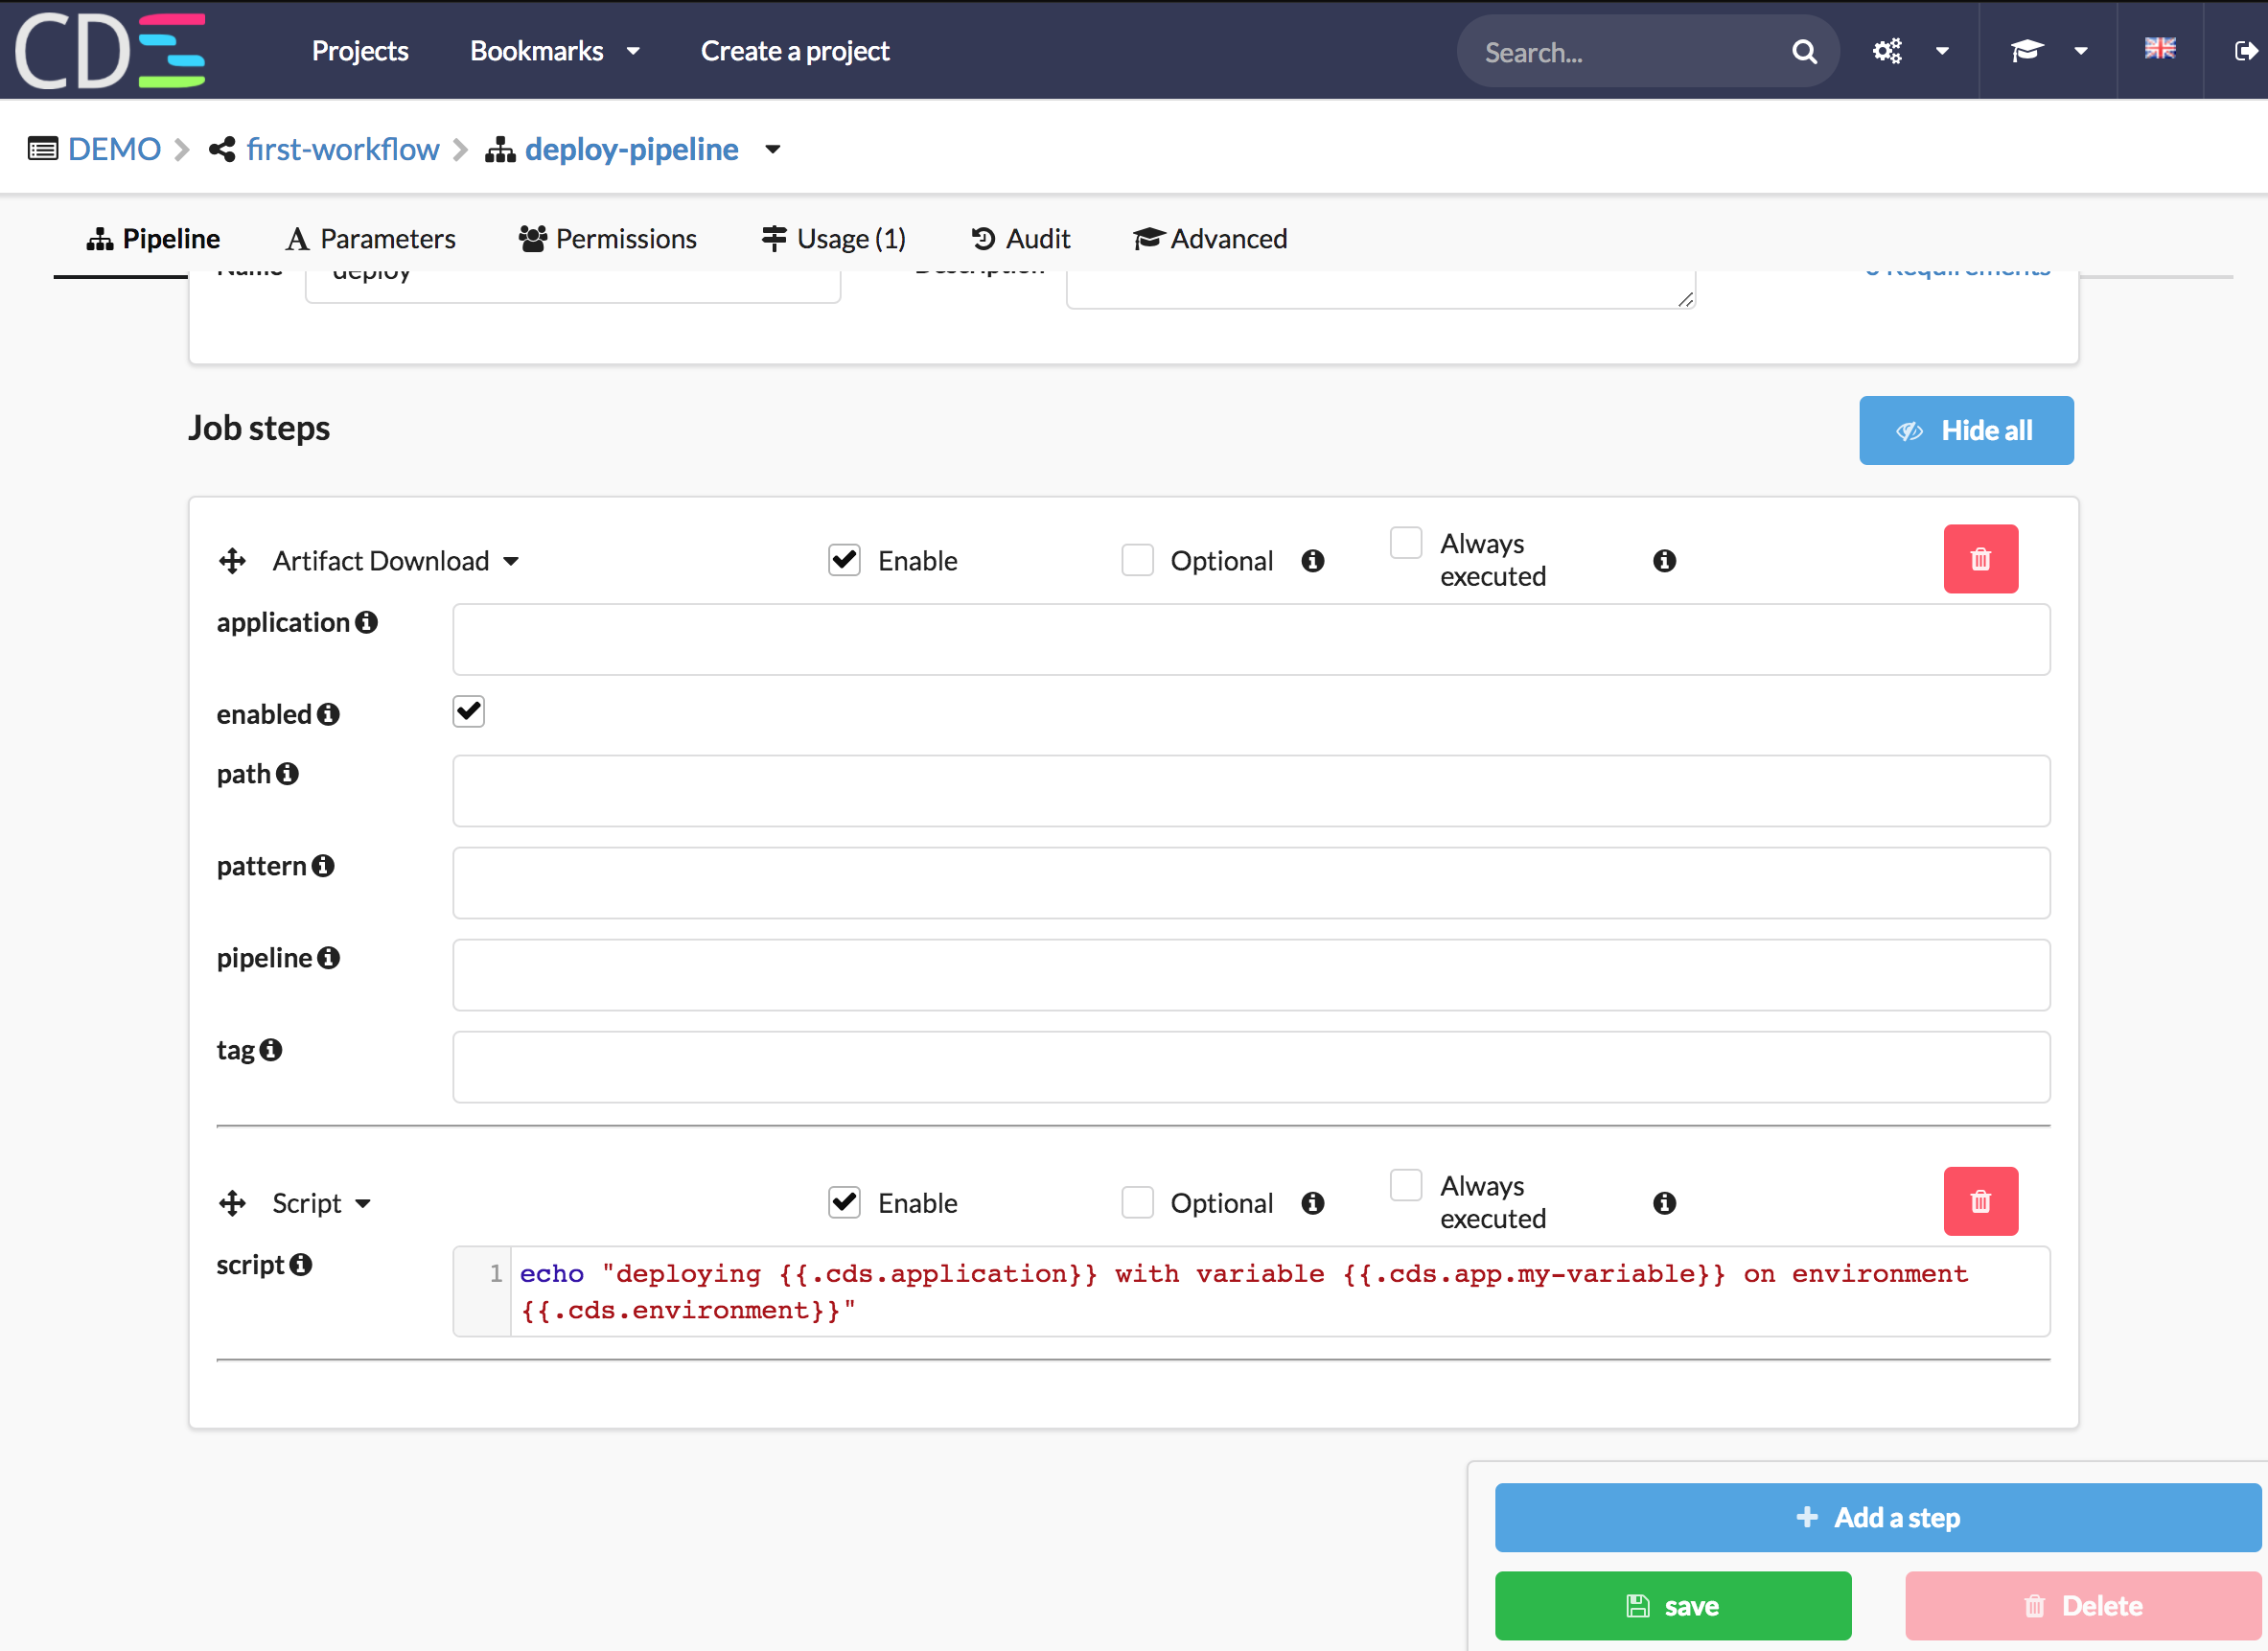
- Select the ‘auto-deploy-pipeline’, then click on ‘Edit the pipeline’ on the sidebar
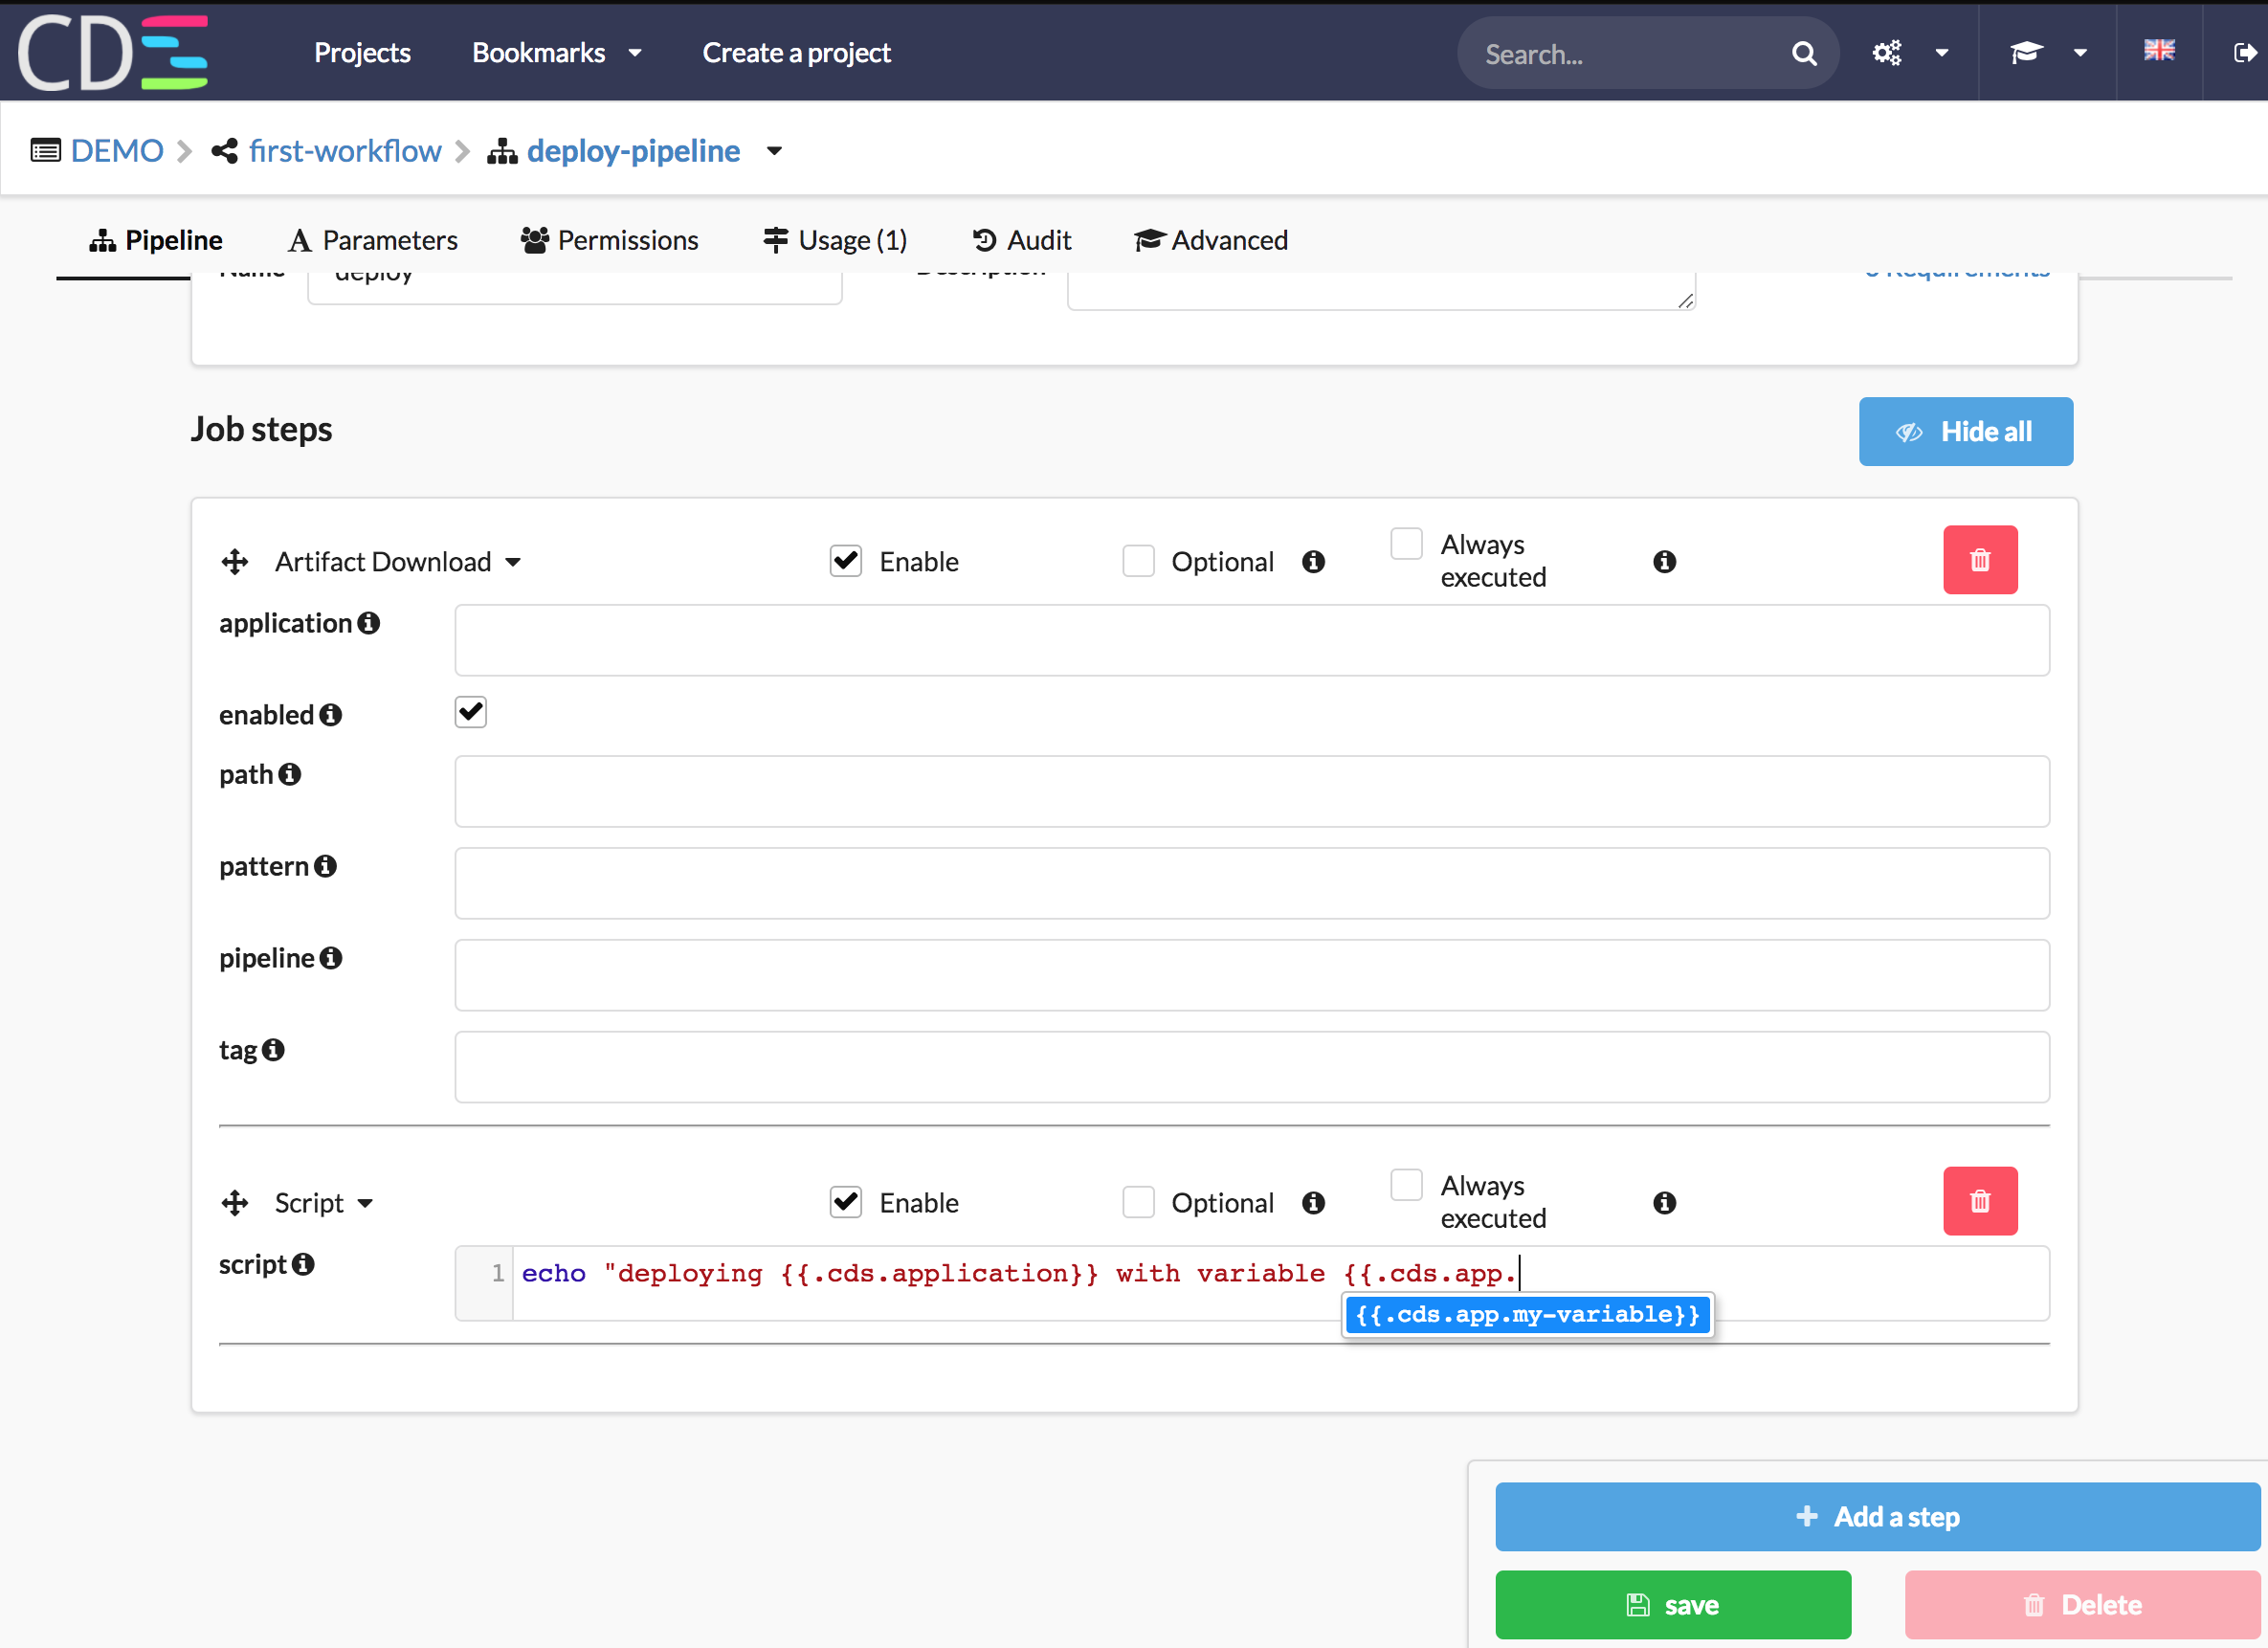
- Add a step ‘Artifact Download’ and a step ‘script’.
- The script contains
echo "deploying {{.cds.application}} with variable {{.cds.app.my-variable}} on environment {{.cds.environment}}"
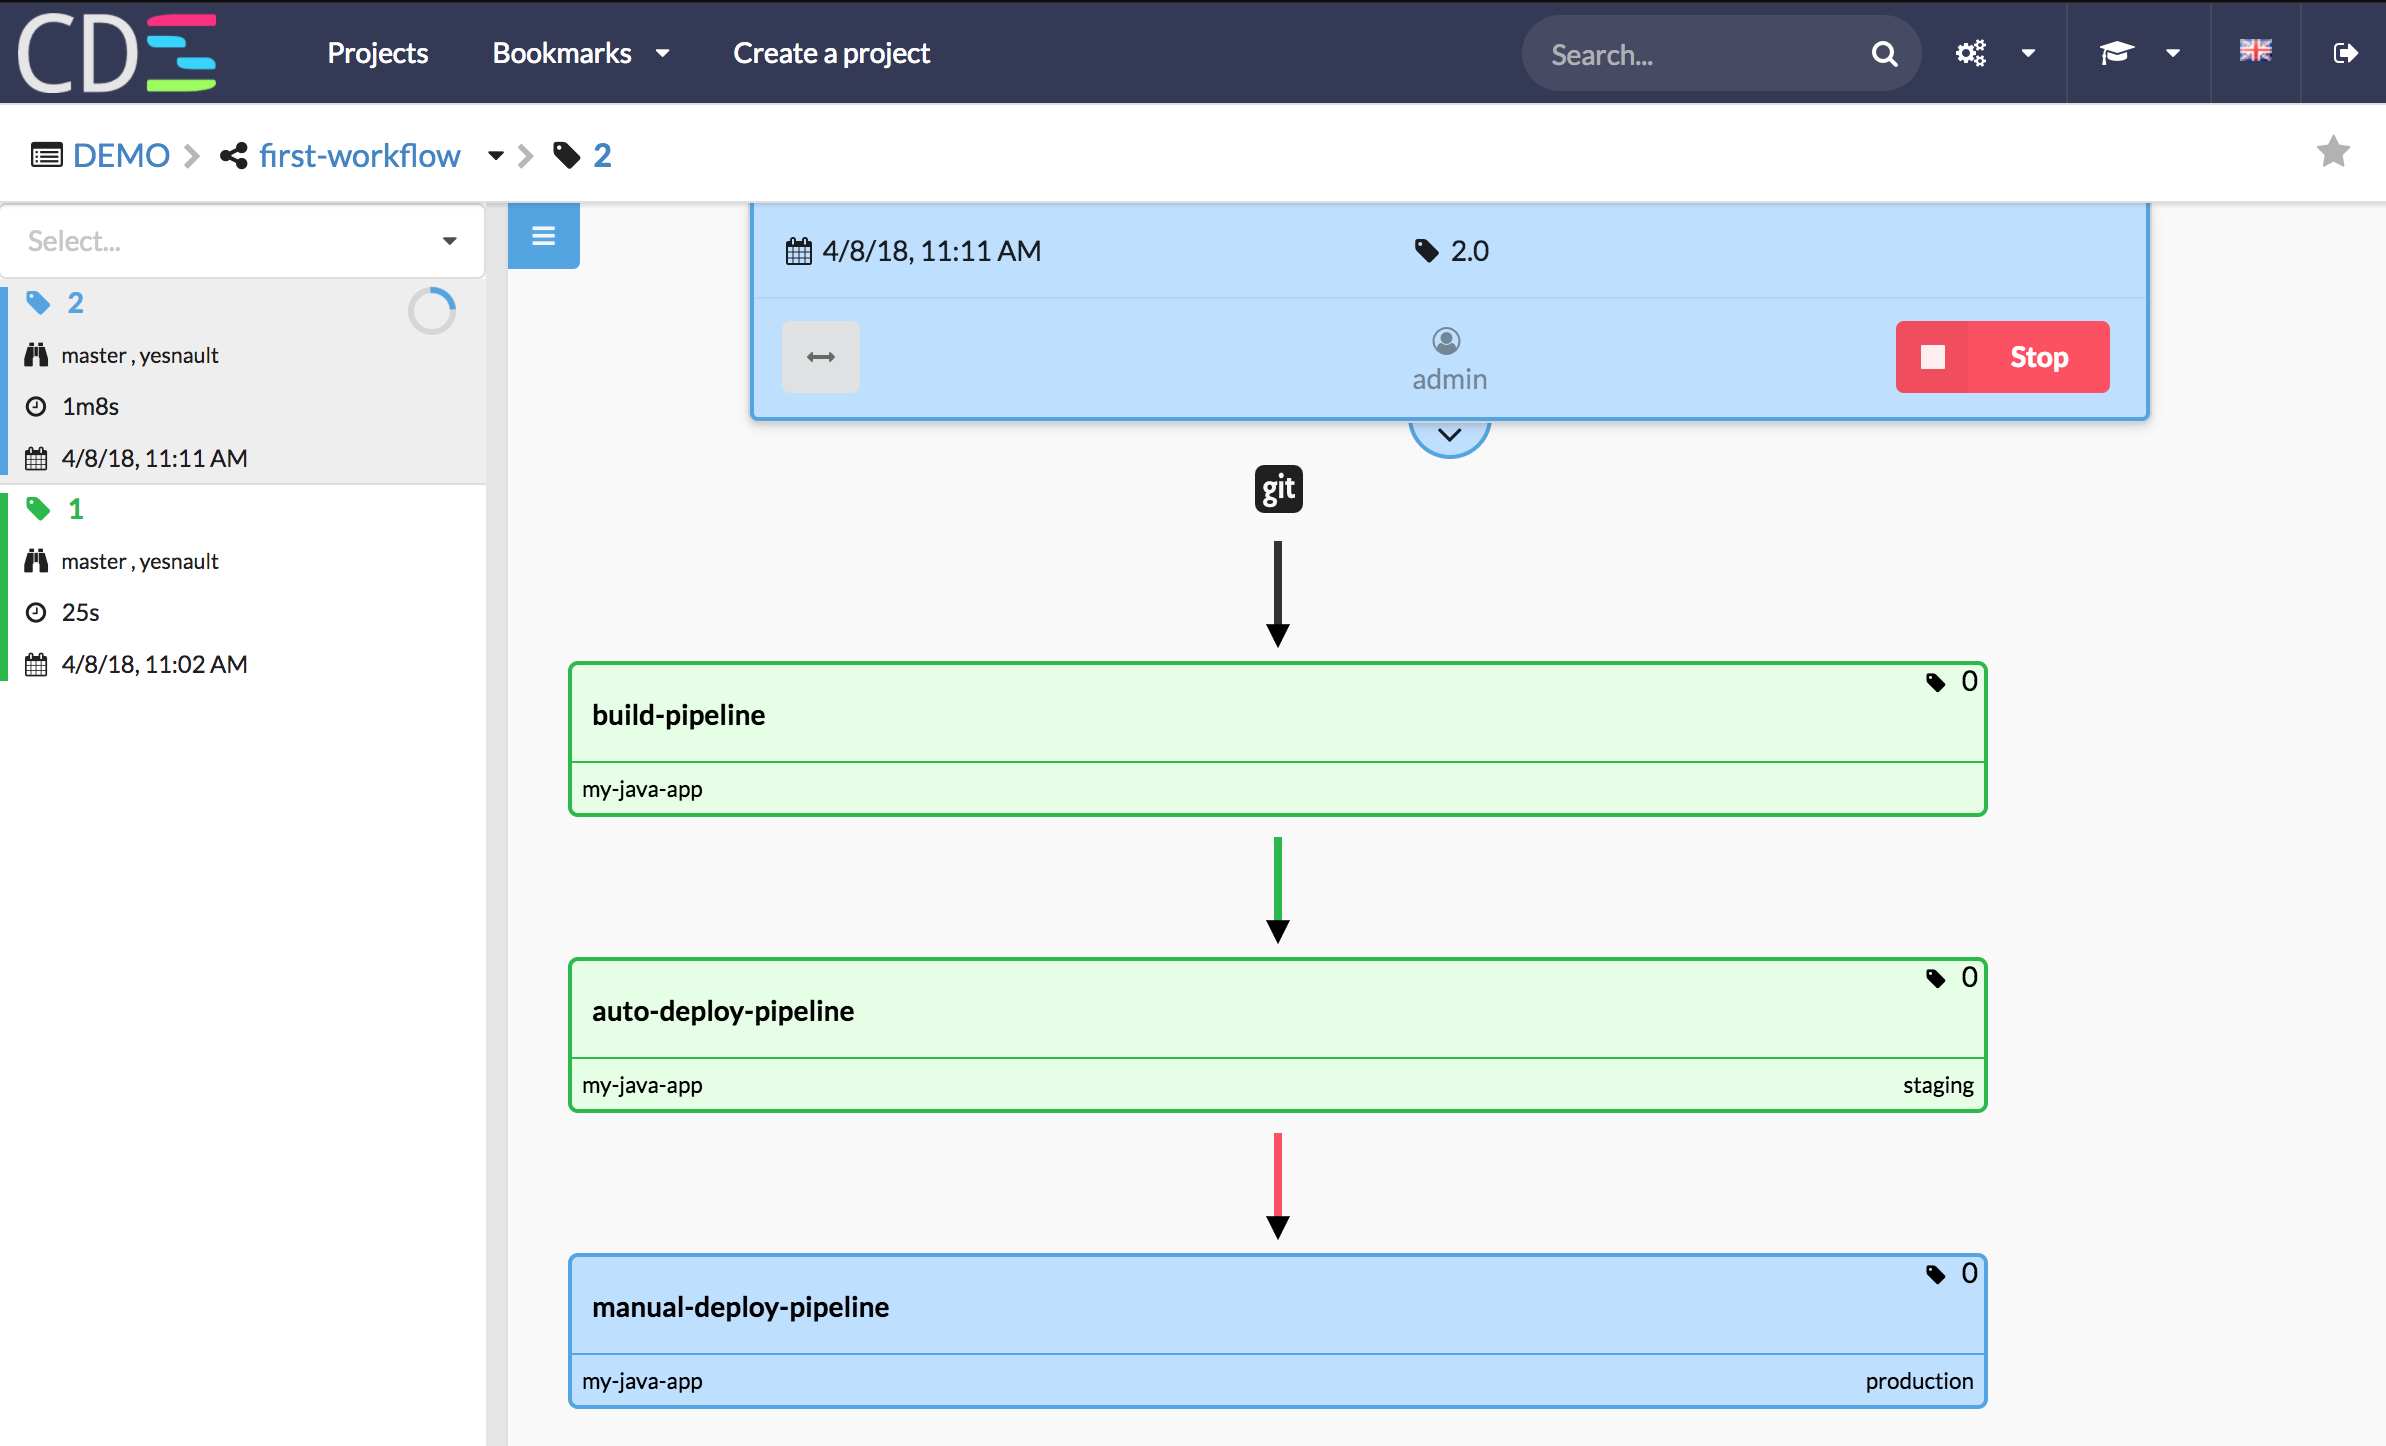
15 - Run your workflow
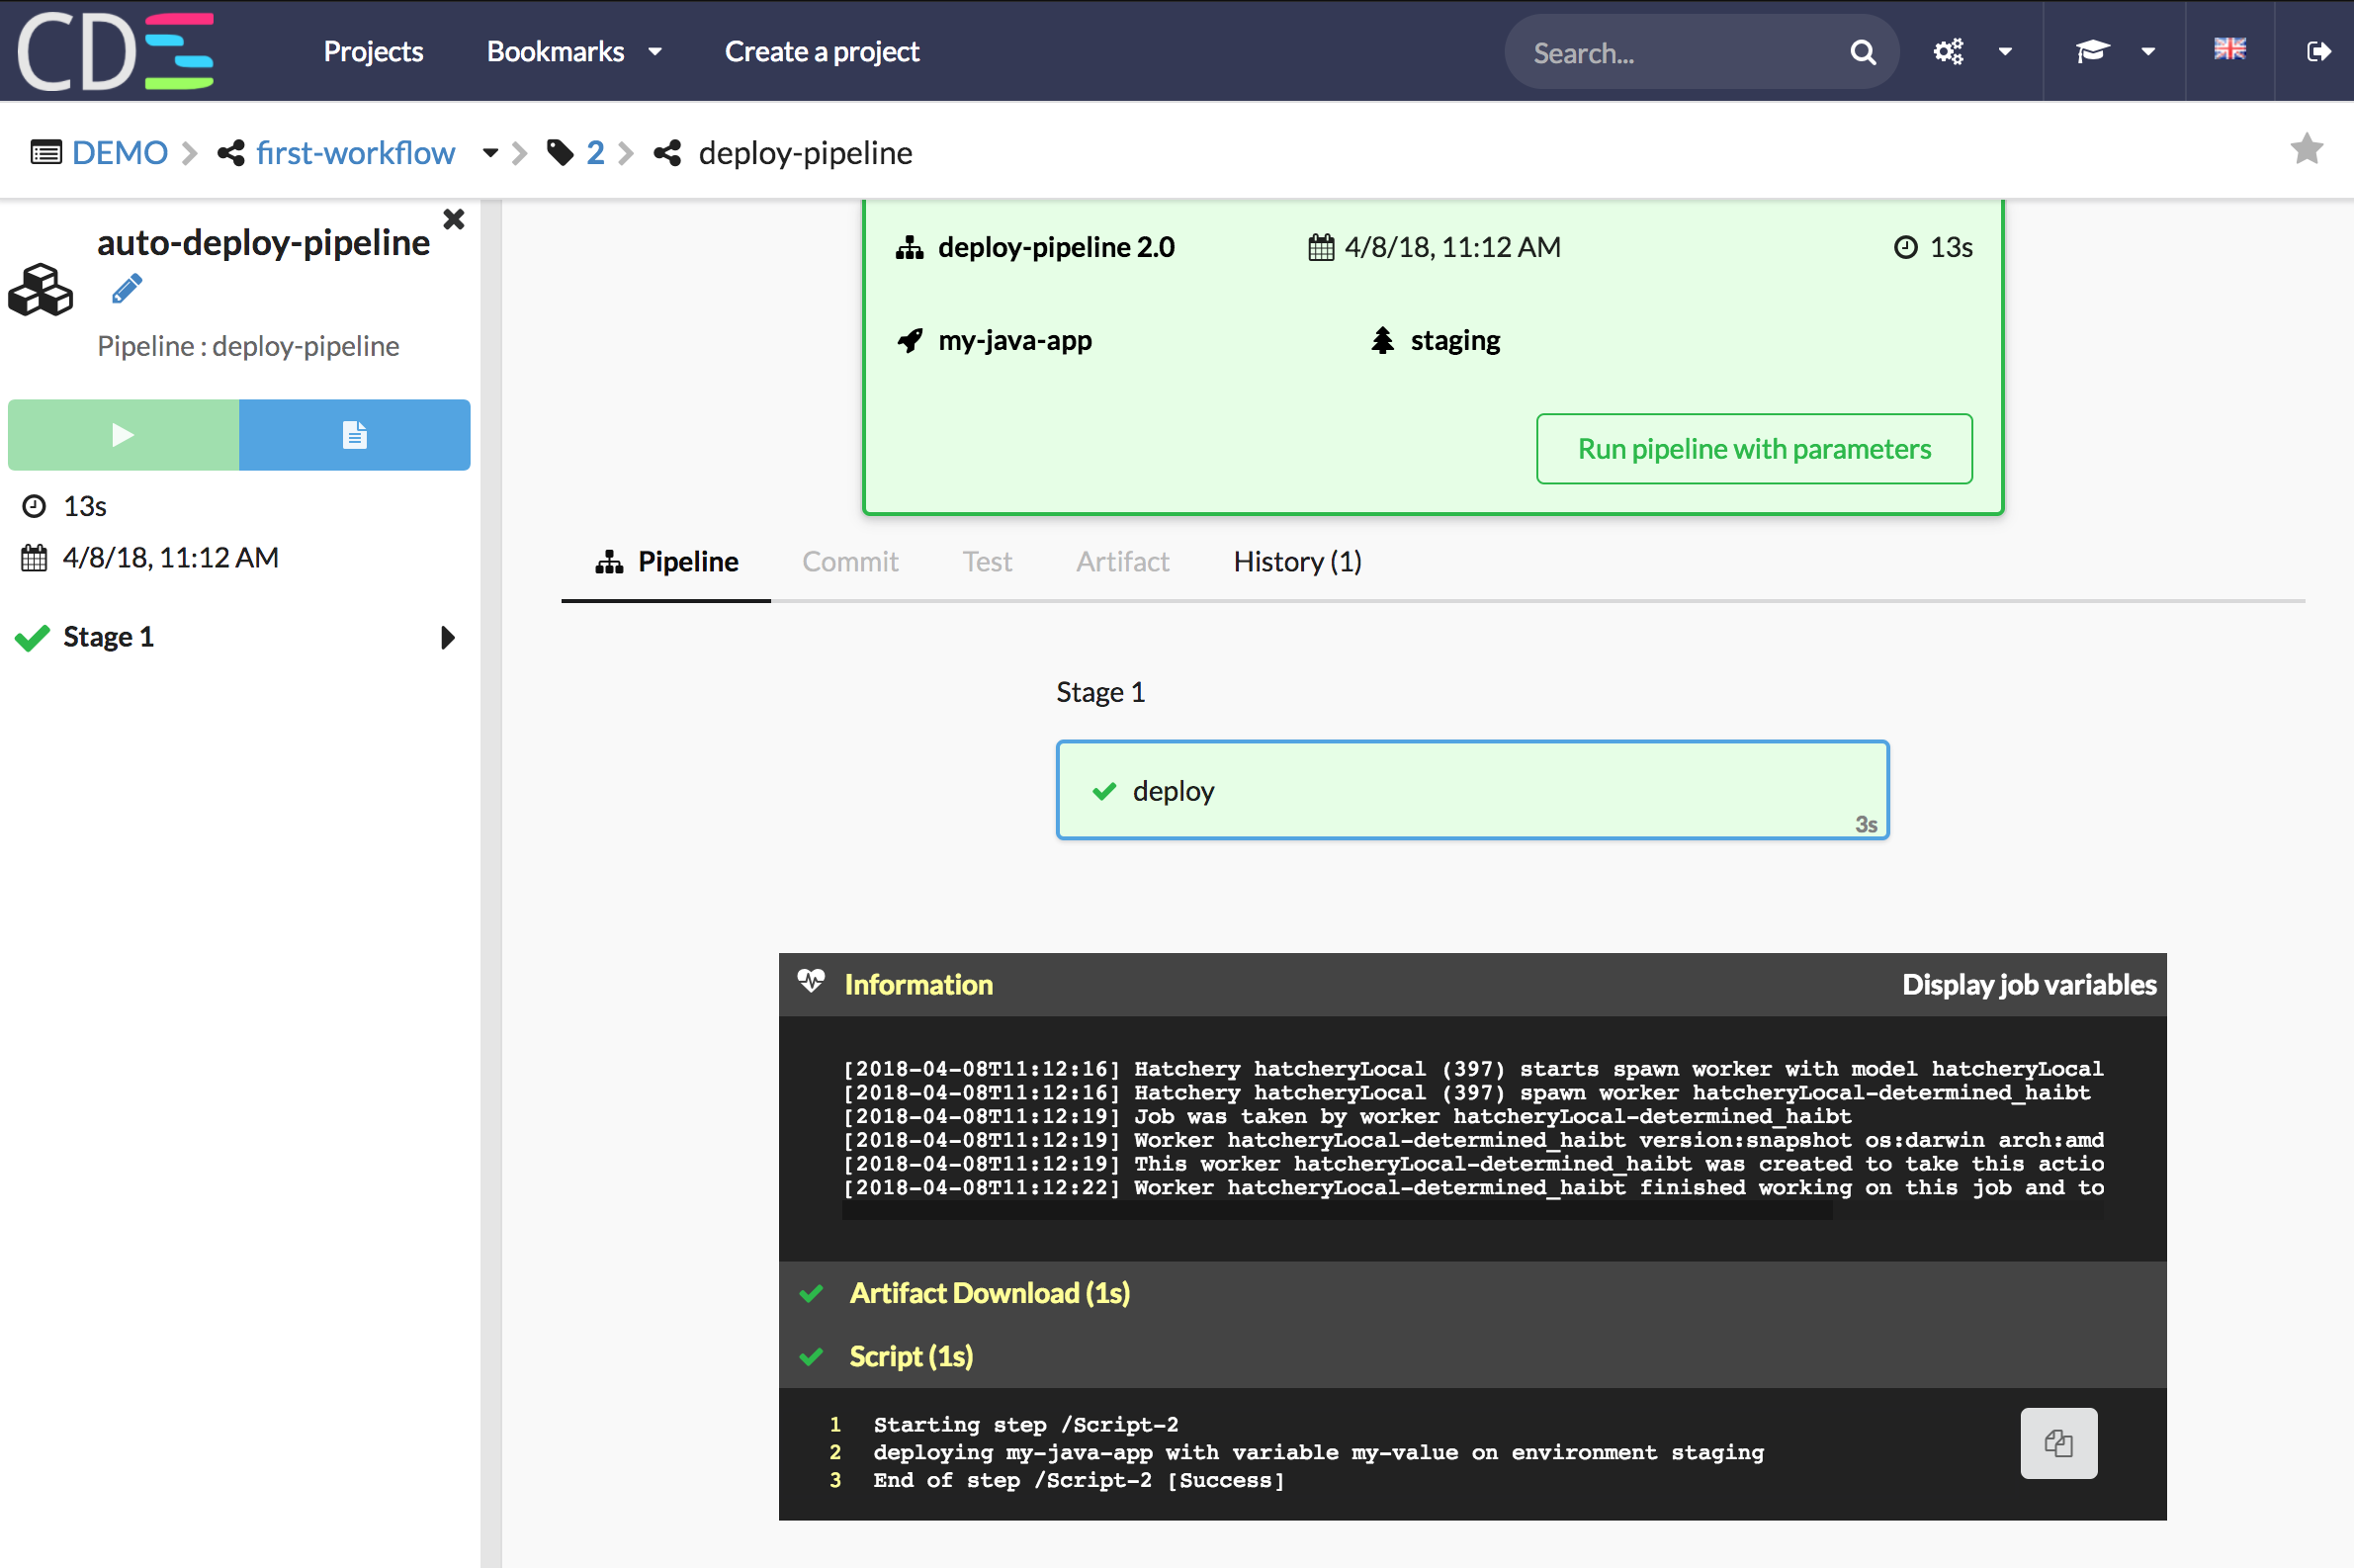
Let’s Run the workflow.
- The pipeline ‘auto-deploy-pipeline’ is automatically launched.
- The script step on this pipeline contains
deploying my-java-app with variable my-value on environment staging - The pipeline deploy in production is not launched, as expected.

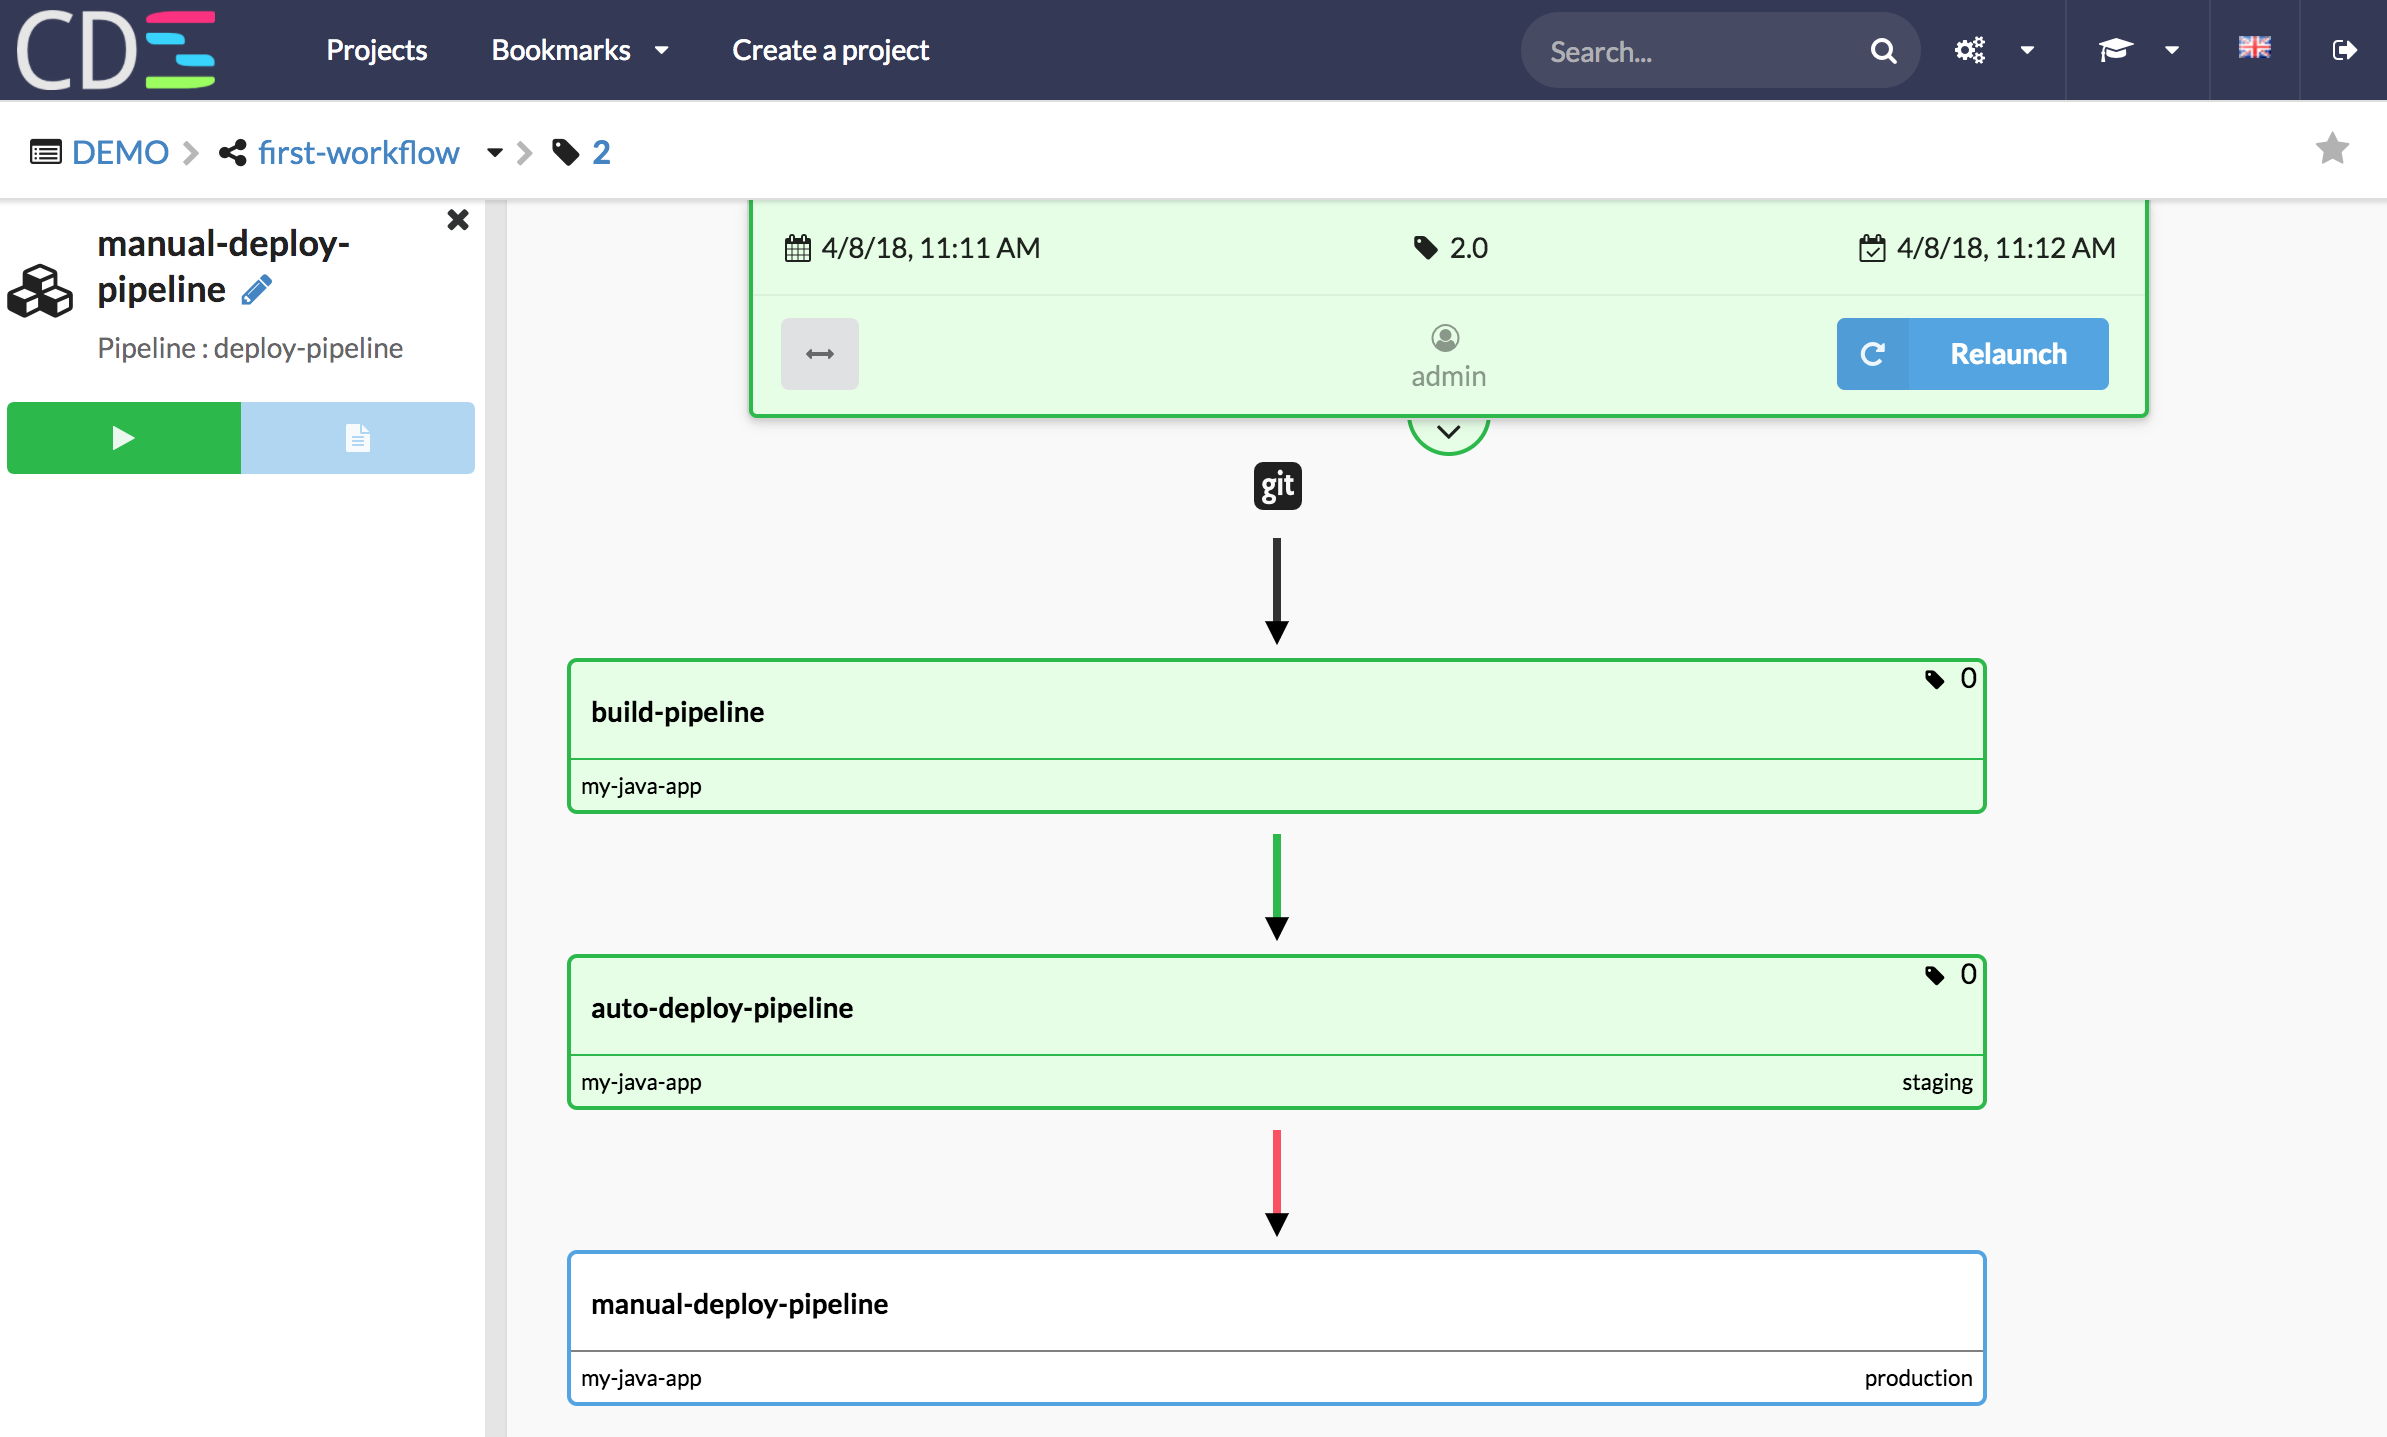
16 - Run the deploy in production
As you add a run condition on the ‘manual-deploy-pipeline’, with cds.manual = true, you have to
click on Run to launch a deployment in production.
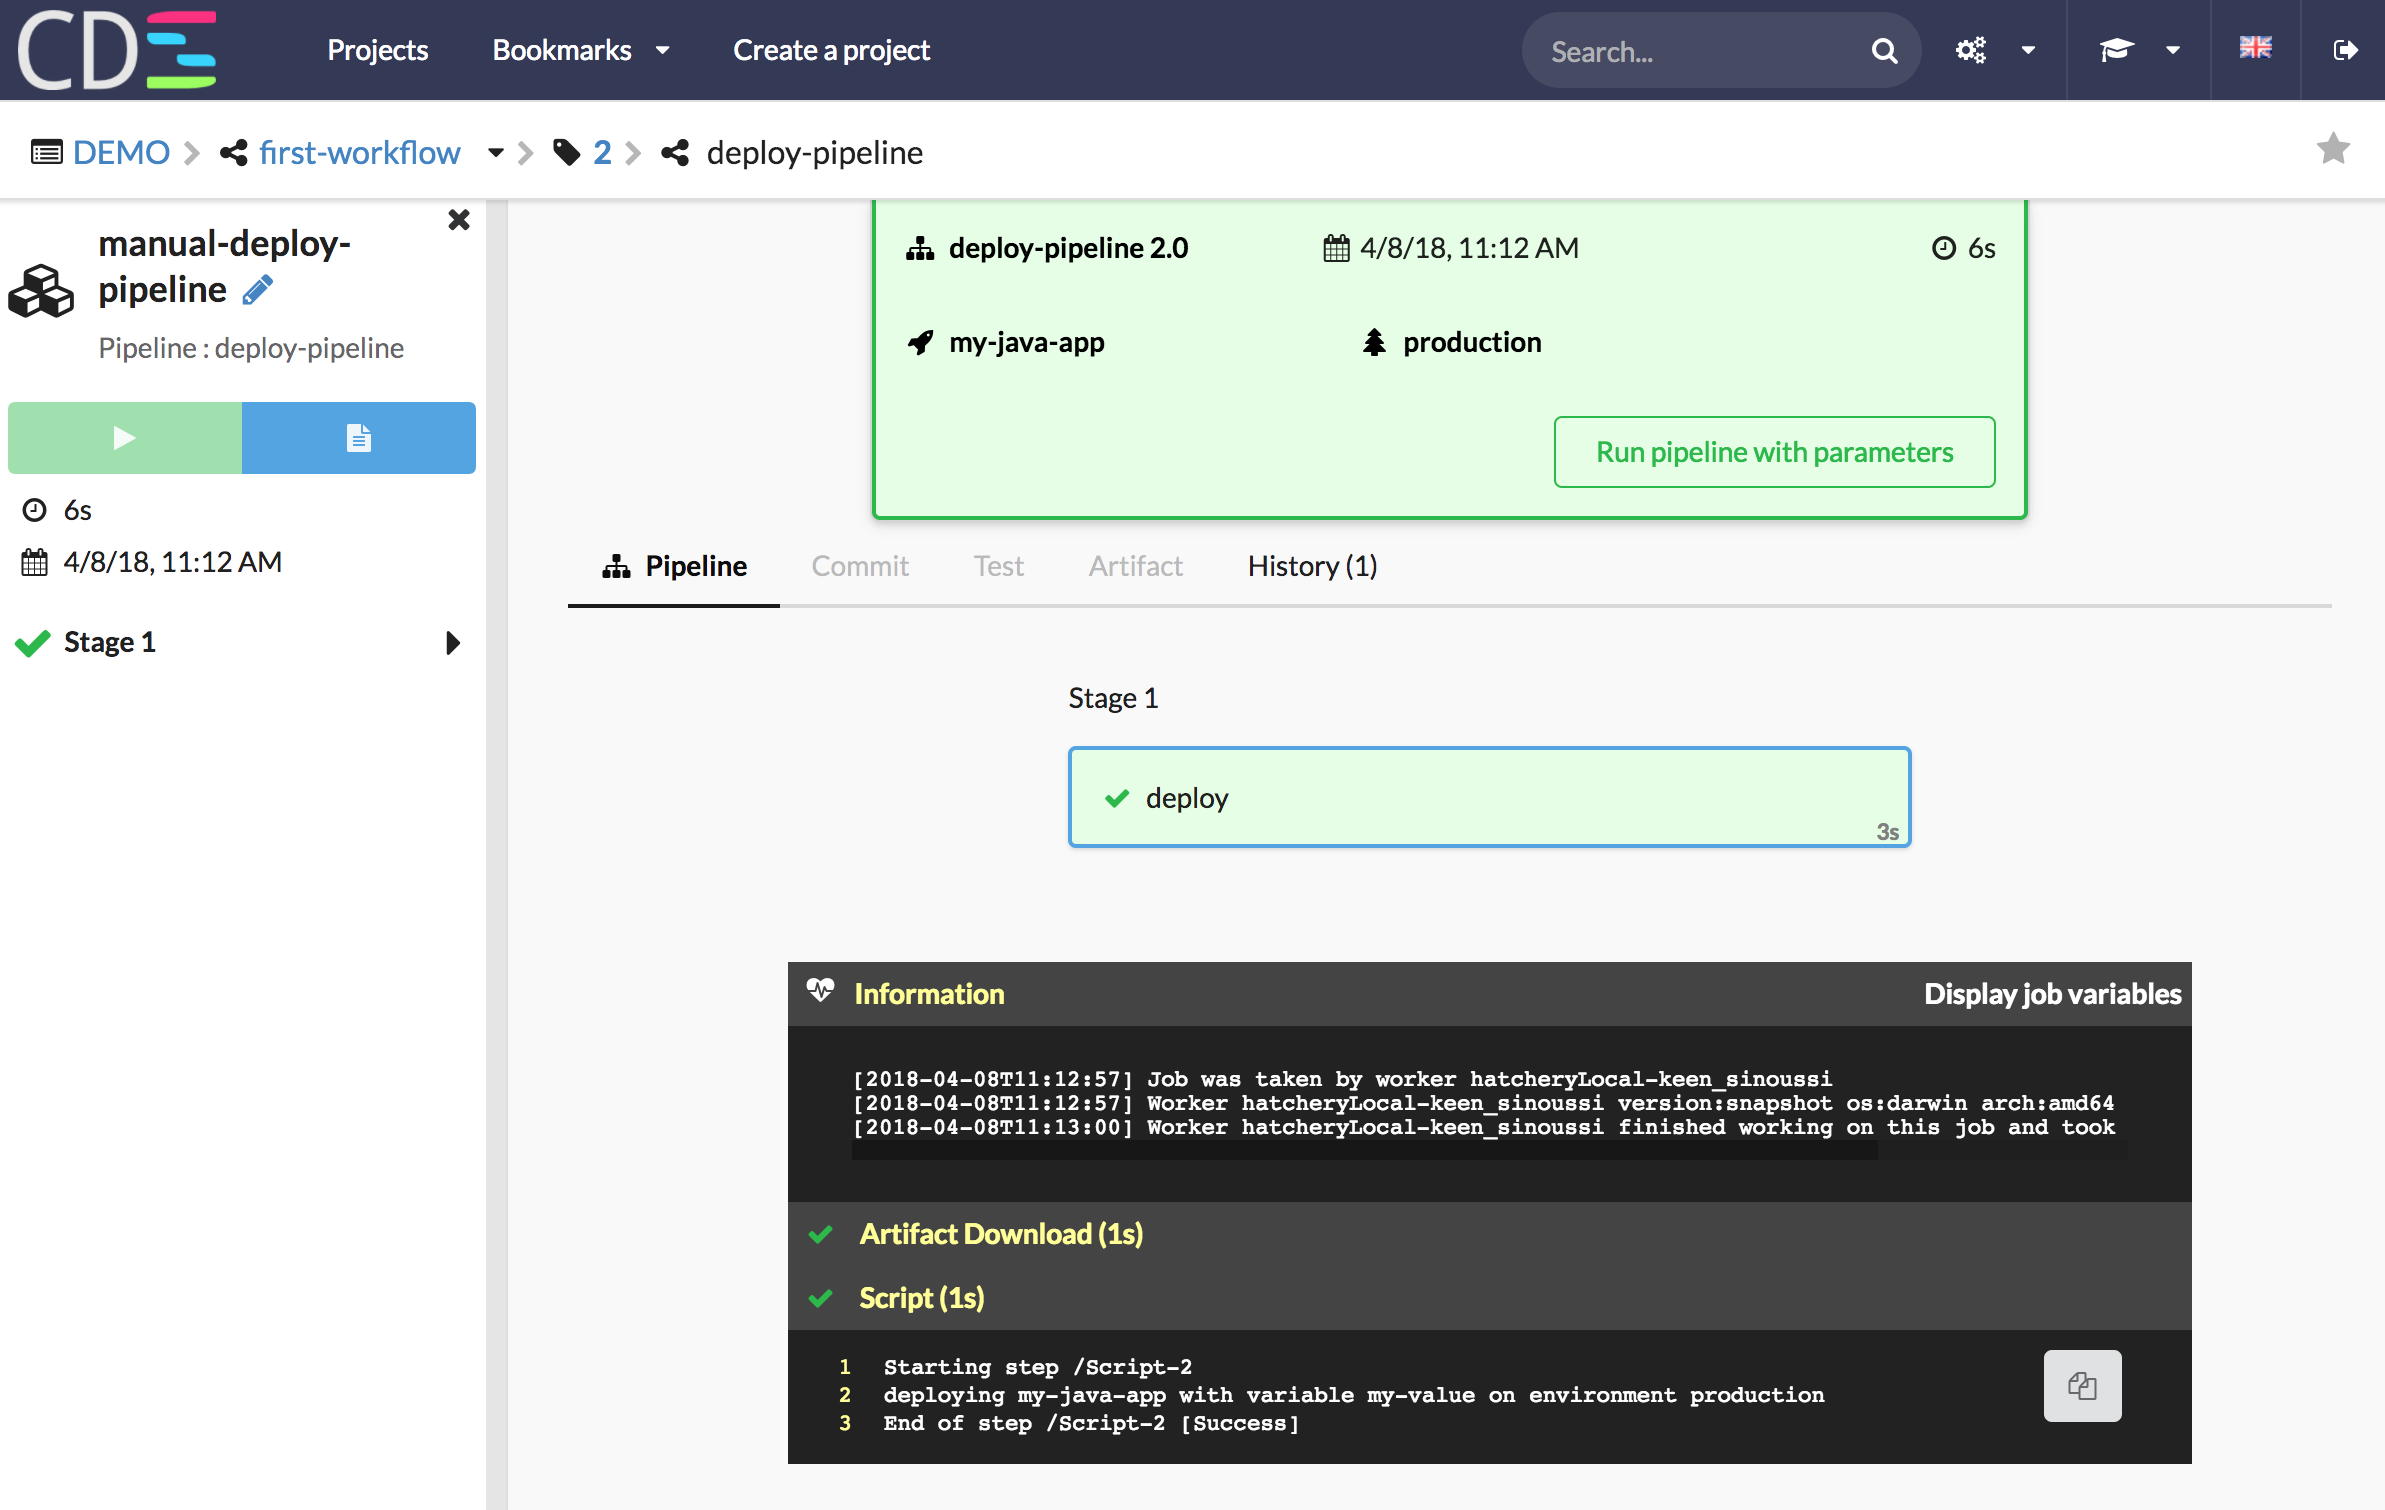
- Select the ‘manual-deploy-pipeline’, then click on the ‘Play’ button on the top left
- The script step displays
deploying my-java-app with variable my-value on environment production