Installation
Preamble
In order to fully run DepC you have to follow several steps described below. Also, you need to setup your environment with these following software :
- Redis
- Kafka (1.1.0)
- The graph database Neo4j (3.4)
- A RDBMS supported by SQLAlchemy (we suggest PostgreSQL)
- The Warp10 time series database
- OVH Beamium to send the computed QoS into Warp10
Take a look on the depc.example.yml to set the required configuration fields accordingly.
Note
Even if DepC supports also OpenTSDB to compute the QOS, it currently requires the Warp10 database to store its own metrics. We are working to make Warp10 optional to run DepC.
Warning
We are aware this installation guide requires multiple manual configuration steps. We plan to improve the installation process in a future release.
Create your virtual environment
You may need to install Python 3.6+ first, this step can differ depending on your operating system, please refer to the official Python documentation for further details.
pip install virtualenv
virtualenv -p python3 venv
source venv/bin/activate
Install the requirements
pip install -r requirements.txt
Note
To support the Snappy compression library for the Kafka consumer,
on Debian-based Linux distribution you have to install the libsnappy-dev package. Then you can install
the related Python package.
pip install python-snappy==0.5.4
Configure your environment
In DepC the root directory, you have to create a new configuration file for your environment
using the provided configuration sample in depc.example.yml.
Name the configuration file depc.<env>.yml where you should replace <env> with the
DEPC_ENV value.
Set these environment variables :
export DEPC_HOME="$(pwd)"

# Then export, one of the following environment variable

# Development environment will use a depc.dev.yml file
export DEPC_ENV=dev

# Testing environment will use a depc.test.yml file
export DEPC_ENV=test

# Production environment will use a depc.prod.yml file
export DEPC_ENV=prod
Then you need to configure the secrets in your configuration. You can generate values with the following command :
$ python -c "import binascii;from Crypto import Random; print(binascii.hexlify(Random.new().read(32)).decode())"
62bb303abfd246b2dde9b6513187ede335e238bb957d7c57fdc69d41bf501a0f
Execute it twice to populate the SECRET and DB_ENCRYPTION_KEY variables.
Launch the API
Using the Flask development server :
$ export FLASK_ENV=development
$ export FLASK_APP=manage:app
$ make api
Using Gunicorn :
$ export FLASK_ENV=production
$ gunicorn --bind 0.0.0.0:5000 manage:app
Now you can reach the API :
$ curl http://localhost:5000/v1/ping
{
  "message": "pong"
}
Setup the Web UI
To install and run the Web UI you need to install Node.js 8. Then you will be able to run the NPM command-line tool packaged with your Node.js installation.
In the ui/ directory :
$ npm install
$ npm install bower grunt grunt-cli -g
$ bower install
Note
In your development environment, you need to fake the authentication gateway, in this case,
edit the file app/scripts/services/httpinterceptor.js and lookup for the line below.
Uncomment this line and replace username with your own desired user.
// config.headers['X-Remote-User'] = 'username';
To start the Web UI :
$ make ui
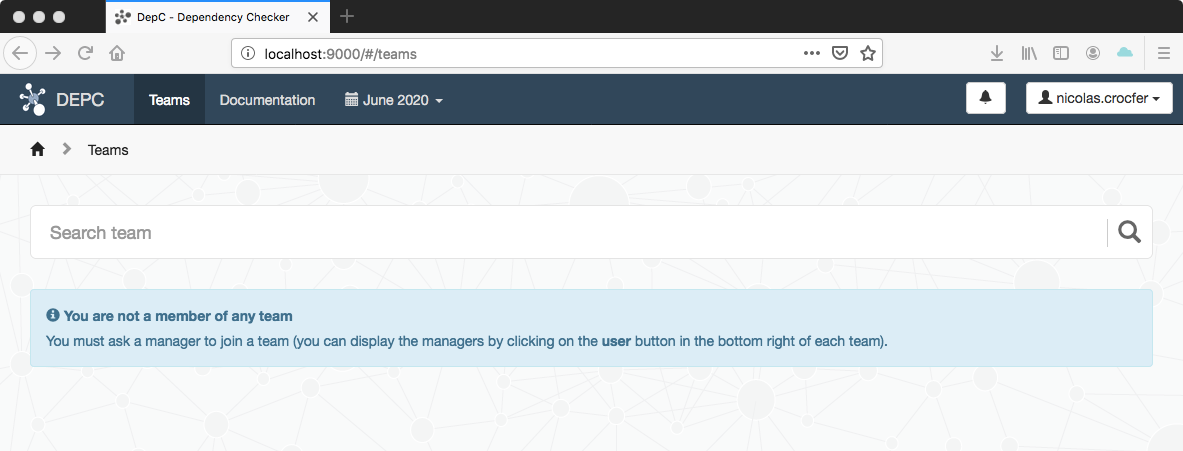
Now, you can reach the DepC Web UI at : http://localhost:9000/#/teams :
Create your first team
During development you may want to create a new team, grant users, etc… You can
do it using the DepC admin panel at: http://localhost:5000/admin.
You can also force the access with the FORCE_INSECURE_ADMIN: true value in your
configuration file.
Warning
The FORCE_INSECURE_ADMIN variable must only be used in development mode,
we recommend to use a reverse proxy adding the authentication layer in production.
The first thing to do is to create a team in Admin > Team > Create :
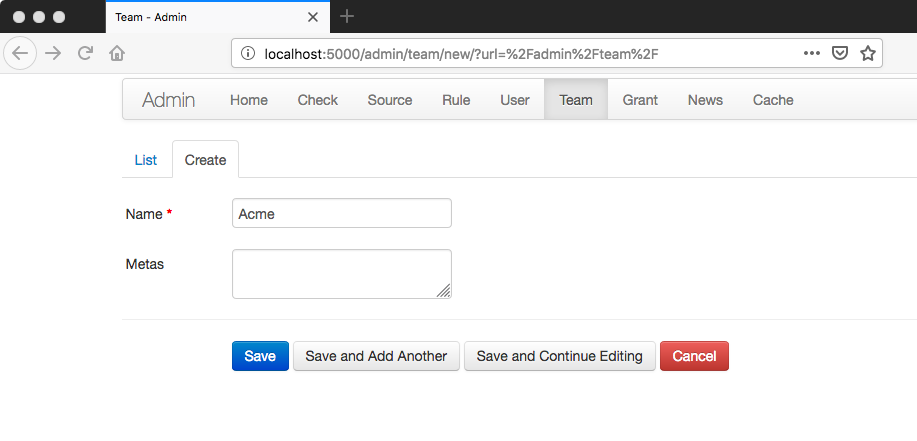
You can omit the meta field for now, it will be used to inform users about their own
Grafana access.
Setup Airflow
To get more details about how to setup Airflow, please read the official documentation.
The first step is to export some variables :
# Add the DepC root directory to the PYTHONPATH
$ export PYTHONPATH="$(pwd)/:$PYTHONPATH"

# Specify the DepC scheduler directory as the Airflow root directory
$ export AIRFLOW_HOME="$(pwd)/scheduler"
Then you can initialize Airflow :
$ airflow initdb
You will have lot’s of DAG examples, you can remove them in the airflow configuration and reset the database :
$ vim scheduler/airflow.cfg
...
load_examples = False
...
$ airflow resetdb
You can now start the webserver :
make webserver
The WebUI is available at http://127.0.0.1:8080 :
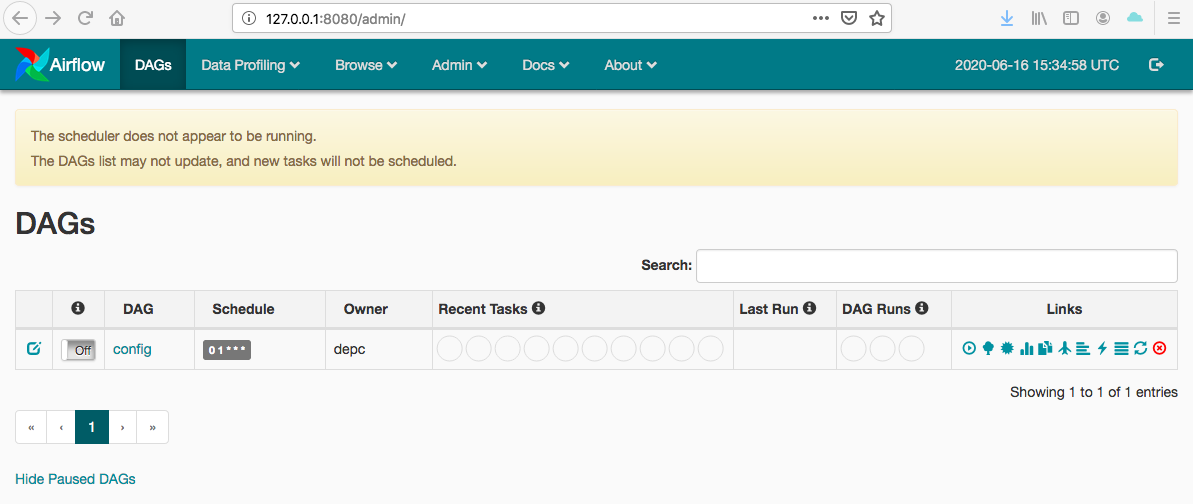
Note
To secure the Airflow Web UI, you can read the Security section and the Security Connections How-To guide in the official Airflow documentation.
As you can see Airflow indicates that the scheduler is not running. Before doing it we need to change the captchup configuration :
$ vim scheduler/airflow.cfg
...
catchup_by_default = False
You can now start the scheduler :
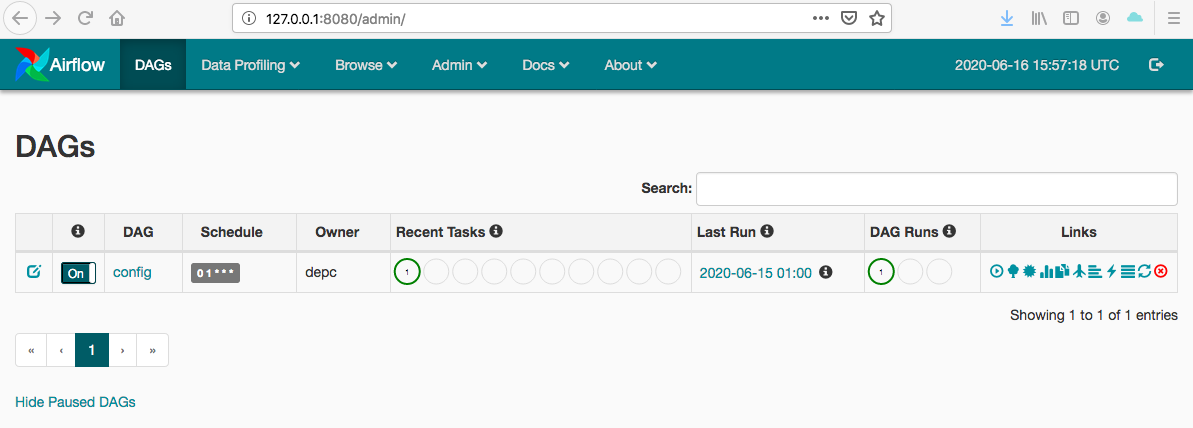
$ make scheduler
As you can see in the web interface the message has disappeared. You can now activate the config DAG :
Start the Kafka consumer
You have to configure the appropriate fields into your configuration file (section CONSUMER).
Then you can launch the Kafka consumer :
$ make consumer